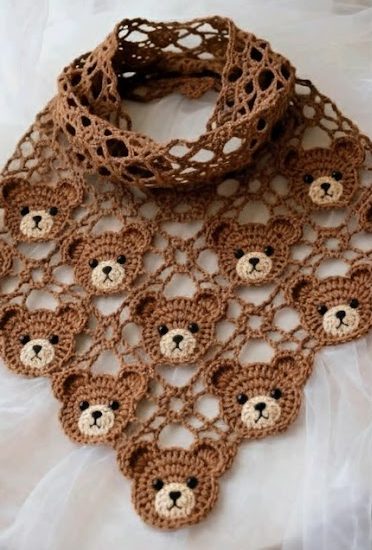
Lace Shawl with Bear Applique Pattern
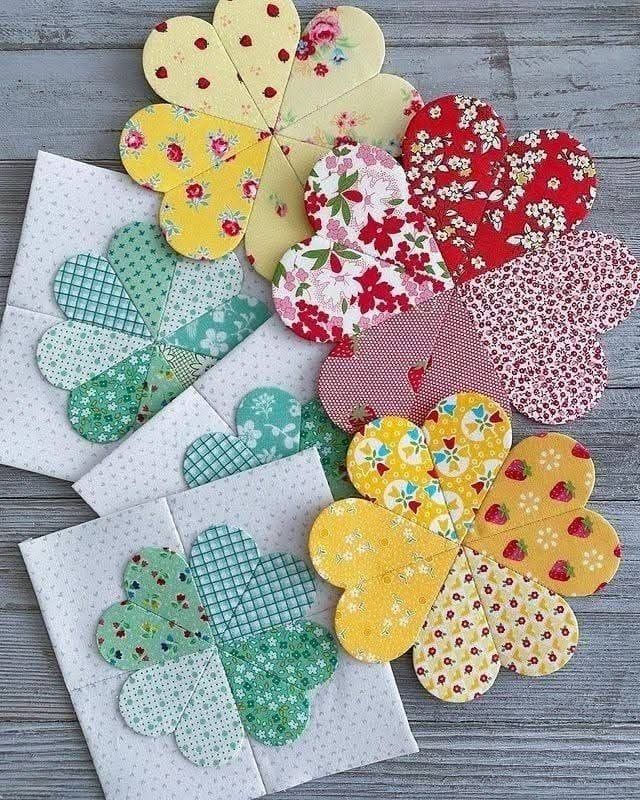
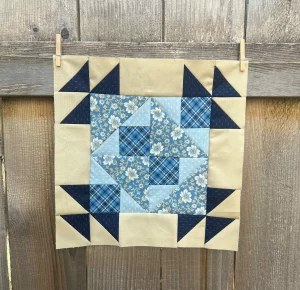
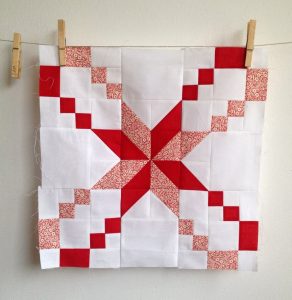
The Pinwheel Quilt Block is one of the most beloved and recognizable quilt block patterns in the world of quilting.
This simple yet striking design, which resembles the spinning blades of a windmill, has been a staple in traditional and modern quilts for generations.
Made up of half-square triangles arranged in a pinwheel formation, this block offers visual movement and dynamic energy, making it a favorite choice for both beginner and experienced quilters.
In this article, you will find a comprehensive, step-by-step guide to making your own Pinwheel Quilt Block. We’ll explore the best fabric choices, cutting measurements, and sewing techniques to ensure clean points and perfect alignment. Whether you’re creating one block or planning a full quilt, this guide will help you bring your pinwheel vision to life with precision and creativity.
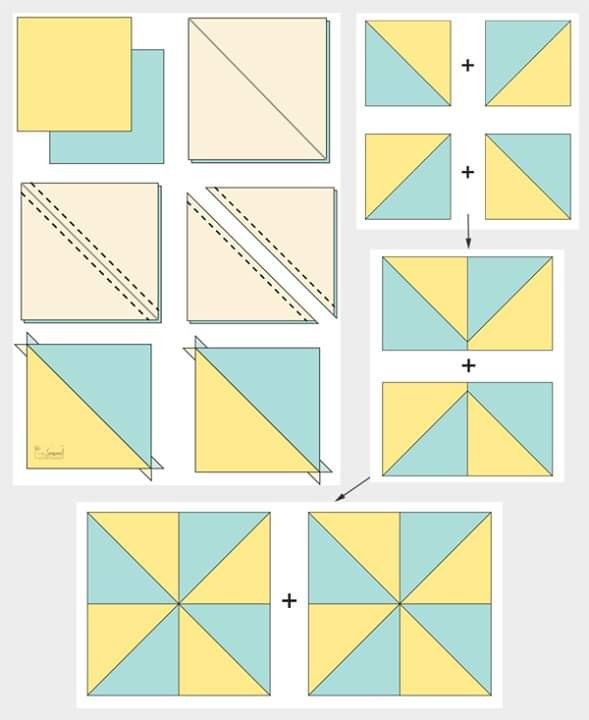
The Pinwheel Quilt Block is built from four identical half-square triangles (HSTs), which are then rotated and joined to form a spinning effect. This movement makes it visually interesting and perfect for quilts that aim to capture attention.
The beauty of the Pinwheel Quilt Block lies in its simplicity. Each block contains only two contrasting fabrics, allowing the pattern to stand out clearly. You can experiment with solids or prints, but for a classic look, high contrast works best.
Color placement is key when designing this block. Typically, one fabric serves as the background while the other forms the pinwheel. Choosing complementary or opposing hues enhances the spinning effect.
To start your block, you’ll need to decide the finished size. For example, a 6-inch finished block requires each HST to be 3 inches square when sewn. That means you’ll need to start with squares that are at least 3 ⅞ inches before trimming.
The Pinwheel Quilt Block can be scaled up or down, making it ideal for everything from mini quilts to king-size bed covers. You can also rotate or offset the blocks within a quilt layout to add motion and depth.
This design is not only beautiful but also beginner-friendly. Mastering this block teaches essential skills like cutting accurately, piecing with a consistent seam allowance, and pressing for flat, crisp seams.
To create one Pinwheel Quilt Block that finishes at 6 inches, you will need two fabric colors: one for the pinwheel (Color A) and one for the background (Color B). These are the materials and fabric cuts required:
For each block, cut:
These measurements include a ¼” seam allowance and allow trimming of the HSTs down to 3 ½” before final assembly. Always press fabrics before cutting to ensure accuracy.
If you plan to make multiple blocks, multiply these fabric cuts by the number of blocks you intend to make. For example, a quilt with 20 Pinwheel Quilt Blocks will need 40 squares of each color.
Using a rotary cutter and quilting ruler helps achieve precise, straight cuts. Accurate cuts are critical for matching seams and getting those sharp pinwheel points.
Choose high-quality 100% cotton quilting fabric. This type of fabric holds its shape well and presses smoothly, both of which are essential for clean, professional-looking results.
Starch can also be helpful, especially when working with triangles that have bias edges. It keeps the fabric from stretching and helps seams lay flatter during assembly.

Creating a Pinwheel Quilt Block starts with making half-square triangles. Here’s the full tutorial to guide you through the process of making one beautiful block.
Step 1: Pair the Fabric Squares
Take one 4” square from Color A and one from Color B. Place them right sides together. Draw a diagonal line from one corner to the opposite corner on the lighter fabric.
Step 2: Sew the Diagonal Seams
Sew a seam ¼” on both sides of the drawn line. Repeat this for the second pair of fabric squares. These seams will create the two HSTs needed for the block.
Step 3: Cut and Press
Using a rotary cutter, cut along the drawn line between the stitched seams to separate the triangles. You’ll now have four triangle units. Press each one open with the seam allowance toward the darker fabric.
Step 4: Trim the HSTs
Trim all four HST units to 3 ½” x 3 ½”. Accurate trimming ensures the block lies flat and that all the points align perfectly when the block is assembled.
Step 5: Arrange the HSTs into a Pinwheel
Lay out the four trimmed HSTs in a square, rotating each unit until they form the Pinwheel Quilt Block shape. The seams should meet in the center and create a spiral pattern.
Step 6: Sew and Press the Final Block
Sew the top two units together, then the bottom two. Press the seams in opposite directions. Then sew the two rows together, nesting the center seam to reduce bulk. Press the completed block flat.
One of the secrets to a perfect Pinwheel Quilt Block is consistent seam allowance. Always use a ¼” quilting foot and check your seam allowance before starting a project.
If you struggle with bulky seams in the center of the pinwheel, consider pressing seams open or “spinning” the center seam, which distributes the thickness more evenly.
To create a more complex quilt, alternate pinwheel blocks with solid blocks or use sashing between blocks for a cleaner look. This technique also helps highlight each individual Pinwheel Quilt Block.
You can add borders around each pinwheel for a framed effect. Use strips measuring 1” to 2” wide depending on your desired final block size and overall quilt design.
For a scrappier look, use different prints for each pinwheel in your quilt. This makes the quilt more dynamic and a great way to use up fabric scraps.
Another popular variation is the double pinwheel, which incorporates an extra small pinwheel within the main block. This adds more complexity and visual interest to your quilt layout.
The Pinwheel Quilt Block is incredibly adaptable and works well in a wide variety of quilting projects, from baby quilts to wall hangings to large bed quilts.
For a playful baby quilt, use bright, cheerful fabrics and arrange the blocks in a rainbow layout. The pinwheel’s motion captures a sense of fun and energy.
In modern quilts, you can place Pinwheel Quilt Blocks on a solid background with lots of negative space, creating a minimalist and artistic look.
Pinwheels also make beautiful table runners. Make a row of five or six pinwheel blocks, add borders, and you have a festive piece for seasonal decor or celebrations.
This block is also ideal for seasonal quilts—try using red, white, and blue for a patriotic quilt, or orange and black for a Halloween-inspired theme.
Finally, the Pinwheel Quilt Block is perfect for teaching workshops or group sewing projects. Its straightforward construction allows for quick learning and collective creativity.
The Pinwheel Quilt Block continues to be a favorite among quilters for its beauty, simplicity, and versatility. Whether you’re creating a single focal block or an entire quilt made of spinning pinwheels, this pattern brings joy and movement to any quilt design. With the right fabric choices, precise cutting, and careful piecing, you’ll be able to master this timeless block and make it your own.
Now it’s your turn—gather your fabrics, follow the steps, and start stitching your own stunning Pinwheel Quilt Block creations. Have you made this block before or have a variation to share? Leave a comment and let’s inspire each other!

