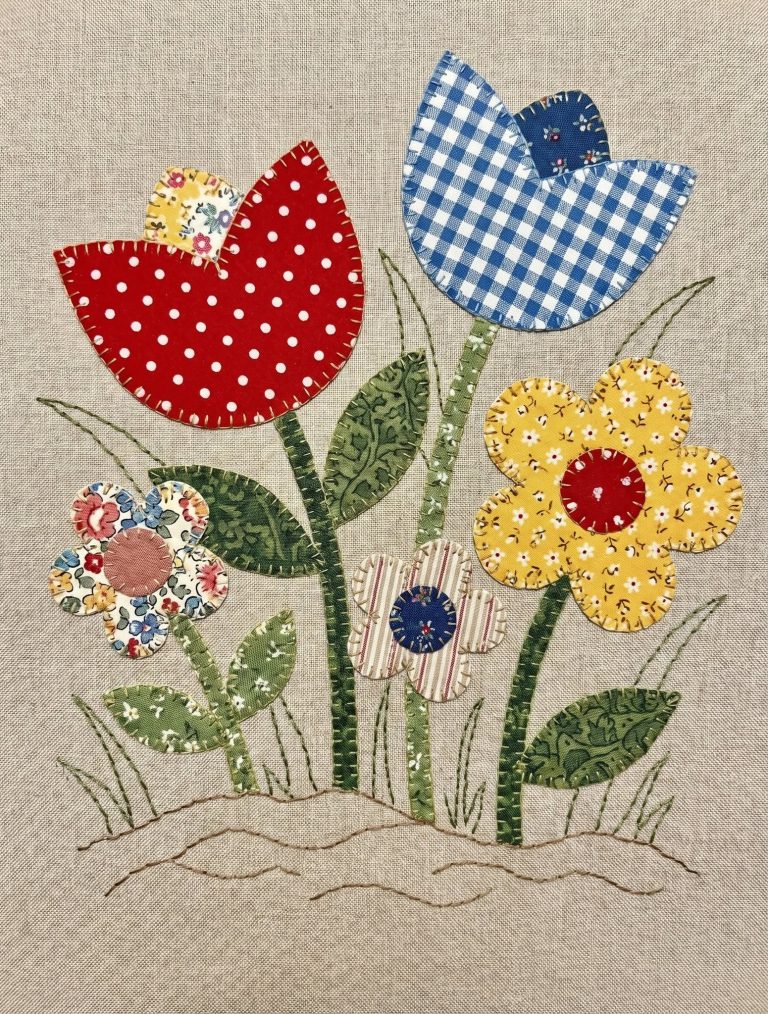
DIY Fabric Flower Applique Pattern
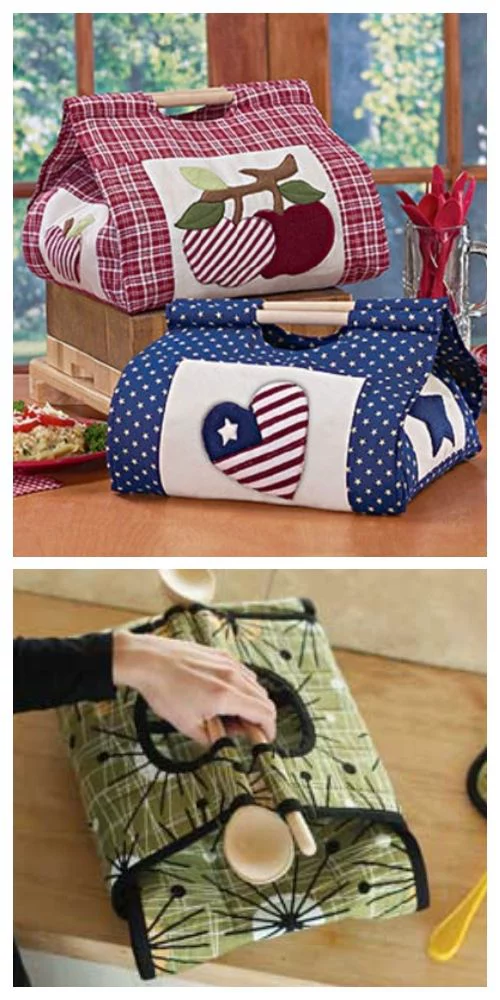
When it comes to adding charm and functionality to your kitchen, learning HOW TO MAKE A FABRIC BAKING TRAY HOLDE is a delightful project that combines creativity with practicality.
In this article, we’ll explore every step needed to craft your own custom fabric baking tray holder, ensuring your baked treats are served safely and stylishly.
Using HOW TO MAKE A FABRIC BAKING TRAY HOLDE as your guide, you’ll not only protect your hands from hot trays but also add a unique handmade touch to your kitchen décor.From selecting the right fabrics to stitching the final seams, this guide on HOW TO MAKE A FABRIC BAKING TRAY HOLDE will help beginners and experienced crafters alike. With clear instructions, recommended materials, and accurate measurements, you’ll complete a beautiful, functional holder. And yes — all within a single afternoon.So, if you’ve been searching for an easy, rewarding sewing project, HOW TO MAKE A FABRIC BAKING TRAY HOLDE might be just what you need. Let’s discover together how to create a holder that reflects your personal style while being practical and durable.
Before starting the actual sewing, the first stage in HOW TO MAKE A FABRIC BAKING TRAY HOLDE is gathering your materials and cutting your fabric to the correct size. This ensures your final holder fits your baking tray perfectly.
Choose two types of fabric: a heat-resistant cotton for the outer layer and a soft cotton or batting for the lining. The outer fabric keeps it sturdy and decorative, while the lining provides insulation.
For a standard baking tray measuring about 14 x 10 inches, cut the following pieces:
Cutting slightly larger than your tray adds room for seams and padding, making the final holder fit snugly without being too tight.
Don’t forget to cut 2 strips (16 x 2 inches) of matching or contrasting fabric to create handles. Handles make your fabric baking tray holder easier and safer to use.
Finally, cut bias tape or prepare fabric strips (about 60 inches total length) to bind the edges neatly.
With your fabric pieces ready, the next step in HOW TO MAKE A FABRIC BAKING TRAY HOLDE is assembling the layers. Proper alignment ensures the holder remains functional and looks professionally finished.
Place the thermal batting between the two lining fabric pieces. Pin them together carefully to prevent shifting while sewing. The thermal batting provides heat resistance, which is essential in a baking tray holder.
Quilt these three layers together using straight or decorative stitching. Quilting not only holds the layers in place but adds texture and charm to your HOW TO MAKE A FABRIC BAKING TRAY HOLDE project.
Next, lay the quilted lining on the wrong side of the outer fabric rectangles, aligning the edges. Pin and baste them together.
Attach the handle strips by folding them in half lengthwise (right sides together), sewing along the long edge, then turning them right side out and pressing flat.
Position each handle on the shorter sides of the holder, about 3 inches from each corner. Secure with pins or clips, ensuring the handle loops face inward.
The finishing phase of HOW TO MAKE A FABRIC BAKING TRAY HOLDE is where your project comes together beautifully. Binding edges neatly and securing handles makes the holder sturdy and visually appealing.
With layers pinned together and handles in place, sew around the entire holder’s edge with a ½-inch seam allowance. Reinforce the stitching at handle areas for durability.
Trim any excess batting or uneven edges to ensure your binding will sit flat and smooth. Neat edges help your HOW TO MAKE A FABRIC BAKING TRAY HOLDE look polished.
Attach the bias tape or prepared fabric strips around the perimeter. Begin sewing the tape on one of the longer sides, folding the starting end inward slightly for a clean finish.
Miter the corners as you go to keep them sharp and professional-looking. Bias tape makes corners easier to handle, adding both function and beauty.
Finish the binding by overlapping the end neatly and backstitching to secure. Check all seams and trims to make sure nothing is loose or uneven.
Your basic HOW TO MAKE A FABRIC BAKING TRAY HOLDE is ready, but you can personalize it further for style or practicality. These final touches transform it from simple to special.
Consider adding decorative quilting lines, using contrasting thread for a bold design. Decorative stitches not only beautify but help hold layers securely.
Personalize your HOW TO MAKE A FABRIC BAKING TRAY HOLDE by embroidering your initials, a family name, or a fun phrase like “Baked with Love.”
Use different fabrics for seasonal designs: festive patterns for holidays, cheerful florals for spring, or cozy plaids for autumn baking.
For added safety, you could insert a thin layer of heat-reflective Insul-Bright instead of standard batting, making it even more heat resistant.
If you have scraps left over, sew matching pot holders or oven mitts to create a coordinated kitchen set.
Finally, always wash your finished HOW TO MAKE A FABRIC BAKING TRAY HOLDE before first use to remove any sizing or dust, making it kitchen ready.
Q1: Can I use synthetic fabrics?
For best heat resistance, use 100% cotton for both outer fabric and lining. Synthetics may melt under high heat.
Q2: What is the purpose of thermal batting?
Thermal batting insulates against heat, protecting your hands and keeping the tray warm longer.
Q3: How do I clean my fabric baking tray holder?
Machine wash in cold water on a gentle cycle, then air dry to keep its shape and durability.
Q4: Can I change the measurements?
Yes! Adjust fabric cuts to fit your tray’s dimensions, always adding at least 2 inches for seam allowances.
Q5: Is this project suitable for beginners?
Absolutely! With clear instructions and basic sewing skills, anyone can make a HOW TO MAKE A FABRIC BAKING TRAY HOLDE.
Q6: How long does it take?
About 2–3 hours, depending on your experience and whether you add extra details
Learning HOW TO MAKE A FABRIC BAKING TRAY HOLDE is a wonderful way to combine creativity, safety, and practicality. With just a few materials, careful measurements, and a bit of time, you can craft a unique and functional accessory that reflects your style and keeps your kitchen safer.
Ready to sew your own? Share your experience, patterns, or fabric choices below — and inspire others to start their own HOW TO MAKE A FABRIC BAKING TRAY HOLDE journey!


