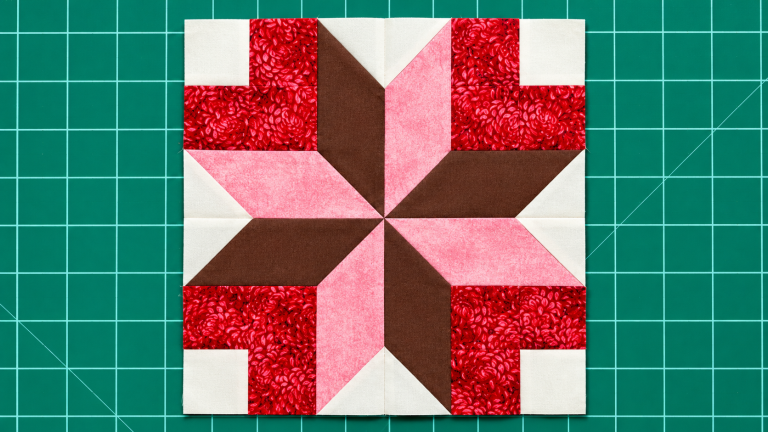
Easy 3D Burst Quilt Block Pattern
The Cleopatra’s Fan Quilt stands out as a captivating piece of quilting history that brings elegance and complexity together. Right from the first glance, this pattern catches the eye with its curved shapes and graceful motion, paying homage to the legendary queen whose name it bears. Beyond its beauty, the process of creating a Cleopatra’s Fan Quilt offers quilters an opportunity to explore curves, precision cutting, and artistic color choices.
Many quilters feel drawn to the Cleopatra’s Fan Quilt because it embodies both tradition and creativity. The design’s unique structure makes it suitable for both classic color palettes and modern, bold prints. This flexibility helps quilters add a personal touch while staying faithful to the original elegance that defines this historic pattern.
In this article, we’ll dive into the rich story behind the Cleopatra’s Fan Quilt, provide a step-by-step guide on how to create it—including all fabric cuts and measurements—and share practical tips to help beginners and experienced quilters alike master this remarkable quilt.

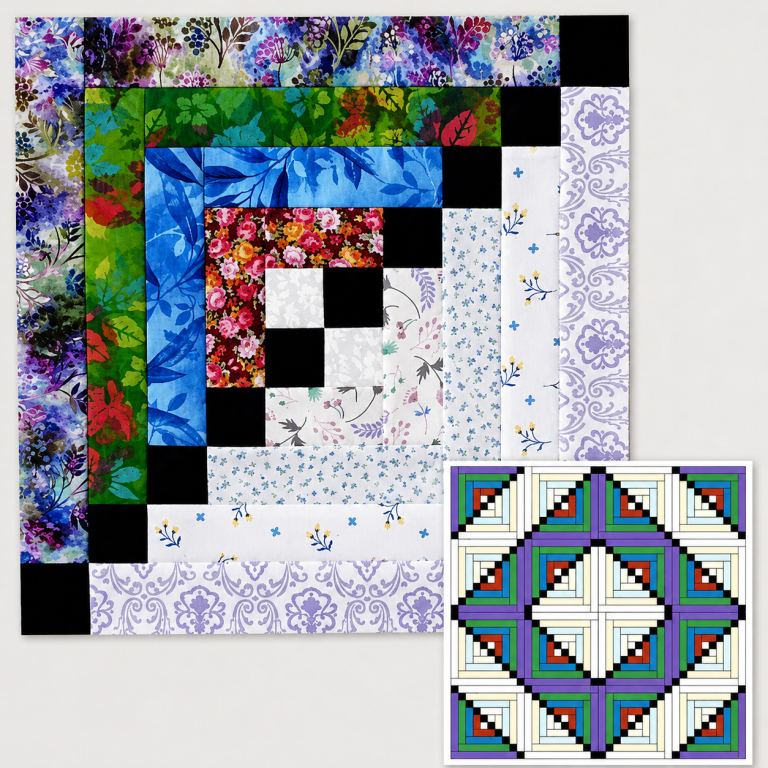
The Cleopatra’s Fan Quilt is famous for its combination of gentle curves and striking geometric balance. At its heart, the pattern consists of quarter-circle shapes that come together to form a larger, rounded block resembling a fan. This design is both graceful and challenging, making it a favorite among quilters who enjoy precision work.
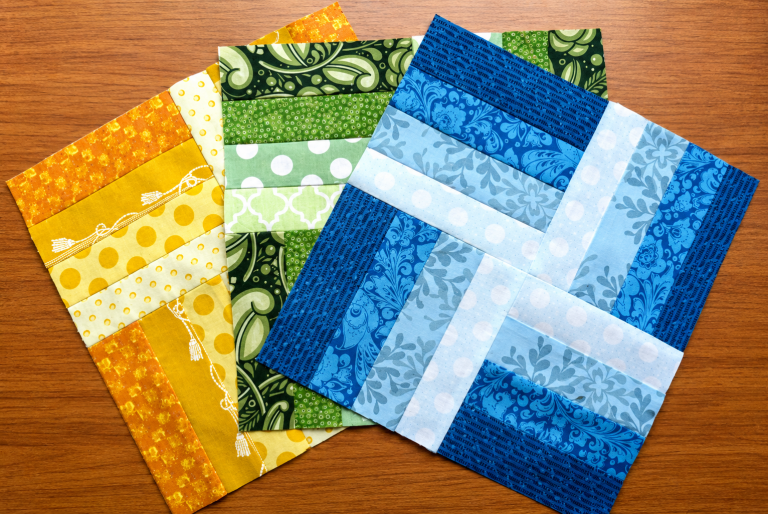
Each fan block within the Cleopatra’s Fan Quilt is typically constructed from multiple segments, including curved blades and background pieces. This blend of shapes allows quilters to play creatively with light and dark fabrics, creating a dynamic visual effect. Many quilters use contrasting prints or complementary solids to emphasize the curves.
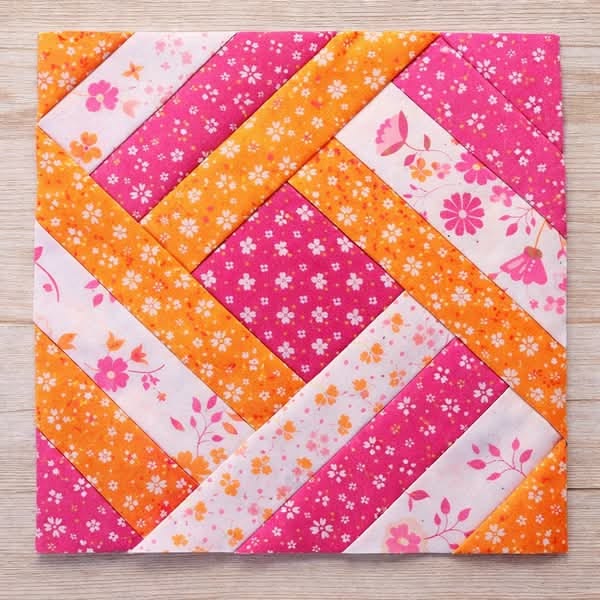
Choosing the right color palette is key to achieving the signature look of the Cleopatra’s Fan Quilt. Traditional versions often use jewel tones inspired by ancient Egypt—deep turquoise, gold, and crimson. However, modern interpretations may use pastel shades or bold contemporary prints, giving each quilt a unique personality.
One of the most rewarding aspects of quilting this pattern is watching the fan shape come alive block by block. While the design looks intricate, it becomes approachable once broken down into its components. This balance of challenge and reward keeps quilters engaged throughout the process.
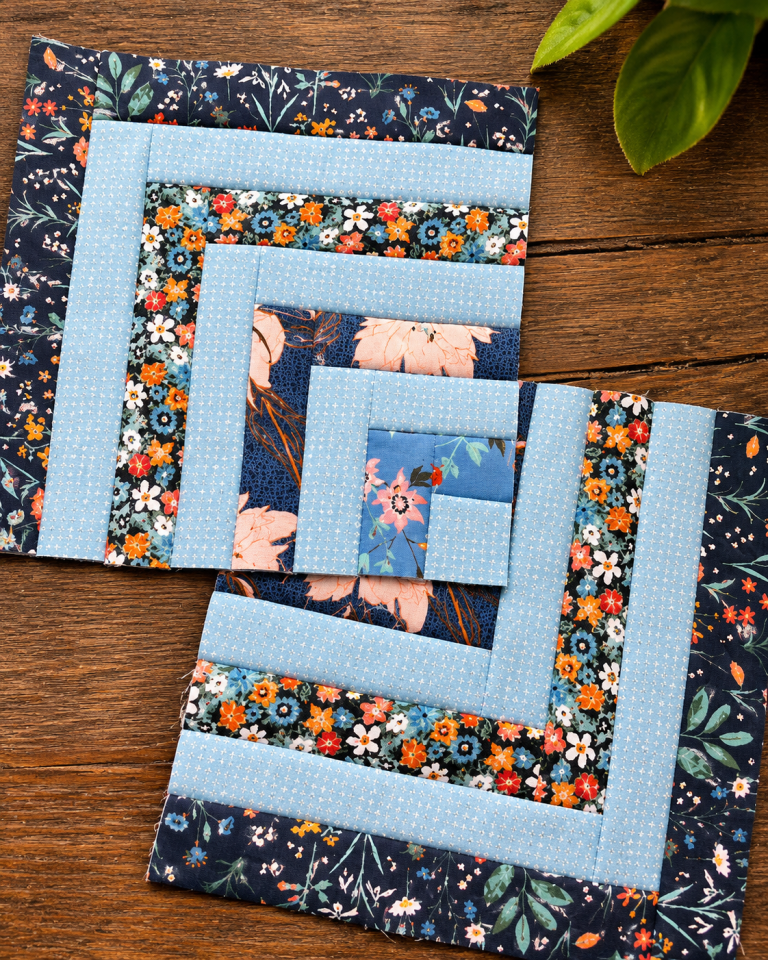
To get started, it’s important to understand the construction of each fan unit. Typically, a single Cleopatra’s Fan Quilt block consists of a curved fan segment (made of three or four blades), a small corner square, and a background quarter-circle piece that frames the fan. This structure forms the recognizable sweeping shape.
Ultimately, the beauty of the Cleopatra’s Fan Quilt lies in its graceful flow. The curved seams create movement, while the repeated fan blocks build harmony across the entire quilt top. It is this perfect blend of motion and symmetry that makes the design so timeless.
Before cutting, decide on the finished size of your Cleopatra’s Fan Quilt. For this guide, let’s create a throw-sized quilt measuring approximately 60″ x 70″, made of 30 fan blocks arranged in 5 rows of 6 blocks each. Adjust numbers if you prefer a larger or smaller quilt.
For each Cleopatra’s Fan Quilt block, prepare:
For the entire quilt (30 blocks), you will need:
If you plan to add sashing (2.5″ wide strips between blocks) and borders (5″ wide all around), add:
Finally, don’t forget backing and binding:
Be sure to use a curved ruler or paper templates to cut the blade and background pieces accurately. Templates ensure uniformity and help maintain smooth curves when sewing.
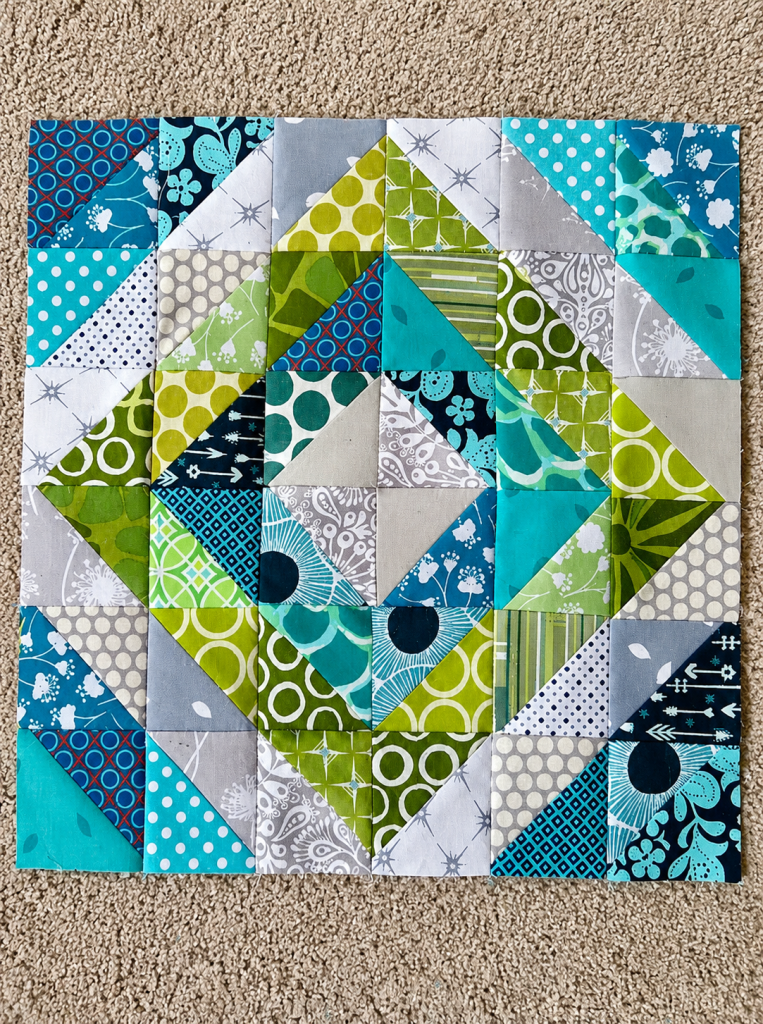
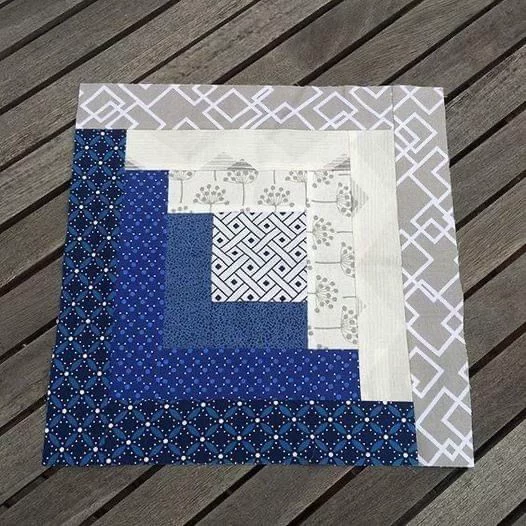
When selecting fabrics, think about contrast: lighter backgrounds make the fan shapes pop, while darker backgrounds can create a dramatic, moody effect. Using coordinated prints for the blades can add visual texture to your Cleopatra’s Fan Quilt.
Pre-wash all fabrics if desired, especially if mixing dark and light colors. This step helps prevent bleeding and shrinkage later.
Creating your own Cleopatra’s Fan Quilt begins with patience and careful piecing. Here’s a clear step-by-step guide:
Repeat these steps until you’ve made all 30 blocks. Then, arrange the blocks in rows, alternating the direction of the fans for a balanced design.
Sew rows together, add sashing if desired, and finish by attaching borders. Layer with batting and backing, quilt as desired (simple echo quilting or curved quilting lines work beautifully on this pattern). Finally, bind the edges with your chosen fabric strips.
Creating a Cleopatra’s Fan Quilt can seem intimidating, but a few tips can help simplify the process:
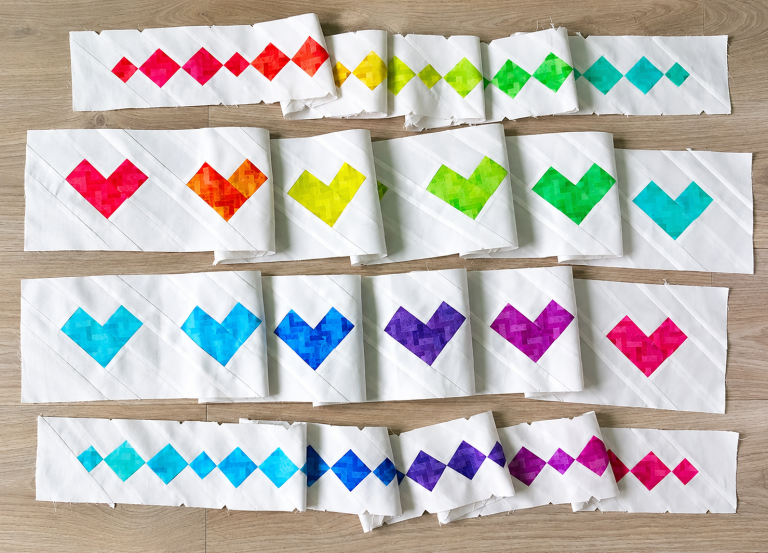
For creative variations, consider enlarging or shrinking the block size, or using an ombré effect in your blades to create a gradient look. You could also make a smaller wall hanging using just a few fan blocks as an elegant accent piece.
Whether you stick closely to traditional colors or design a bold modern version, the Cleopatra’s Fan Quilt offers endless opportunities to express your quilting style.
The Cleopatra’s Fan Quilt remains beloved among quilters for its graceful curves, historical charm, and endless design possibilities. While it requires patience and careful sewing, the finished quilt is always worth the effort—a testament to both skill and creativity.
This quilt pattern not only celebrates quilting heritage but also invites personal interpretation through color, layout, and quilting choices. Each Cleopatra’s Fan Quilt is truly unique, yet each carries the same timeless elegance that has inspired generations.
Ready to start your own Cleopatra’s Fan Quilt? Gather your fabrics, prepare your templates, and enjoy every step of crafting a quilt that blends history, art, and the joy of handmade beauty. Happy quilting!


