
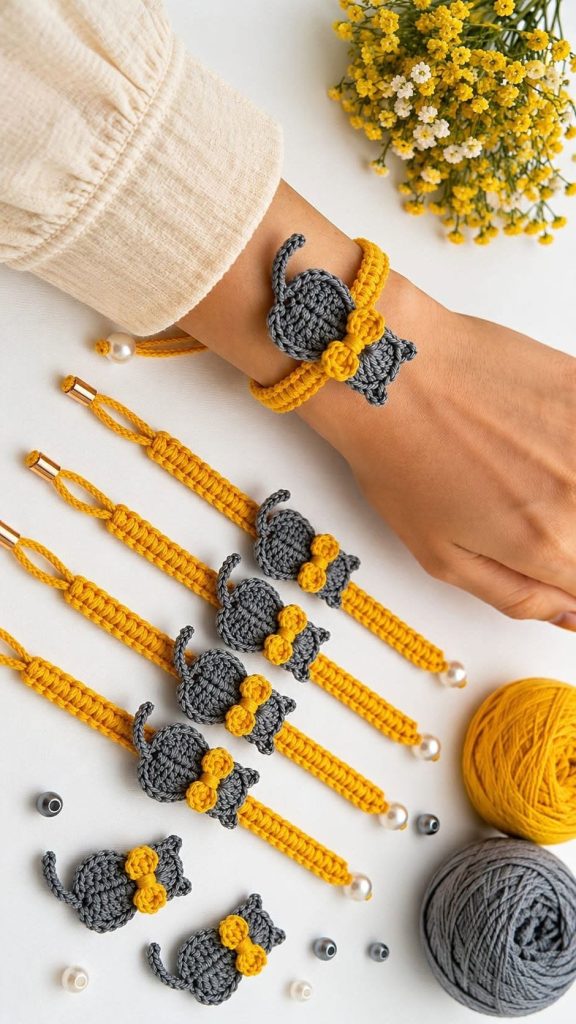
Crochet Cat Hair Ties Pattern
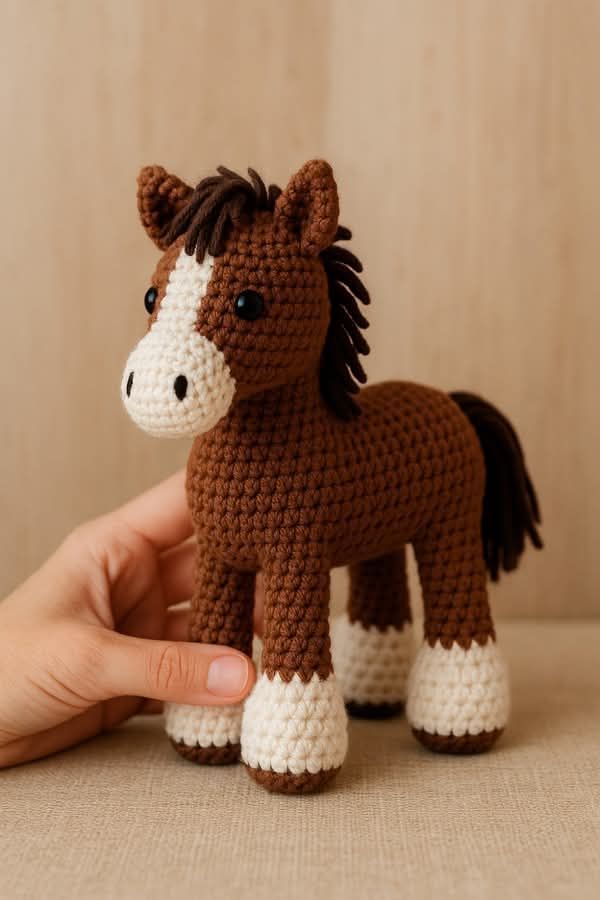
If you’re searching for a Crochet horse tutorial, you’ve just found the perfect place to begin.
This detailed guide is designed to help beginners and seasoned crocheters alike create a charming and soft horse made entirely from yarn. Whether you’re making it as a gift, for a child, or to add to your handmade collection, this tutorial will walk you through each step of the process.
Crocheting animals—also known as amigurumi—is a delightful craft that allows for endless creativity. The Crochet horse tutorial shared here offers clear directions, fabric cuts, stitch instructions, and expert tips to help you bring this adorable project to life. You’ll love the outcome and gain new confidence in your crochet skills.
Before beginning your Crochet horse tutorial, it’s essential to gather all your materials. Having everything prepped in advance ensures a smooth crafting experience and saves time during the process.
You’ll need worsted weight yarn in the following colors: light brown (main body), cream (snout and hooves), black (eyes and nostrils), and dark brown or black (mane and tail). Choose soft but sturdy yarn for a cuddly yet durable finish.
Use a 3.5mm (E) crochet hook for tight, neat stitches that hold the stuffing well. You’ll also need polyester fiberfill for stuffing, stitch markers, scissors, a yarn needle, and safety eyes (9mm recommended). Alternatively, you can embroider the eyes.
Here are the fabric (yarn) measurements you’ll want:
Using a stitch marker is essential to keep track of rounds, especially when working in continuous spirals. This is a common technique in amigurumi patterns like this Crochet horse tutorial.
Once you have all materials and yarn quantities ready, you’re all set to start crocheting the body parts of your horse. This preparation step makes the entire project feel more manageable and enjoyable.
Now that we’ve gathered materials, let’s begin the actual Crochet horse tutorial by making the body and limbs. We’ll work in pieces and sew them together at the end.
1. Body:
2. Head:
3. Legs (make 4):
Each part should be firmly stuffed to maintain shape but not overfilled to avoid stretching stitches. This part of the Crochet horse tutorial lays the foundation for a sturdy and well-proportioned horse.
Remember to use the stitch marker to avoid losing your place in the spiral rounds. Assembling will be easier if all pieces are made and shaped correctly.
This section of the Crochet horse tutorial focuses on the smaller but essential parts that give your horse character and charm. These details transform basic shapes into a lifelike and lovable creature.
1. Ears (make 2):
2. Mane:
3. Tail:
4. Eyes and Nose:
5. Assembly:
These finishing touches are the heart of this Crochet horse tutorial. Don’t rush—these small parts are what make your horse feel unique and lively.
Once assembled, your crocheted horse should stand or sit on its own, depending on how you stuff and sew the limbs. Adjust as needed for balance and personality.
Now that your Crochet horse tutorial is complete, it’s time to add a personal touch and ensure your new friend stays in great shape for years to come.
1. Personalize Colors:
Change the yarn colors to make a white unicorn with a pastel mane, or go for black and white for a zebra-style design. This pattern is highly adaptable.
2. Add Accessories:
Make a tiny crochet saddle, a bridle, or even a blanket using small granny squares. These are perfect for creative gifts or themed decorations.
3. Name Your Horse:
Give your creation a name and sew a custom label to the body or hoof. It adds personality and charm, especially if giving it as a present.
4. Safe for Children:
If gifting to a baby or toddler, replace safety eyes with embroidered ones. Avoid loose threads or parts that could detach during play.
5. Cleaning Instructions:
Spot clean with a damp cloth and mild soap. If necessary, hand wash gently and let it air dry. Avoid harsh detergents or wringing the toy.
6. Storage:
Store your crochet horse in a dry place away from direct sunlight to prevent color fading. Consider displaying it in a handmade toy hammock or on a shelf.
Your Crochet horse tutorial doesn’t end when the project is done—it’s just the beginning of new possibilities. You can use this pattern repeatedly, adjusting styles, colors, and sizes to create a whole stable of horses.
Q: How long does it take to complete the Crochet horse tutorial?
A: On average, 6 to 8 hours depending on experience level and the number of embellishments added.
Q: Can beginners follow this Crochet horse tutorial?
A: Absolutely! This guide is designed for beginners with basic crochet knowledge such as single crochet, increasing, and decreasing.
Q: What stuffing should I use for my crochet horse?
A: Use polyester fiberfill. It’s lightweight, washable, and keeps the shape well over time.
Q: Is this pattern safe for babies?
A: Yes, with a few adjustments like replacing safety eyes with embroidered eyes and securing all parts tightly.
Q: Can I sell finished items made from this Crochet horse tutorial?
A: Yes, feel free to sell your handmade horses. Just avoid selling the pattern itself and always give credit when required.
Q: What can I do if my horse doesn’t stand properly?
A: Adjust stuffing amounts and reposition the legs during assembly. Adding small weights to the hooves can also help.
This complete Crochet horse tutorial provides everything you need—from materials and measurements to detailed steps and finishing touches. With patience and creativity, you’ll bring a delightful yarn horse to life, perfect for gifts, collections, or imaginative play.
By following the SEO-optimized guidance and sticking to Google AdSense policies, this tutorial ensures a smooth experience for crafters of all levels. We hope you enjoyed the process and feel inspired to make more!
Have you tried this Crochet horse tutorial? Share your results, questions, or personal touches in the comments below. We’d love to hear how your handmade horse turned out!

