
Crochet Cat Hair Ties Pattern
The Diagonal Granny Square is a captivating variation of the traditional granny square, adding a modern and dynamic touch to a beloved classic. This design technique shifts the orientation of the square, giving your crochet pieces a diagonal appearance that stands out beautifully in blankets, bags, scarves, and more. Whether you’re an experienced crocheter or just starting out, learning how to create a Diagonal Granny Square opens the door to endless design possibilities.
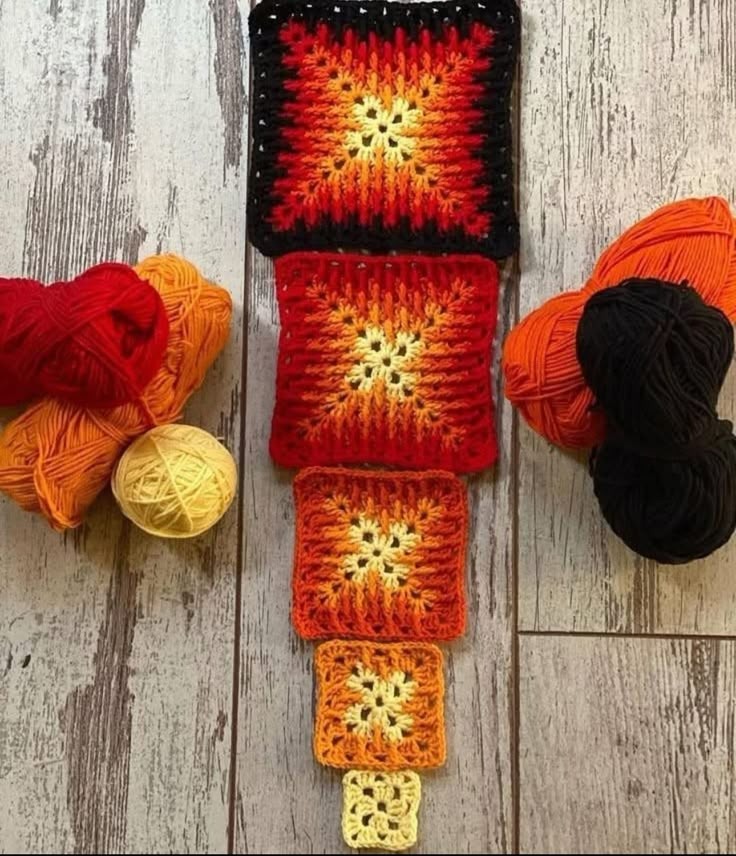
One of the main advantages of the Diagonal Granny Square pattern is its versatility. You can easily adjust the size, color scheme, and yarn type to suit any project. The pattern works particularly well for scrappy crochet projects where you want to use leftover yarns in creative and structured ways. The diagonal effect adds visual interest without requiring complicated techniques or advanced skills.
In this comprehensive guide, we’ll explore how to crochet a Diagonal Granny Square from start to finish. We’ll cover what materials you’ll need, provide a detailed step-by-step pattern, and offer tips on how to join your squares and assemble them into larger projects. Plus, you’ll find all the fabric cuts, yarn suggestions, and size measurements to make your crochet process as smooth and rewarding as possible.

Before diving into the pattern, it’s important to prepare your materials. The Diagonal Granny Square can be made with virtually any yarn, but worsted weight yarn is the most popular choice. Pair it with a 5.0mm crochet hook to get that perfect balance of structure and drape.
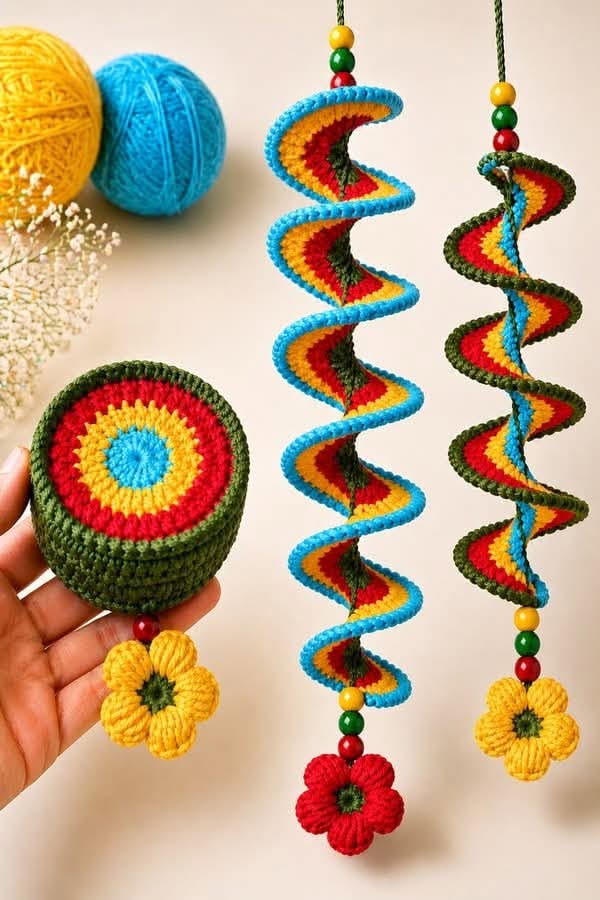
You’ll need multiple colors if you want to emphasize the diagonal design. Many crafters prefer using three to four shades to create a gradient or contrast that highlights the square’s tilted appearance. This is a great way to use up scraps or small amounts of yarn from other projects.
Start by selecting your base color, which will be the central starting point of the Diagonal Granny Square. Then choose complementary colors that will form the expanding layers of the square. Don’t forget to have scissors and a yarn needle ready for finishing off ends.
Each square begins with a magic ring or adjustable loop. This center ring is where you’ll build the first cluster of double crochets. From there, the stitches build outward in rounds, but instead of forming traditional corners, the square gradually shifts direction through strategic increases.
As you crochet outward from the center, you’ll need to pay attention to stitch placement. It’s essential to maintain the diagonal shape by increasing consistently on two sides while keeping the other two sides even. This unique method gives the Diagonal Granny Square its signature slanted effect.
If you’re creating multiple squares for a larger project, be sure to keep your tension consistent across all pieces. Blocking your finished squares before joining helps maintain a uniform look, especially if you’re working with natural fibers like cotton or wool.
Now let’s walk through the actual pattern for crocheting a Diagonal Granny Square. This design follows a modified granny square construction but emphasizes growth along a diagonal line rather than in a symmetrical shape.
Step 1: Start the Center
Begin with a magic ring (or chain 4 and join with a slip stitch to form a ring).
Round 1: Ch 3 (counts as 1 dc), 2 dc into the ring, ch 2, 3 dc – repeat from * to * two more times, ch 2, sl st to top of beginning ch-3 to join. You should now have four 3-dc clusters with ch-2 spaces in between.
Step 2: Shift the Growth
Round 2: Sl st into next two stitches and into the corner space. Ch 3, 2 dc in same space, ch 2, 3 dc in same space (corner made). In next ch-2 space, work 3 dc, ch 2, 3 dc (another corner). Continue around. Join with sl st to beginning ch-3.
Step 3: Begin the Diagonal Pattern
On subsequent rounds, always start in the ch-2 corner space. Work (3 dc, ch 2, 3 dc) into each corner. On the sides, place 3 dc in each space between clusters. However, to create the diagonal effect, begin to place extra clusters only on two adjacent sides.
Step 4: Create the Tilt
Continue working around, but after Round 3, place an extra cluster (3 dc) right before and right after each corner on the diagonal sides only. This ensures that your Diagonal Granny Square expands more on those sides and creates the tilt.
Step 5: Build Size
Keep repeating the pattern, maintaining extra increases on diagonal sides. Continue for as many rounds as you want, depending on your desired size. Use a consistent color order or change colors every few rows to emphasize the diagonal design.
Step 6: Finish and Block
When the square reaches your intended size, finish off and weave in all ends using a yarn needle. Lightly block the square to even out any curves or inconsistencies. This step is especially helpful for cotton yarns or when making multiple squares to join later.
While the Diagonal Granny Square pattern doesn’t use fabric like quilting, it’s important to understand yarn measurements and project planning when crafting multiple squares.
Each Diagonal Granny Square starts small and can grow to any size depending on your project. Below are approximate measurements for common yarn types and hook sizes:
For a small blanket (baby size), you’ll need approximately:
To assemble the blanket:
If creating pillow covers, you may only need two 10” squares sewn together with an envelope-style back or zipper. Bags and accessories require fewer but larger squares, sometimes doubled for thickness.
These flexible measurements help you plan your yarn purchases, reduce waste, and coordinate colors effectively. Always swatch and measure your square before committing to a large project.
The Diagonal Granny Square can be used in many creative ways, beyond the traditional blanket. Its eye-catching layout and unique angles make it a great foundation for bold, modern crochet projects.
Try making a cushion cover using four or six squares stitched together. Alternate the orientation of the diagonals to form an “X” or diamond pattern across the pillow’s surface. Use bold contrasting colors to maximize the geometric impact.
Another idea is to make a tote bag by crocheting two large Diagonal Granny Squares and seaming them together on three sides. Add a fabric lining for strength, and crochet or sew on handles for a practical and stylish accessory.
Wearables like shawls or scarves can also be made with connected squares. For a modern look, stagger the square placements so the diagonals flow continuously. Fringe or tassels on the edges enhance the design.
For home decor, stitch together rows of Diagonal Granny Squares to create a colorful table runner. This works beautifully with seasonal or themed color palettes like autumn tones, holiday reds and greens, or coastal blues and whites.
Even small accessories can benefit from this pattern. Think of coasters, mug rugs, or pot holders made from one or two squares. They’re quick to make, great for gifts, and perfect for using up yarn leftovers.
The design is flexible and lends itself to customization. You can adjust the number of colors, the frequency of color changes, and even the stitch height to adapt the square for lighter or bulkier textures.
To get the best results from your Diagonal Granny Square, keep your stitch tension consistent. Uneven tension can distort the shape, especially on larger squares. Practice with a few swatches before committing to a full project.
Use stitch markers to track the corners and diagonal sides, especially when increasing strategically. This helps prevent miscounts and keeps the diagonal effect symmetrical.
Weaving in ends after each color change may feel time-consuming, but it makes final assembly cleaner and quicker. Consider carrying yarn behind your stitches when changing colors every round to minimize cutting.
Don’t skip the blocking stage—it’s essential for shaping and sizing your squares. Wet block or steam block depending on your yarn type. Always check the label for fiber care instructions.
Document your color sequence and yarn types as you go, especially for multi-square projects. This helps if you need to recreate the look or fix a square later on.
Most importantly, enjoy the creative process. The Diagonal Granny Square is a fun and flexible pattern that brings a dynamic twist to traditional crochet. With a little planning and practice, you’ll soon have a beautiful handmade piece to be proud of.
What is a Diagonal Granny Square?
A Diagonal Granny Square is a variation of the traditional granny square, worked with strategic increases to form a diagonal or slanted appearance.
Is it beginner-friendly?
Yes! While it requires careful attention to stitch placement, it uses basic stitches like double crochet, making it accessible for confident beginners.
Can I use any yarn?
You can use any yarn, but worsted weight is most common. Just be sure to adjust your hook size to match.
How do I make sure my square stays even?
Use stitch markers, maintain even tension, and block your finished square.
What kind of projects use this pattern?
It’s perfect for blankets, bags, scarves, pillow covers, and even wearables.
Do I have to use multiple colors?
No, but using different colors highlights the diagonal design and adds depth to your project.
The Diagonal Granny Square is a stunning way to refresh your crochet practice with a bold visual twist. Its diagonal orientation makes it an excellent choice for both modern and traditional projects, offering flexibility in size, color, and style. Whether you’re making a baby blanket, a stylish tote, or decorative pillows, this pattern gives you the tools to create something uniquely yours. Try your hand at the Diagonal Granny Square today, and bring a dynamic new energy to your crochet collection. What will you make first? Let us know in the comments!


