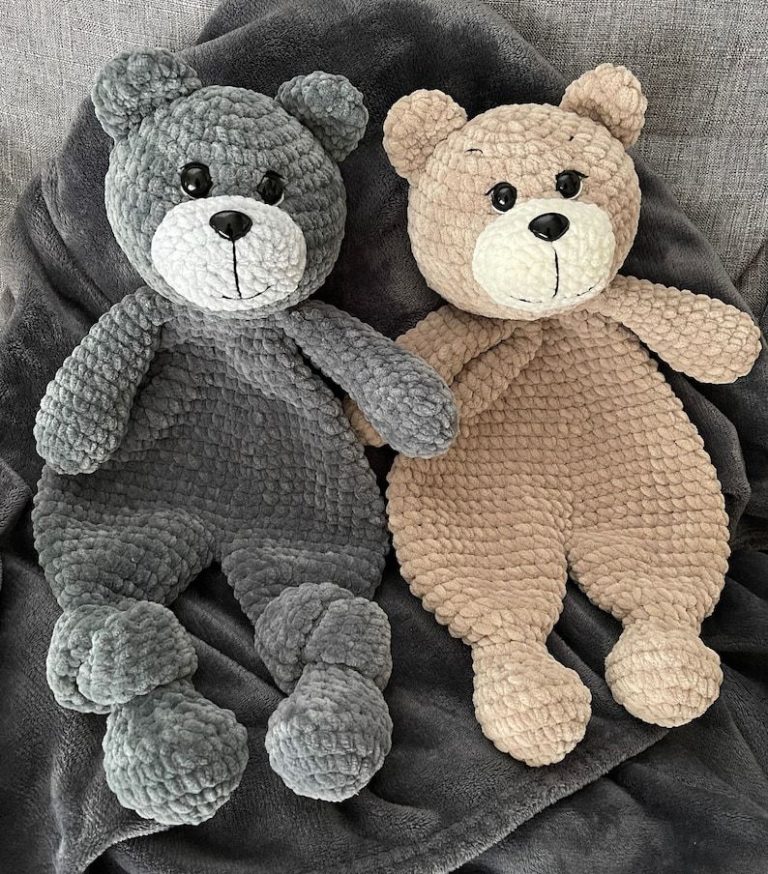
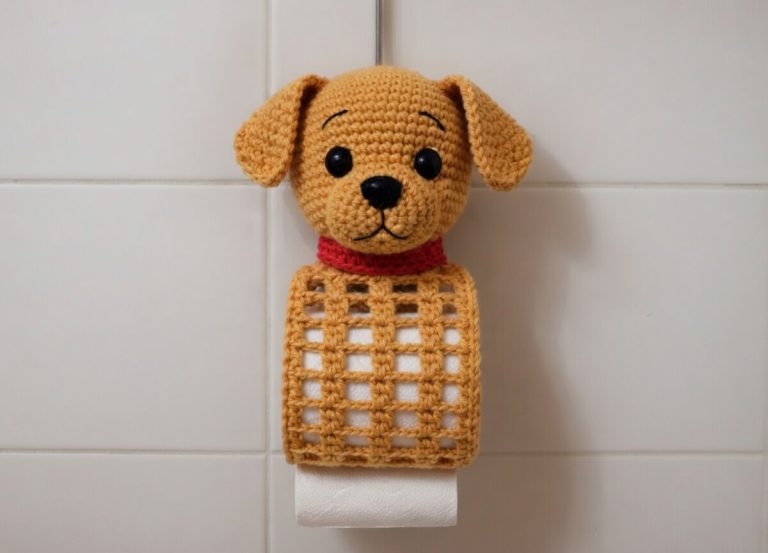
Crochet Bear Lovey For Baby Pattern
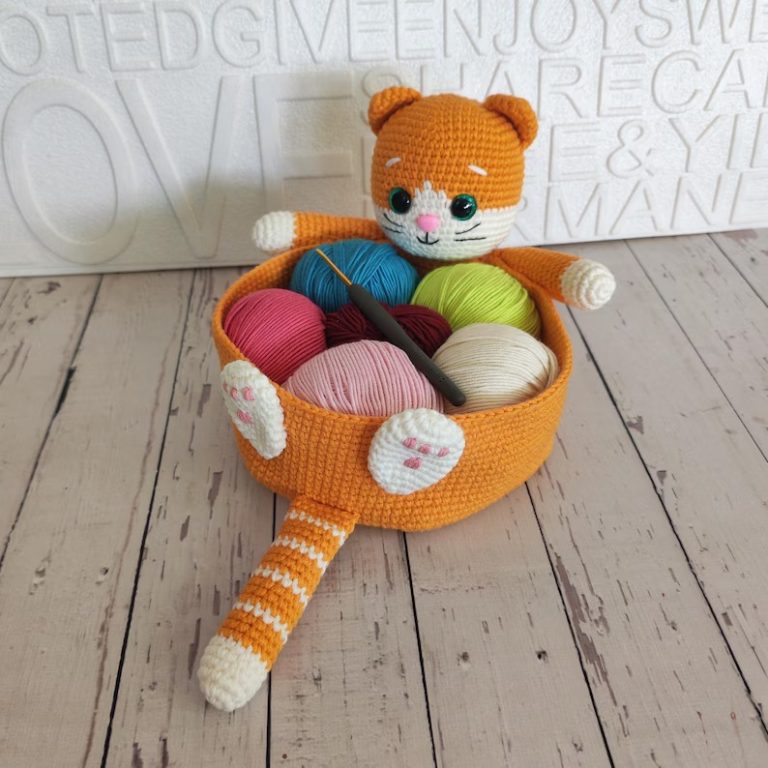
The Amigurumi Fat Cat – Crochet Pattern is a delightful project for crochet enthusiasts who love creating adorable stuffed animals. This pattern brings to life a chubby, charming cat that fits perfectly in your hands or on your shelf. Whether you’re a beginner or an experienced crocheter, the Amigurumi Fat Cat offers a fun and satisfying challenge. This article will guide you through everything you need to know about this pattern, including the techniques, materials, and tips to make your own fat cat come alive with yarn.
Crocheting amigurumi has become increasingly popular due to its ability to create cute, collectible creatures with personality. The Amigurumi Fat Cat stands out because of its plump shape and expressive features, making it an irresistible companion for anyone who loves cats or handmade crafts. By following the detailed steps of this crochet pattern, you’ll gain confidence in working with stitches, shaping, and assembling parts to achieve the perfect look.
In addition to being a wonderful craft project, making an Amigurumi Fat Cat can be a therapeutic activity. The repetitive motions of crocheting help reduce stress and improve concentration. Plus, the end result is a charming, handmade piece that can be gifted, displayed, or even sold if you want to start a small business. Let’s dive into the details of this exciting crochet pattern and explore how you can create your very own Amigurumi Fat Cat.
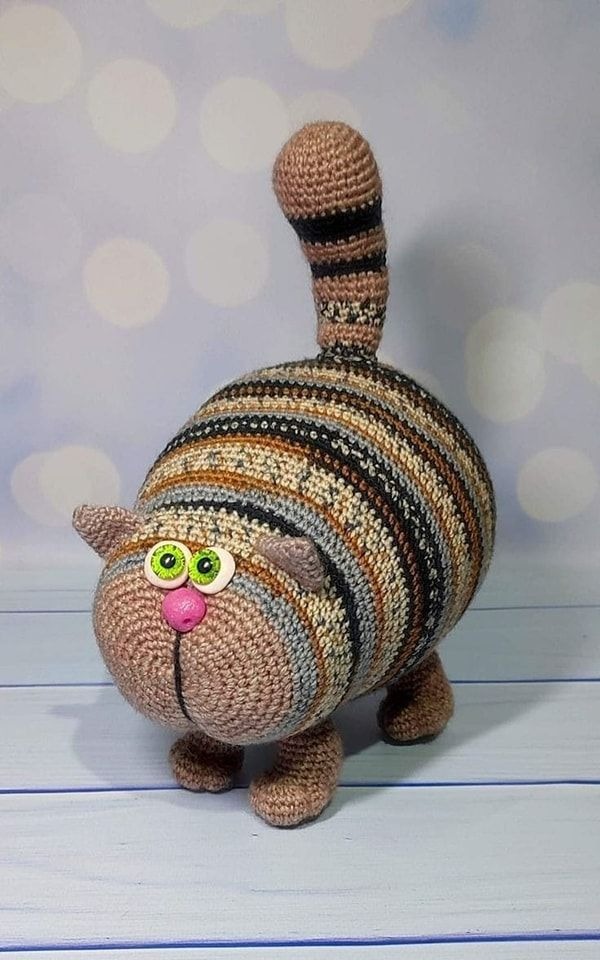
Before starting the Amigurumi Fat Cat – Crochet Pattern, it’s essential to understand the key elements that make this pattern special. The term amigurumi refers to the Japanese art of crocheting small stuffed toys, often animals or fantastical creatures. The Fat Cat variation emphasizes a rounded, plush body, making it look extra cuddly and lovable.
The pattern is designed using basic crochet stitches like single crochet, increase, and decrease, which makes it accessible to crocheters at various skill levels. The Fat Cat’s shape is achieved through careful stitch count changes and shaping techniques, which are clearly explained in the pattern. Additionally, this project involves crocheting separate parts such as the head, body, ears, and tail, which you will later sew together.
One of the most rewarding aspects of the Amigurumi Fat Cat – Crochet Pattern is the opportunity to customize your cat. You can choose different yarn colors, experiment with various eyes or facial expressions, and even add accessories like a small scarf or bow. This personalization makes each Amigurumi Fat Cat unique and special.
To successfully complete the Amigurumi Fat Cat – Crochet Pattern, gathering the right materials is crucial. The typical supplies include worsted weight yarn in your chosen colors, a crochet hook (usually size 3.5 mm or 4 mm), fiberfill stuffing, a yarn needle, stitch markers, and safety eyes or embroidery thread for facial features.
The yarn choice greatly affects the appearance and feel of your Fat Cat. Acrylic yarns are popular due to their durability and vibrant colors, but cotton yarn can provide a softer texture and a more natural finish. When picking yarn, consider the ease of washing and durability, especially if the toy will be handled frequently.
Fiberfill stuffing is necessary to give your Amigurumi Fat Cat its signature plumpness. Be generous but careful while stuffing — too little stuffing will make the cat floppy, while too much can stretch the stitches and affect the shape. Safety eyes add a professional touch and are secure for gifts, but if you prefer a softer look or want a child-safe toy, embroidered eyes are an excellent alternative.
Following the Amigurumi Fat Cat – Crochet Pattern step by step ensures a successful project. Start by crocheting the body, which forms the bulk of the cat’s fat, rounded shape. Using single crochet stitches and increasing rounds, you’ll create a sphere-like base that sets the foundation for the rest of the project.
Next, move on to the head, which is slightly smaller but uses similar techniques. Pay close attention to stitch counts to maintain symmetry and balance. Once both the head and body are complete, crochet the ears and tail. These parts require fewer stitches but add significant personality to your cat.
After finishing all parts, it’s time to assemble. Use the yarn needle and yarn to sew the head onto the body securely. Attach the ears on either side of the head and sew the tail to the back. If you’re using safety eyes, insert them before closing the head completely. Finally, embroider the nose and mouth to bring your Amigurumi Fat Cat to life with an expressive face.
Crocheting an Amigurumi Fat Cat can be a joyful experience, especially when you apply a few helpful tips. First, always use stitch markers to keep track of your rounds; this prevents mistakes in counting and helps maintain the shape of your project. Keeping consistent tension is also vital for even stitches and a smooth finish.
If you’re new to amigurumi, take your time with the shaping rounds, as these define the fat, rounded look of your cat. Don’t hesitate to stuff and adjust as you go — it’s easier to add or remove stuffing before the final closure. Also, blocking your pieces before assembly can help even out stitches and make sewing easier.
Experiment with different yarn colors or textures to create a unique Amigurumi Fat Cat. For example, using variegated yarn can give your cat an interesting fur pattern, while fluffy or novelty yarns can add a fun tactile dimension. Lastly, don’t rush the finishing touches like embroidery — small details make a big difference in the overall appeal of your crocheted cat.
Q: What skill level is required for the Amigurumi Fat Cat – Crochet Pattern?
A: This pattern is suitable for beginners who know basic crochet stitches like single crochet, increase, and decrease. Intermediate crocheters will find it enjoyable and straightforward.
Q: How much yarn do I need for the Amigurumi Fat Cat?
A: Generally, one or two skeins of worsted weight yarn are enough, depending on the size you choose to make.
Q: Can I customize the size of the Amigurumi Fat Cat?
A: Yes! Using a different hook size or yarn thickness can make the cat larger or smaller. Adjusting stitch counts proportionally can also help.
Q: Are safety eyes necessary?
A: Safety eyes are recommended for durability and a professional look, but embroidered eyes are a safe alternative for children’s toys.
Q: How do I wash my finished Amigurumi Fat Cat?
A: Hand washing with mild soap and air drying is best to maintain shape and color.
Q: Can I sell my Amigurumi Fat Cat creations?
A: Absolutely, but avoid using the original pattern name in your product title unless you have permission, and consider creating your own variations.
The Amigurumi Fat Cat – Crochet Pattern is a wonderful project that combines creativity, skill-building, and relaxation. By following this guide, you can create your own adorable, plump cat that’s perfect as a gift, decoration, or collectible. We covered the materials needed, step-by-step instructions, and tips to help you achieve the best results. The FAQ addressed common concerns to assist you further.
Now that you know how to bring your Amigurumi Fat Cat to life, I invite you to share your experiences, honest opinions, and any suggestions you might have. Your feedback helps improve future projects and inspires others to take up the joy of crocheting amigurumi. Happy crocheting!