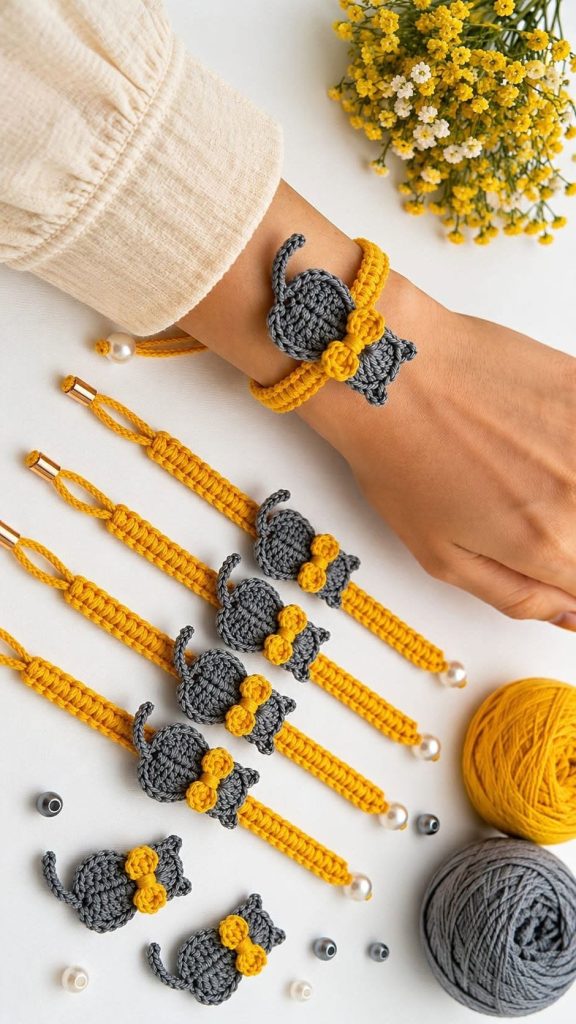
Crochet Easy Cat Bracelet Pattern
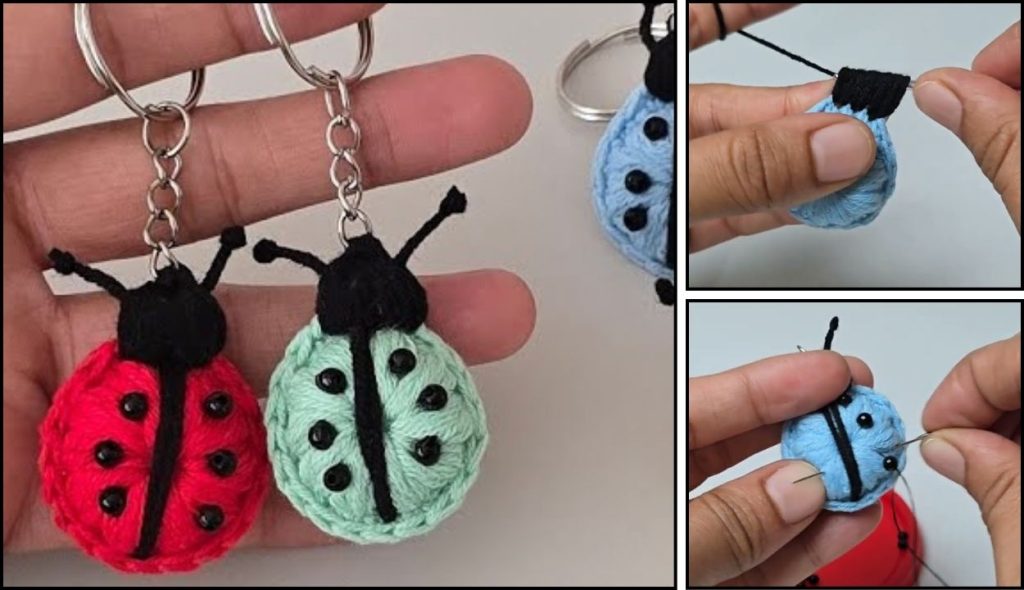
Crochet a Ladybug Keychain – Crochet Pattern is a fun, creative, and beginner-friendly project that combines the joy of crochet with the charm of making a small, functional accessory. This adorable piece can be used not only as a decorative key holder but also as a thoughtful handmade gift. Whether you are new to crochet or have years of experience, this project offers an enjoyable way to practice basic stitches while crafting something delightful. Plus, ladybugs symbolize luck and positivity, making this keychain extra special.
The beauty of working on a Crochet a Ladybug Keychain – Crochet Pattern lies in its simplicity. You only need a few materials, such as yarn in the classic red and black colors, a crochet hook, and some basic tools for assembling the keychain. In a short amount of time, you can create a vibrant accessory that is lightweight, durable, and perfect for everyday use. The compact size also makes it an ideal project for using leftover yarn from other crochet creations.
In this article, we will explore every step of making your own Crochet a Ladybug Keychain – Crochet Pattern. You will learn about the stitches, assembly, and finishing touches that bring the ladybug to life. We will also discuss tips for achieving the perfect shape and color placement, ensuring your ladybug looks both realistic and adorable. By the end, you will be able to crochet your own piece confidently, customize it to your liking, and even turn it into a small business opportunity.
To create a successful Crochet a Ladybug Keychain – Crochet Pattern, having the right materials is essential. Choosing the correct yarn weight, hook size, and accessories ensures the finished keychain is sturdy and holds its shape. This is not only important for aesthetic purposes but also for the durability of the item, especially since it will be used regularly.
For the body of the ladybug, acrylic yarn is a popular choice due to its durability and vibrant colors. Cotton yarn can also be used for a more natural texture. Most crafters choose red yarn for the main shell and black yarn for the head, spots, and detailing. A small amount of white yarn can be used for adding eyes if you want a whimsical look.
The crochet hook size will depend on the yarn you choose, but for this small project, a 2.5 mm to 3.5 mm hook works well. Smaller hooks create tighter stitches, which is ideal for preventing stuffing from showing through. Speaking of stuffing, polyester fiberfill is recommended for a lightweight yet firm finish. Safety eyes or small beads can be added for realism, but embroidery works just as well if you prefer a completely soft design.
To turn your crochet ladybug into a keychain, you will need a metal key ring or lobster clasp. These can be easily attached using a jump ring or a small piece of chain. A yarn needle will also be necessary for sewing pieces together and weaving in ends neatly. Having sharp scissors on hand will make the finishing process quicker and more precise.
By preparing all materials before starting your Crochet a Ladybug Keychain – Crochet Pattern, you ensure the process flows smoothly. This helps avoid interruptions and keeps you focused on your stitches and shaping. Good preparation is one of the secrets to a polished, professional-looking crochet item.
The process of creating a Crochet a Ladybug Keychain – Crochet Pattern begins with forming the body, which is typically worked in the round using basic stitches like single crochet. Start with a magic ring in black yarn to form the ladybug’s head. After a few rounds, switch to red yarn for the shell, increasing stitches gradually to create a rounded shape.
Once the body reaches the desired size, you can add black spots. These are usually made separately as small flat circles and then sewn onto the shell. For a clean look, space them evenly and make sure each spot is the same size. Alternatively, spots can be crocheted directly onto the shell by changing yarn colors, but sewing them afterward allows more flexibility in placement.
The next step is shaping the head and adding facial features. If you are using safety eyes, insert them before stuffing the body. For embroidered eyes, use white yarn or thread to create small circles and add a black dot in the center. A simple smile can be added with a short line of black yarn or embroidery thread.
Stuff the body firmly but avoid overstuffing, as this can stretch the stitches and distort the shape. Once stuffed, close the opening securely with slip stitches or a whip stitch, ensuring the seam is tight and neat. Attach the head to the shell if you worked them separately, then add the spots and other embellishments.
To transform your ladybug into a keychain, sew a small loop of yarn or chain at the top of the head. Attach your key ring or clasp to this loop, making sure it is secure. Give your ladybug a final inspection to ensure all parts are attached firmly and there are no loose ends.
One of the joys of working with a Crochet a Ladybug Keychain – Crochet Pattern is the ability to customize it. While the traditional colors are red and black, you can experiment with different combinations for a unique look. Pink and white can create a more playful style, while gold and black offer a luxurious twist.
You can also adjust the size by using thicker yarn and a larger hook for a plush version or finer thread and a smaller hook for a miniature ladybug. Adding extra details, such as tiny antennae made from wire and yarn, can make the design even more charming. Embroidered flowers or initials on the shell can personalize it further, making it perfect for gifts.
If you plan to sell these keychains, offering a range of colors and styles can attract more buyers. Consider making seasonal versions, such as pastel colors for spring or metallic yarn for the holidays. The versatility of the Crochet a Ladybug Keychain – Crochet Pattern makes it a great product for craft fairs, online shops, and gift markets.
Beyond color changes, you can experiment with textures by using variegated yarn or adding small beads for sparkle. Just ensure any added elements are securely attached, especially if the keychain might be handled by children. Durability should always be a priority alongside creativity.
Taking care of your Crochet a Ladybug Keychain – Crochet Pattern ensures it stays beautiful and functional for years. Since keychains are exposed to frequent handling, friction, and environmental elements, proper care is important. Acrylic yarn is generally easy to clean and resists fading, making it a practical choice for this project.
To clean your ladybug keychain, gently hand wash it in lukewarm water with mild soap. Avoid harsh detergents that can damage the fibers or dull the colors. After washing, press out excess water with a towel and reshape the ladybug before leaving it to air dry completely.
If your keychain becomes fuzzy over time, a small fabric shaver or scissors can help remove loose fibers. Be careful not to cut the stitches. For spots that lose shape or attachment, a quick re-stitch with matching yarn can restore them easily.
When not in use, store your keychain in a dry place to prevent moisture damage. If you made multiple keychains in different styles, rotate them occasionally to minimize wear on any single piece. Regular maintenance not only extends the life of your accessory but also keeps it looking handmade-fresh.
1. Is the Crochet a Ladybug Keychain – Crochet Pattern suitable for beginners?
Yes, it is a beginner-friendly project as it mainly uses basic stitches like single crochet and slip stitch. The small size makes it a quick and manageable piece to start with.
2. How long does it take to make a ladybug keychain?
Depending on skill level, it can take anywhere from one to three hours. More detailed designs may require extra time for assembly and finishing.
3. Can I use different yarn types for this project?
Absolutely. Acrylic is popular for its durability, but cotton works well too. Just be sure to adjust your hook size accordingly.
4. Do I need special tools to make the keychain?
No, basic crochet tools like a hook, yarn needle, and scissors are enough. You will also need a key ring or clasp for the final assembly.
5. How can I make the keychain more durable?
Use tight stitches, secure all sewn parts well, and choose a strong key ring. Avoid loose embellishments that might detach over time.
6. Can I sell items made from this pattern?
Yes, handmade ladybug keychains are popular at craft fairs and online. Just ensure your work is neat and durable to satisfy buyers.
Creating a Crochet a Ladybug Keychain – Crochet Pattern is a rewarding way to blend creativity with practicality. This small but meaningful project teaches important crochet skills while producing a charming accessory that can be kept, gifted, or sold. From choosing materials to adding personal touches, the possibilities for customization are endless.
Now that you have learned the full process, I encourage you to try making your own and see how many variations you can create. I would love to hear your honest opinions and suggestions on this pattern, so feel free to share your thoughts after completing your ladybug keychain.
