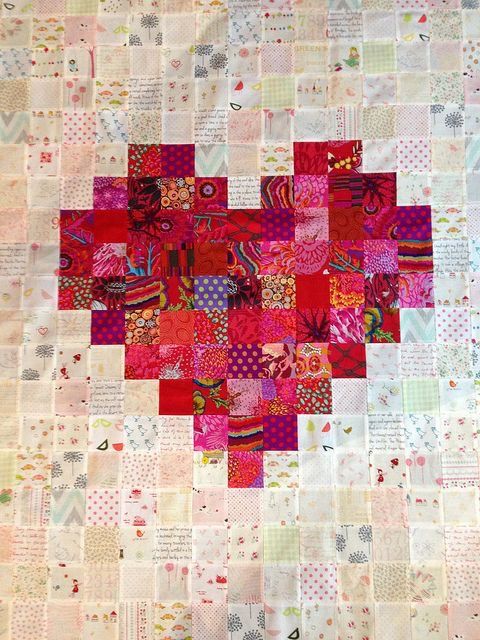
Pixelated Heart Quilt Pattern
The Log Cabin Quilting Table Runner Tutorial – Quilt Pattern is one of the most beloved and timeless quilting projects. Whether you are a beginner or a seasoned quilter, the Log Cabin design offers endless possibilities for creativity while staying true to a classic style. This pattern is widely admired for its simplicity, yet it provides enough flexibility to allow quilters to experiment with color, fabric, and layout in unique ways. A table runner created with the Log Cabin quilt block not only decorates your table but also adds a warm and handcrafted touch to your home décor.
For generations, the Log Cabin quilt block has been at the heart of quilting traditions. Known for its geometric structure, it consists of strips of fabric, or “logs,” sewn around a central square, which symbolizes the hearth of the home. When repeated and joined together, these blocks form striking patterns with bold contrasts and intricate designs. Making a Log Cabin Quilting Table Runner Tutorial – Quilt Pattern helps you practice precision in piecing while also producing a functional and decorative item.
One of the most exciting aspects of the Log Cabin Quilting Table Runner Tutorial – Quilt Pattern is that it is a project you can complete relatively quickly compared to larger quilts. It is perfect for those who want to create something practical and beautiful without committing months of work. With the right selection of fabrics and colors, you can design a runner that fits any occasion, from everyday dining to festive holiday gatherings. Now let’s dive into the steps and essential details for bringing this classic quilt pattern to life.
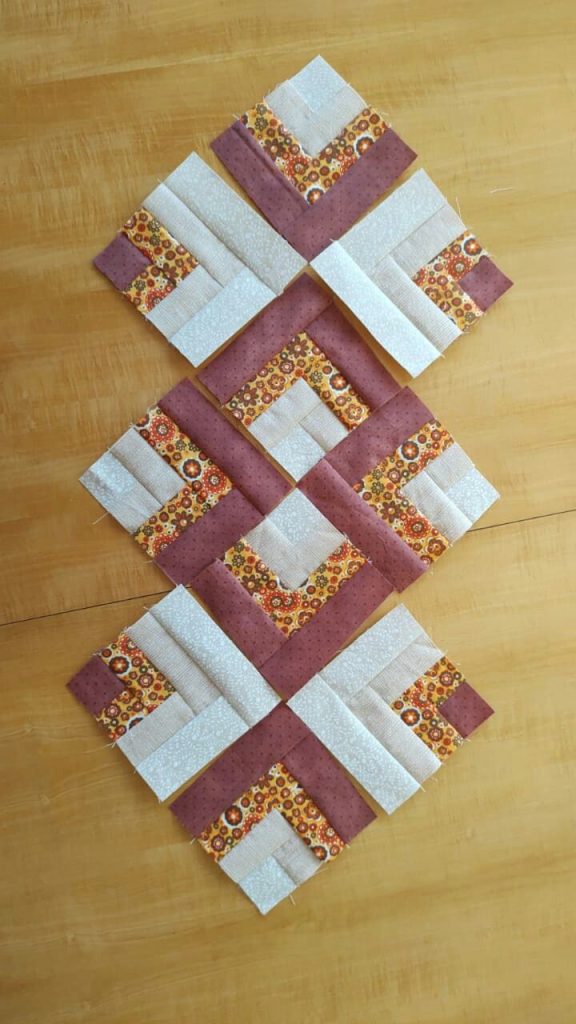
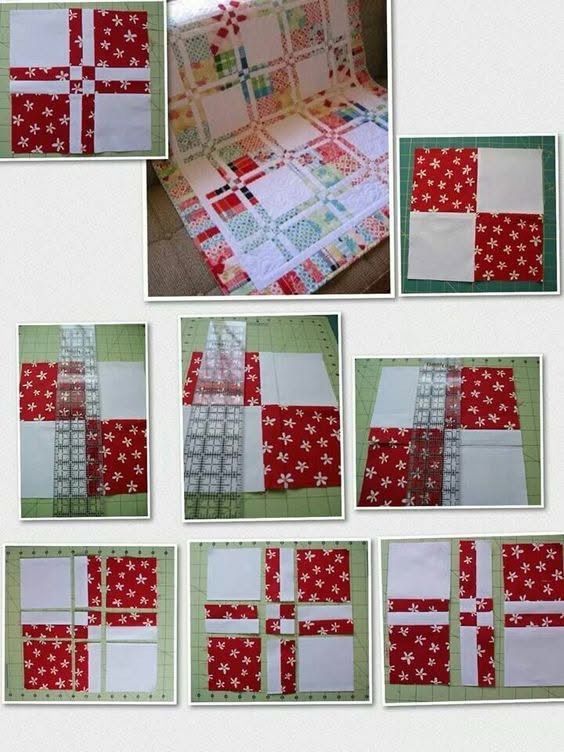
The Log Cabin quilt block is the foundation of this project, and understanding it is the first step. At its core, the block starts with a small square placed at the center. This center is usually made from a contrasting color, often representing warmth, like red or yellow. From there, strips of fabric, called logs, are added in a sequence around the square, alternating light and dark tones to create a balanced visual effect.
Working with light and dark fabric strips is what gives the Log Cabin Quilting Table Runner Tutorial – Quilt Pattern its distinctive look. The contrast between shades highlights the block’s structure, creating either bold geometric patterns or soft gradations, depending on your choice of fabric. The block itself can be as small or as large as you desire, but for a table runner, smaller blocks often work best since they create more variety and visual interest.
Precision is crucial when making each block. Even slight differences in strip width or seam allowance can cause the block to become uneven. Consistency ensures that when you join multiple blocks together, the final result lies flat and smooth. A Log Cabin Quilting Table Runner Tutorial – Quilt Pattern offers a wonderful way to practice and refine these skills.
Another key detail is the layout of the blocks. Traditional arrangements, like the “Barn Raising,” “Straight Furrows,” or “Fields and Furrows,” give a different effect to the finished table runner. Each arrangement emphasizes certain lines and shapes within the blocks. This flexibility is one of the reasons the Log Cabin pattern has remained so popular across generations.
Finally, understanding the meaning behind the pattern adds an extra layer of appreciation. Historically, quilts told stories and carried symbolic messages. In the Log Cabin design, the center square represented the fireplace or heart of the home, while the surrounding strips symbolized the logs that built and protected the family’s life. Incorporating this history into your project makes it more meaningful and connects you to a long line of quilting tradition.
Selecting fabrics is one of the most enjoyable steps in creating your Log Cabin Quilting Table Runner Tutorial – Quilt Pattern. Because this design relies heavily on contrast, fabric choice is key to achieving the desired effect. Many quilters prefer working with two main color families: one for the light strips and another for the dark strips. For instance, you might choose soft creams and pastels for the light side, paired with deep blues and greens for the dark side.
Cotton is the most common and recommended fabric for quilting. It is durable, easy to sew, and has a wide range of patterns and textures. Pre-cut fabric bundles like jelly rolls can be especially helpful, as they already come in uniform strip widths, saving time and ensuring accuracy. For a Log Cabin Quilting Table Runner Tutorial – Quilt Pattern, 2.5-inch strips are a popular choice.
The centerpiece square offers another opportunity to make your design pop. A bold red, golden yellow, or patterned square immediately draws the eye to the heart of the block. Since the table runner will be a central decorative piece in your dining area, choosing a fabric that matches or complements your existing décor is a smart choice.
Backing fabric and batting are also important considerations. The backing should be sturdy and harmonize with the colors on top, while the batting adds softness and dimension. Lightweight batting works well for a table runner because it provides just enough thickness without making the piece too bulky.
Thread selection is sometimes overlooked but plays an essential role in the finished look. Coordinating thread colors blend seamlessly, while contrasting threads can be used for decorative quilting stitches. The right thread enhances both durability and design in your Log Cabin Quilting Table Runner Tutorial – Quilt Pattern.
Finally, gathering the right tools—rotary cutter, cutting mat, quilting ruler, and sewing machine—is essential for smooth progress. Accurate cutting and precise stitching are the cornerstones of a polished project, and these tools make the process both efficient and enjoyable.
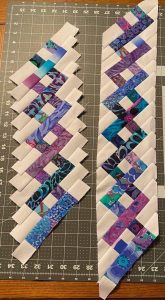
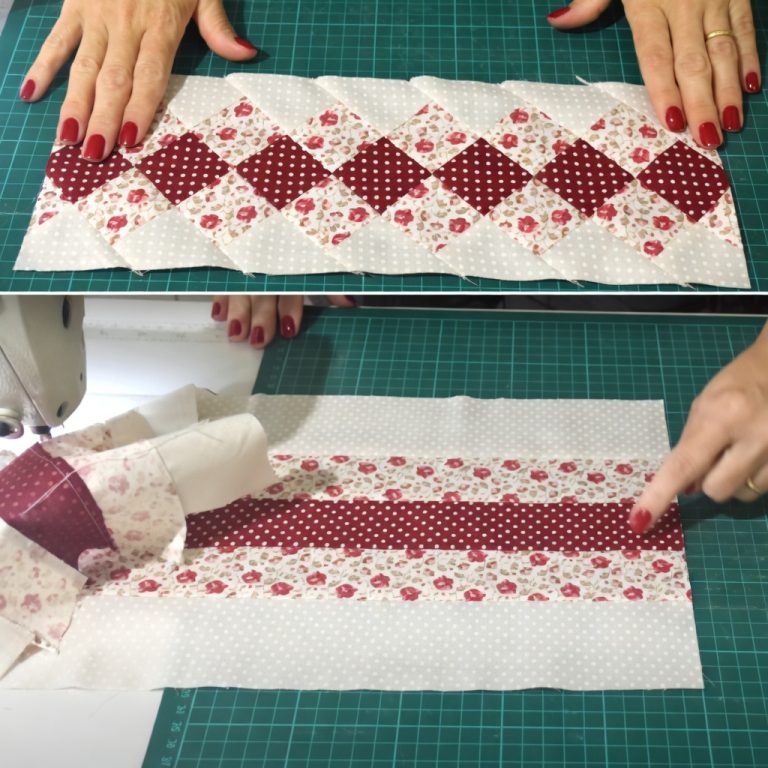
Creating your Log Cabin Quilting Table Runner Tutorial – Quilt Pattern follows a logical sequence that makes the task both approachable and enjoyable. The process starts with preparing your fabric strips. Using a rotary cutter and ruler, cut your strips into uniform widths, typically 2.5 inches. The consistency in cutting ensures that your blocks will assemble neatly.
Next, begin with the center square. Place your chosen centerpiece fabric and sew the first strip along one side, pressing the seam before adding the next. Always press as you go to keep the block flat and well-structured. Continue sewing strips around the square in a clockwise or counterclockwise direction, alternating light and dark fabrics.
Once you complete a block, trim any uneven edges before moving to the next. Repeating this process yields multiple blocks, which you can then arrange into your desired layout. For a table runner, three to five blocks often suffice, depending on the length of your table.
After arranging the blocks, sew them together in rows. Press the seams carefully so they lie flat. Next, add borders if desired. Borders can frame the design, add extra length, or introduce another layer of color contrast. They are optional but often enhance the final piece.
Layering comes next: place your backing fabric, batting, and quilt top together to form a quilt sandwich. Secure the layers with safety pins or basting spray to prevent shifting during quilting. This step ensures stability and keeps your Log Cabin Quilting Table Runner Tutorial – Quilt Pattern aligned.
The quilting itself can be simple or intricate. Straight-line quilting along the seams emphasizes the block structure, while decorative stitches can add flair. Once quilted, trim the excess fabric and batting, then finish with binding to neatly enclose the edges. At this point, your table runner is complete and ready to display.
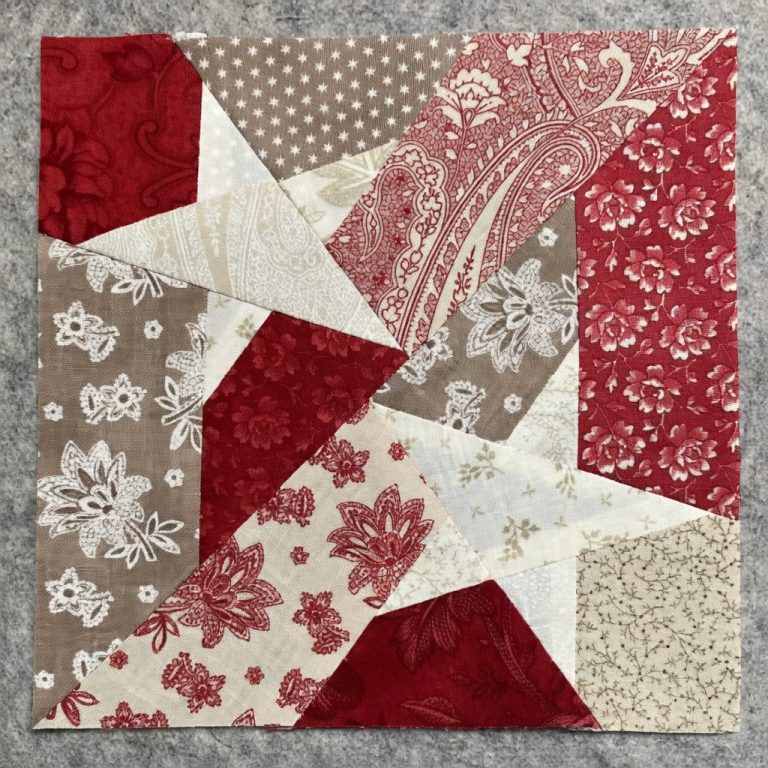
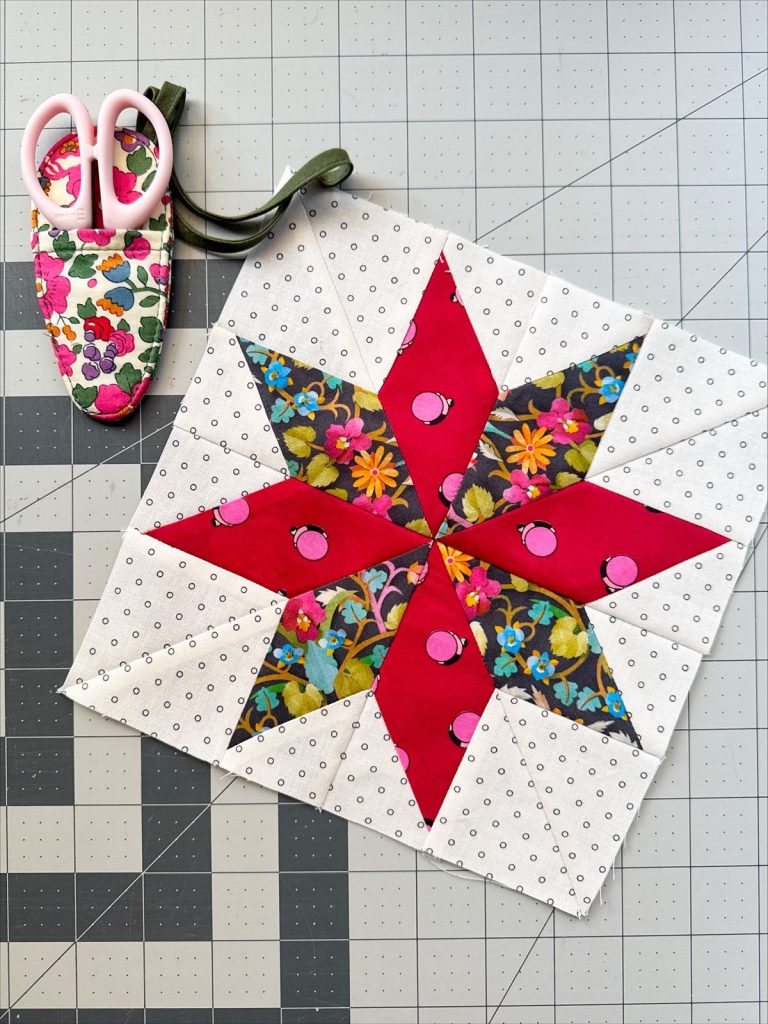
One of the joys of the Log Cabin Quilting Table Runner Tutorial – Quilt Pattern is its adaptability. By changing colors, fabrics, or block arrangements, you can create countless variations. For instance, using holiday-themed fabrics in reds, greens, and golds makes a festive runner for Christmas, while floral fabrics are perfect for spring and summer.
Experimenting with scale is another option. Try smaller blocks for a more intricate appearance or larger blocks for a bold, modern look. Mixing fabric textures, such as pairing cotton with linen or batiks, can also introduce depth and dimension to the design.
Playing with asymmetry adds interest, too. Instead of arranging blocks in a traditional mirrored layout, try offsetting them or alternating directions. This can create a contemporary twist on the classic Log Cabin quilt block.
Another idea is to incorporate embellishments. Adding decorative stitching, embroidery, or even appliqué elements brings personality to the piece. A runner with small embellishments becomes a conversation starter and showcases your creativity.
Customizing the length and width of your table runner ensures it perfectly fits your table. A longer runner with extra blocks works beautifully for large dining tables, while a shorter version adds charm to coffee or console tables. Flexibility in design means you can adapt the Log Cabin Quilting Table Runner Tutorial – Quilt Pattern to suit any space in your home.
Finally, consider making a set. Matching placemats, coasters, or napkin rings created from extra blocks or fabric scraps can tie the entire dining area together. A coordinated look makes any mealtime feel special and intentional.
What is the easiest way to start a Log Cabin quilt block?
The easiest way is to begin with a small square center and sew fabric strips around it, one side at a time, pressing after each addition.
How many blocks do I need for a table runner?
Typically, three to five blocks are enough for a standard table runner, but you can adjust based on the size of your table.
Do I need special tools to make this pattern?
Basic quilting tools such as a rotary cutter, ruler, cutting mat, and sewing machine are recommended for accuracy and ease.
What fabrics are best for this project?
Cotton fabrics are ideal due to their durability and wide range of designs. Pre-cut strips like jelly rolls also save time.
Can I quilt by hand instead of using a sewing machine?
Yes, hand quilting is possible and adds a traditional touch, though it may take longer to complete.
How do I ensure my blocks stay even?
Consistent cutting, accurate seam allowances, and pressing after each seam are the keys to keeping blocks square and even.
Is batting necessary for a table runner?
While not strictly necessary, batting gives the runner dimension and softness, enhancing its look and feel.
The Log Cabin Quilting Table Runner Tutorial – Quilt Pattern is a project that blends tradition, creativity, and functionality. With its simple block structure and endless design options, it allows quilters of all skill levels to enjoy the art of quilting while creating a beautiful piece for their home. From choosing fabrics to arranging blocks and experimenting with creative variations, every step is an opportunity to express your style.
If you have ever wanted to explore quilting or add a handmade touch to your dining table, this pattern is the perfect place to start. I would love to hear your honest opinion about this tutorial and any suggestions you might have for future quilting projects. Share your experiences, and let’s keep the tradition of quilting alive together.


