
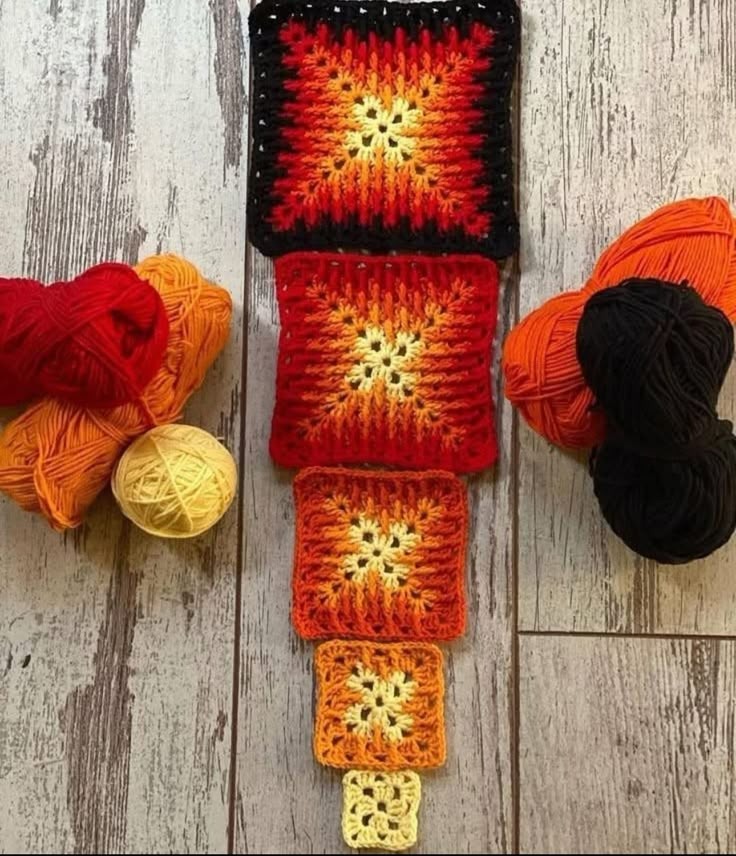
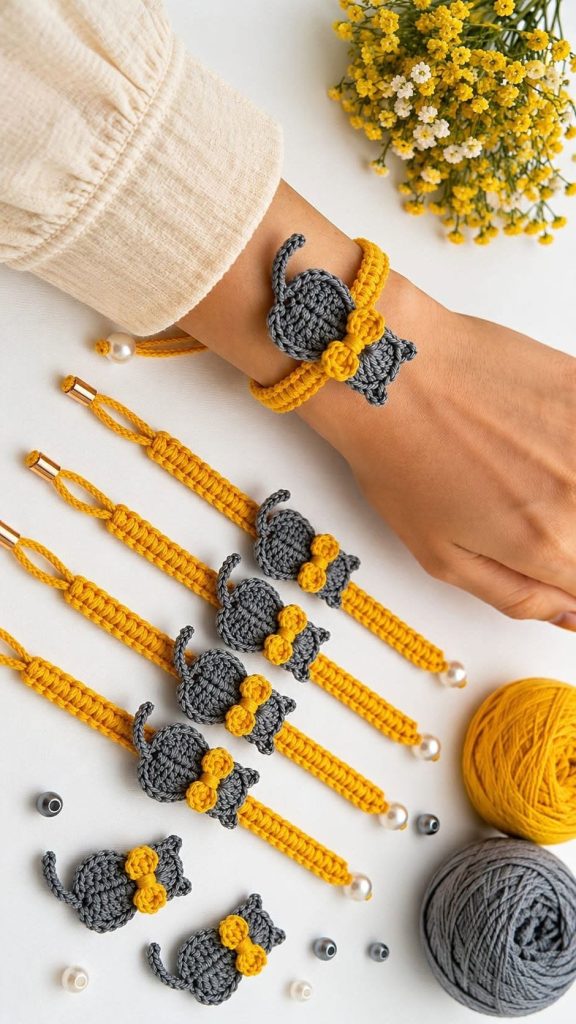
Crochet Cat Hair Ties Pattern
The Crochet Fish Pattern is a delightful and creative project that combines artistry with relaxation, making it a favorite among crochet enthusiasts of all levels. Whether you’re a beginner looking for a fun design to practice or an experienced crafter wanting to add a unique touch to your handmade collection, this pattern offers endless possibilities. From bright tropical fish to soft pastel creations for baby mobiles, crocheting fish designs can bring color, texture, and personality to any setting.
Using a Crochet Fish Pattern allows you to explore new stitches, color combinations, and shaping techniques while producing something truly adorable and versatile. Many crocheters enjoy making fish for decorations, keychains, appliqués, or even educational toys for children. The flexibility of this project is what makes it so appealing — with a few simple modifications, your crocheted fish can become part of larger designs such as blankets, ocean-themed pillows, or nursery mobiles.
Besides being a great way to improve your crochet skills, the Crochet Fish Pattern can also serve as a relaxing and meditative craft. The rhythmic motion of stitching and the satisfaction of watching your fish take shape can help reduce stress and improve focus. Plus, it’s an environmentally friendly craft since you can use leftover yarn scraps to create colorful, small fish that would otherwise be wasted.

Before starting your project, it’s essential to gather all the necessary materials. Each Crochet Fish Pattern may require slightly different supplies depending on the desired size, color scheme, and stitch type. Here’s a breakdown of what you’ll typically need to get started.
First, choose your yarn. Lightweight or medium-weight yarns such as cotton or acrylic are perfect for crocheting fish because they’re easy to shape and come in vibrant colors. Cotton yarn is especially recommended for projects that require durability, like keychains or decorations that will be handled often.
Next, select an appropriate crochet hook. The hook size should match your yarn’s weight; generally, sizes between 2.5mm and 4mm work well. Using a smaller hook can make tighter stitches, which help maintain the fish’s shape.
You’ll also need a tapestry needle for sewing the parts together and weaving in ends neatly. Small scissors are essential for trimming yarn, and stitch markers can help you track your rounds if you’re working in continuous spirals.
Stuffing material like polyester fiberfill is important if you’re making 3D fish or plush toys. Make sure to fill them evenly to give a smooth, rounded shape. Safety eyes or embroidery thread can be used to create expressive eyes and add character to your fish.
Lastly, don’t forget a pattern guide or sketch for your design. Many crocheters like to draw a simple outline before starting to visualize the color placement and shape. Planning helps you achieve symmetry and consistency in your work.
Now that your materials are ready, it’s time to start crafting your Crochet Fish Pattern. This process may vary depending on the design, but the general steps remain similar.
Begin with a magic ring or chain foundation. This will form the base of your fish’s body. Work in rounds using single or half-double crochet stitches to create the desired size and shape. The body is typically oval or teardrop-shaped, depending on how you want your fish to look.
Increase stitches evenly to shape the fish’s widest part, then decrease gradually to form the tail section. Keeping your stitch count balanced ensures the fish doesn’t warp or twist. Take your time adjusting the proportions to make your fish look natural and well-formed.
Once the body is complete, create the fins. Use small triangular or semi-circular pieces to make the dorsal, side, and tail fins. Attach them securely using your tapestry needle and matching yarn color. If you’re aiming for a 3D effect, slightly stuff the fins to give them volume.
Add details like eyes, gills, or stripes to bring your fish to life. This is where your creativity can shine — use contrasting colors for stripes or spots, or try embroidery techniques for more intricate patterns. Small beads or buttons can be added carefully for decoration, but ensure they’re securely attached if the item is for children.
Finally, weave in all loose ends neatly and inspect your work. A well-finished Crochet Fish Pattern will have smooth edges, tight stitches, and balanced proportions. If you’re making a set, consider varying the sizes or colors for a playful look.
The versatility of the Crochet Fish Pattern makes it perfect for many fun and practical projects. Whether you want to make home décor items or thoughtful handmade gifts, there are countless possibilities to explore.
One popular use is creating fish-themed baby mobiles. Soft, colorful fish hanging from a circular frame can add a calming oceanic vibe to a nursery. Use lightweight yarn and ensure all parts are securely attached for safety.
Another idea is making garlands or wall hangings. String several crocheted fish together using twine or yarn and hang them across a window, wall, or door. It’s a simple way to add charm to any room.
For ocean lovers, crochet fish appliqués can decorate blankets, tote bags, or pillows. These small pieces are easy to sew onto larger fabric items, transforming plain objects into personalized treasures.
Crocheted fish keychains and magnets also make adorable gifts. They’re quick to make, lightweight, and customizable. You can add a tiny loop at the top before finishing the pattern and attach it to a keyring or magnet base.
Some crafters even use Crochet Fish Patterns for educational purposes. By crocheting fish in different colors, you can create visual aids for teaching children about marine life or color recognition. It’s both creative and educational.
Lastly, you can turn your fish into plush toys. Larger patterns stuffed with fiberfill make great cuddly companions for kids or decorative pillows for adults. They’re a wonderful way to bring the ocean into your home.
Even though the Crochet Fish Pattern is relatively simple, there are a few tips that can help you improve your results and make your creations look professional.
Always maintain consistent tension. Uneven stitches can make your fish appear lopsided. Practice holding your yarn and hook comfortably to achieve even loops.
Use color strategically. Bright contrasts can highlight fins or stripes, while gradient yarns can create a natural, flowing look. Experimenting with colors can dramatically change the final appearance of your project.
Keep track of your stitch count, especially when increasing or decreasing. A small mistake early on can distort the overall shape. Stitch markers and row counters can be very helpful here.
When sewing parts together, take care to align them symmetrically. Uneven fins or tails can affect balance and aesthetics. A simple basting stitch before final attachment can help you visualize placement.
Block your finished fish if necessary. Lightly dampening and shaping the piece before drying helps it maintain its form, especially for flat fish or appliqués.
Lastly, enjoy the process. The beauty of a Crochet Fish Pattern lies not only in the finished piece but also in the relaxing, creative journey it offers. Every fish you make is unique and reflects your personal touch.
1. Is the Crochet Fish Pattern suitable for beginners?
Yes! The Crochet Fish Pattern is ideal for beginners because it involves basic stitches and simple shaping. With practice, even first-timers can create charming results.
2. What type of yarn works best for crocheting fish?
Cotton yarn is highly recommended for durability and stitch definition, but acrylic yarn can also be used for soft or decorative fish.
3. How long does it take to complete one fish?
Depending on size and complexity, a small fish can be finished in 30 minutes to an hour, while larger or detailed designs may take a few hours.
4. Can I use leftover yarn for this project?
Absolutely! The Crochet Fish Pattern is a fantastic way to use up yarn scraps and experiment with color combinations.
5. How do I clean crocheted fish decorations or toys?
Hand wash gently with mild soap and cool water. Let them air dry completely to preserve their shape and texture.
6. Can I sell items made from this pattern?
Yes, as long as it’s your original handmade work. Many crafters sell crocheted fish as part of handmade markets or online shops.
Creating a Crochet Fish Pattern is an enjoyable and rewarding experience that allows you to express creativity while crafting something beautiful and functional. From choosing your yarn to shaping the fins and adding the final touches, each step helps you develop your crochet skills and brings joy to the process. These charming fish can brighten up any space, make thoughtful gifts, or simply serve as a relaxing project for your free time.
If you’ve followed this guide, you now have all the tools and inspiration needed to start your own crochet fish collection. Remember, the beauty of this craft lies in personal expression — every stitch tells a story.
We’d love to hear your thoughts! Share your opinions, experiences, or suggestions in the comments — your feedback helps inspire new patterns and keeps the creative spirit alive.

