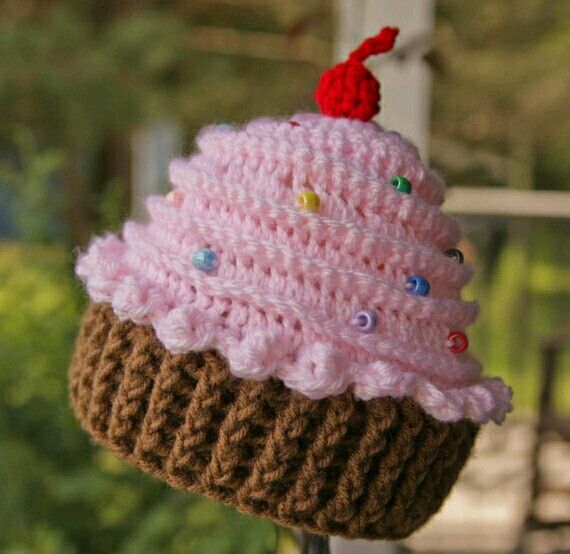
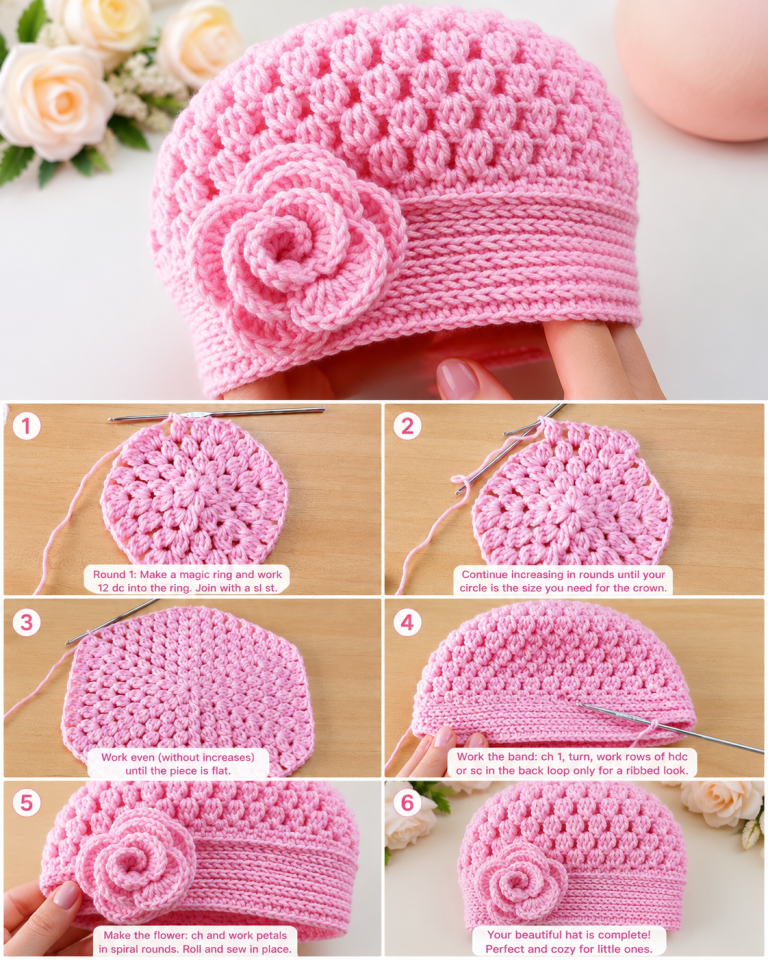
Crochet Cupcake Hat Pattern
There’s nothing quite as charming as creating your own festive decorations, especially when it comes to a Crochet Santa Claus Pattern. This delightful holiday project combines creativity, tradition, and the warmth of handmade art. Whether you’re a seasoned crocheter or just beginning your crochet journey, making a Santa Claus design brings joy and nostalgia to your Christmas decor. With yarn, a hook, and a bit of imagination, you can bring the spirit of Christmas to life stitch by stitch.
A Crochet Santa Claus Pattern is a timeless project that never goes out of style. From classic designs with fluffy white beards to modern minimalist interpretations, there’s a version for everyone. This project is not just about crocheting; it’s about crafting memories that will last for years. Handmade Santa Claus decorations can adorn your Christmas tree, mantle, or even serve as adorable gifts for loved ones. The beauty of crochet is that you can personalize your Santa with different yarn colors and accessories, making each one unique.
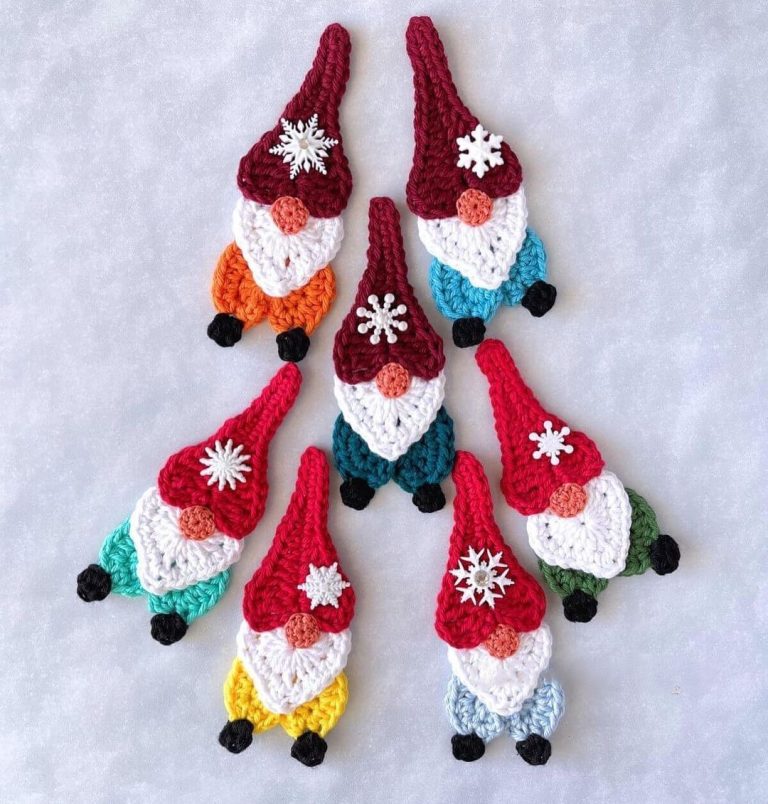
What makes a Crochet Santa Claus Pattern so special is its versatility. You can create small amigurumi-style Santas, large decorative figures, or even crochet Santa face appliqués for blankets, stockings, and pillows. The pattern can be adapted to various skill levels, allowing beginners to practice basic stitches and advanced crocheters to experiment with textures and details. If you love crafting holiday decor that stands out, this is the perfect project to dive into this festive season.

Selecting the proper materials is the foundation of a successful Crochet Santa Claus Pattern. The first thing to consider is the type of yarn. For a soft and cuddly Santa, opt for acrylic or cotton yarn in classic Christmas shades — red for the suit, white for the beard and trim, black for the boots and belt, and a touch of beige or pink for the face. Choose medium-weight yarn (category 4) for balance between definition and softness.
Your crochet hook size should match your yarn weight, typically a 4 mm or 5 mm hook for worsted yarn. Using a smaller hook creates tighter stitches, which is ideal for stuffed figures like amigurumi Santas. Make sure your stitches are firm enough to hold the stuffing without gaps. If you plan to create a larger decorative Santa, a slightly bigger hook will make the work faster and the figure softer.
Don’t forget about the stuffing! Polyester fiberfill is the best option for giving your Santa Claus a plump and smooth shape. You’ll also need safety eyes or small black beads if you want realistic eyes, or you can embroider them for a softer look. A small amount of felt can be used for details like the belt buckle or the hat brim.
Color accuracy is key when bringing Santa to life. Red and white are essential, but you can also use metallic yarn for a festive sparkle. Some crocheters add silver or gold thread to accent Santa’s belt or hat. These subtle details enhance the overall appeal of the final design.
Additionally, make sure to have a yarn needle for sewing parts together. Many Crochet Santa Claus Pattern designs include separate elements like arms, legs, and hats that must be stitched securely. This step requires patience and precision to ensure that Santa’s cheerful shape stays intact.
Lastly, always keep a stitch marker handy, especially if you’re working in continuous rounds. It helps you track your progress and maintain the right stitch count, preventing unwanted shaping mistakes. A well-prepared setup ensures a smooth and enjoyable crochet experience.
Every Crochet Santa Claus Pattern follows a basic structure that includes creating the head, body, arms, legs, and accessories. The beauty of crochet lies in its modular design — each part is crocheted separately and then joined together to form the complete figure.
Start with Santa’s head by working in the round using a magic ring. This technique prevents a hole in the center and gives a neat start. Crochet evenly to form a round head, switching to skin-tone yarn after a few rounds. Add safety eyes or embroider them on before closing the head to make finishing easier later.
The beard is one of the most iconic features of a Crochet Santa Claus Pattern. You can create it using simple loop stitches, puff stitches, or even attaching strands of yarn for a realistic look. White fluffy yarn gives Santa that perfect winter feel.
Next, move to the body and suit. Switch to red yarn and crochet the torso in continuous rounds. Add black yarn to make the belt area, and use a small piece of gold or yellow felt to represent the belt buckle. Make sure the shape of the body slightly tapers toward the top for a natural fit when attaching the head.
The arms and legs are smaller cylindrical pieces. You can make the hands and feet separately using skin-tone and black yarn, respectively. Once all pieces are ready, sew them together carefully, ensuring symmetry. The arms should be aligned at shoulder level, and the legs should allow your Santa to stand or sit nicely.
Finally, make Santa’s hat — a simple cone shape worked in red yarn with a white brim and a pompom on top. This detail completes the cheerful holiday look. When assembled, your Crochet Santa Claus Pattern will radiate Christmas spirit, ready to bring joy to your home decor.
One of the most enjoyable aspects of working with a Crochet Santa Claus Pattern is the ability to customize it. You can personalize Santa’s expression, outfit, and accessories to make him truly unique. Whether you want a traditional look or a fun modern twist, there are endless possibilities.
You can embellish Santa’s suit with sparkly threads, buttons, or miniature bells. Adding glitter yarn or metallic embroidery thread gives your project a luxurious finish. If you want a vintage touch, use muted red and cream tones instead of bright red and white.
Consider making Santa’s beard more expressive. You can shape it with curls or make it long and fluffy using textured stitches. Some crocheters even crochet tiny mustaches or rosy cheeks using a touch of blush yarn for an adorable result.
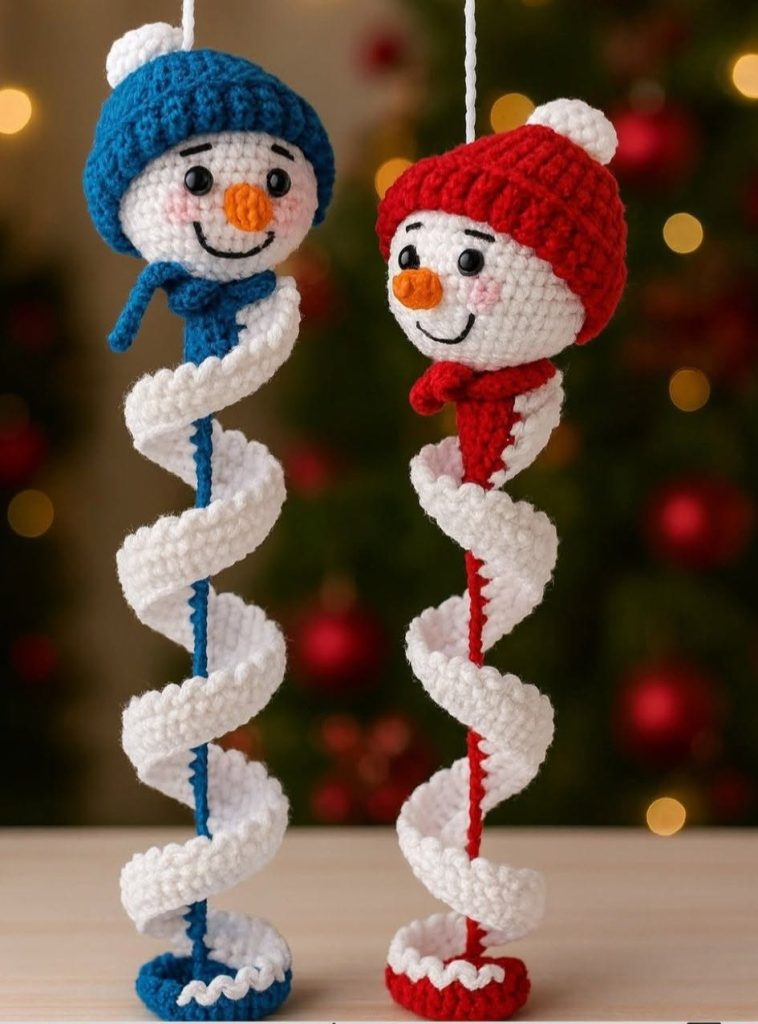
If you’re crafting multiple Santas, vary the sizes to create a display set. Use thinner yarn and smaller hooks for mini ornaments, or bulky yarn and large hooks for oversized plush decor. You can also create matching reindeer or elf companions to accompany your Santa Claus.
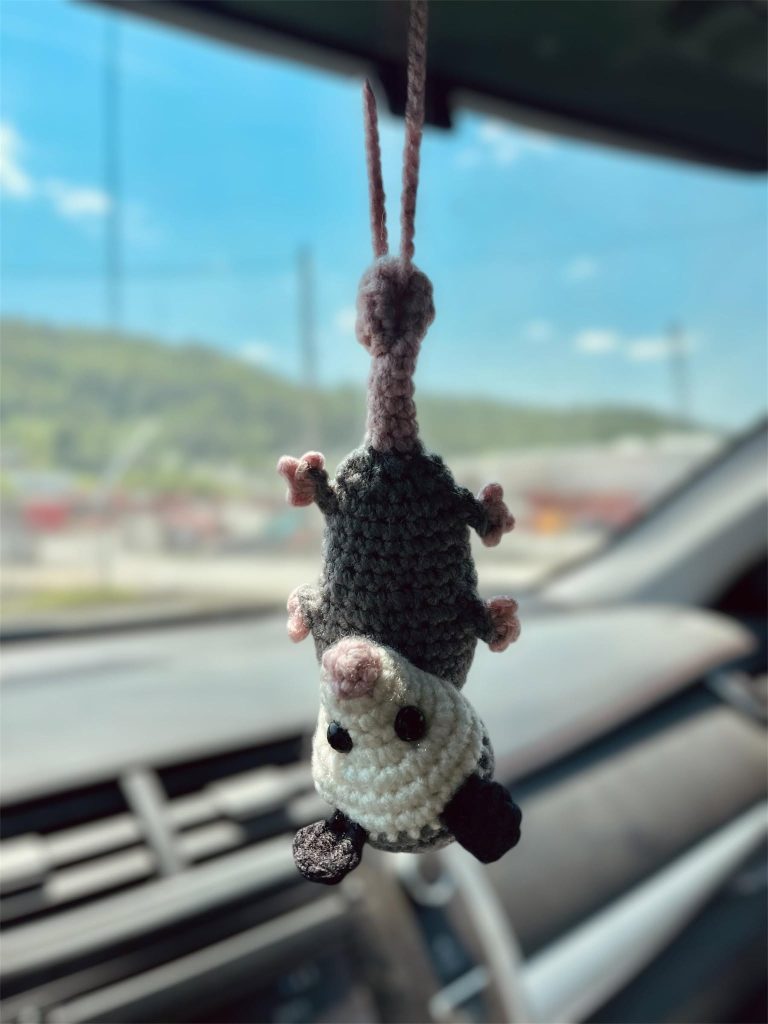
Personalization doesn’t stop at colors and sizes. You can turn your Crochet Santa Claus Pattern into practical items like keychains, ornaments, or gift toppers. Small Santas make perfect handmade presents for friends and family, carrying the charm of something made with love.
For an extra festive touch, add accessories like a crocheted sack of gifts, candy canes, or even a small crochet Christmas tree beside him. These small additions transform your Santa into a centerpiece of holiday cheer.
After completing your Crochet Santa Claus Pattern, it’s time to display your masterpiece proudly. Your crocheted Santa can become the star of your Christmas decor, bringing a handcrafted warmth that no store-bought ornament can match.
You can place it under the Christmas tree, on your fireplace mantle, or use smaller versions as tree ornaments. If you’ve made a larger Santa, consider using it as part of a festive table centerpiece surrounded by greenery and candles.
For those who sell handmade crafts, Crochet Santa Claus Pattern projects make excellent items for Christmas markets and online stores. Handmade Santas are always in demand during the holiday season, and they showcase your crochet skills beautifully.
Proper care ensures that your crochet Santa lasts for years. Keep it away from direct sunlight to prevent color fading. If it gets dusty, gently wipe it with a soft cloth or hand wash using mild detergent and cold water. Always air dry to maintain the yarn’s texture.
When storing your Santa after the holidays, place it in a sealed bag or box to protect it from moisture and pests. If you’ve used polyester stuffing, avoid compressing the figure too tightly, as it could lose shape over time.
Displaying your handmade Santa year after year becomes a family tradition. Every stitch tells a story, reminding you of cozy winter evenings spent creating something meaningful.
1. What is the best yarn for a Crochet Santa Claus Pattern?
Medium-weight acrylic yarn is ideal because it holds its shape well and is easy to care for. Cotton yarn also works great for a more natural texture.
2. Can beginners make a Crochet Santa Claus?
Yes! Many Crochet Santa Claus Patterns are beginner-friendly, focusing on basic stitches like single crochet, increases, and decreases.
3. How long does it take to finish a Crochet Santa Claus?
It depends on the size and detail of the pattern. A small Santa can take 4–6 hours, while larger designs may take several days.
4. How can I make my Santa more realistic?
Use textured yarn for the beard, embroider facial details, and add accessories like tiny glasses or a gift bag for personality.
5. Can I sell items made from a Crochet Santa Claus Pattern?
Yes, as long as the pattern allows it. Always check the designer’s permissions if you’re using a purchased pattern.
6. How do I keep the stuffing from showing through?
Use a smaller hook than recommended for your yarn to create tighter stitches that prevent fiberfill from leaking out.
Creating your own Crochet Santa Claus Pattern is more than just a craft — it’s a joyful experience that brings holiday magic to life. From choosing yarn to adding personal touches, each step allows you to express creativity and spread Christmas cheer. Whether you make it as a gift, decoration, or keepsake, this project adds warmth and personality to your festive season.
We hope this guide has inspired you to pick up your crochet hook and start your own Santa Claus creation. If you try this pattern, share your honest opinion and suggestions — your feedback helps make each creation even better. Happy crocheting, and may your holiday season be filled with handmade joy!
