
Crochet Mesh Stitch Pattern
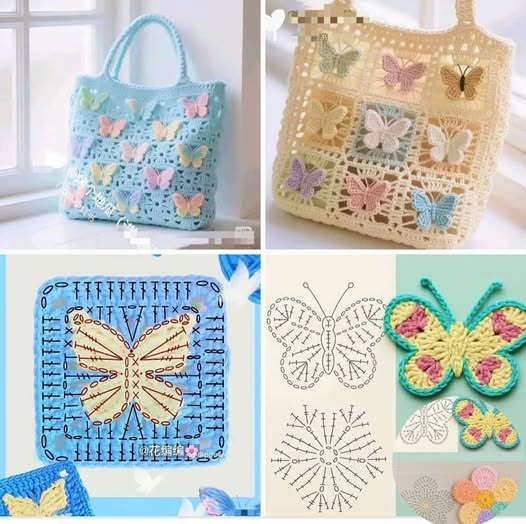
The Crochet Butterfly Granny Square is a beautiful blend of tradition and creativity that brings a whimsical charm to any crochet project. This design combines the timeless structure of the granny square with the graceful silhouette of a butterfly, resulting in a delightful motif perfect for blankets, pillow covers, bags, and wall hangings. Whether you’re a beginner looking for a fun pattern or an experienced crocheter seeking a fresh take on a classic, the Crochet Butterfly Granny Square is a rewarding choice.
This unique square stands out because of its versatility and its visually appealing design. The butterfly at the center symbolizes transformation and lightness, adding a poetic touch to your handmade pieces. You can play with various colors to personalize your Crochet Butterfly Granny Square, whether you want something vibrant or more subtle. The project also offers a great opportunity to use up leftover yarns, making it both economical and eco-friendly.
In this article, we’ll guide you step-by-step through the process of making a Crochet Butterfly Granny Square, including yarn and hook recommendations, stitch instructions, and finishing tips. With clearly explained details, you’ll have everything you need to complete a beautiful square, whether for a standalone piece or as part of a larger project. Let’s dive into the world of crochet and create something truly charming together.

Before starting your Crochet Butterfly Granny Square, it’s important to gather all the necessary materials to ensure a smooth crafting process. For this project, you will need three different colors of worsted-weight yarn—one for the butterfly body, one for the wings, and one for the square background. Cotton or acrylic yarns work well for this pattern.
The recommended hook size is 4.0 mm (G/6), which helps maintain a balanced texture and tension. You’ll also need a yarn needle for weaving in ends and a pair of sharp scissors for trimming. A stitch marker can be useful, especially for beginners, to mark the beginning of your rounds.
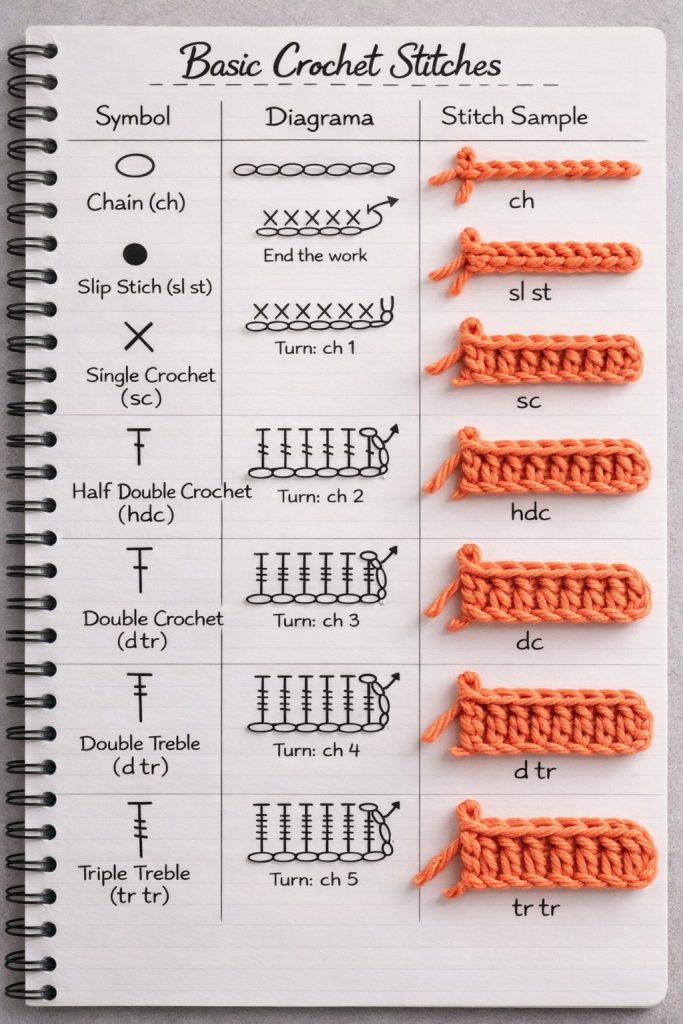
To create a uniform look in your Crochet Butterfly Granny Square, make sure your yarn weight is consistent across all colors. This consistency helps your square maintain its shape and gives it a clean, polished finish. For beginners, practicing the basic stitches beforehand—such as chain (ch), double crochet (dc), slip stitch (sl st), and magic ring—will make the process easier.
Each square will measure approximately 5 inches by 5 inches (12.7 cm x 12.7 cm) when using worsted-weight yarn and a 4.0 mm hook. If you’re making a larger project, plan the number of squares accordingly. For instance, a baby blanket measuring 35 x 35 inches will need 7 squares across and 7 down, totaling 49 squares.
Cut your yarn into manageable balls before starting, especially if you’re switching colors frequently. This will help you avoid tangling and keep your work neat. Make sure your hands are clean and your workspace is well-lit to catch every stitch detail, especially during the butterfly section.
Finally, prepare a soft blocking board or surface to block your squares once finished. Blocking helps ensure uniformity across multiple squares and enhances the visibility of the butterfly design. With everything ready, you’re set to begin crafting your lovely Crochet Butterfly Granny Square.
Round 1 (Butterfly Body):
Start with a magic ring. Using your butterfly body color yarn, ch 3 (counts as dc), and make 11 dc into the ring. Join with a sl st to the top of the beginning ch-3. You should have 12 stitches in total. This round forms the center of the butterfly’s body.
Round 2 (Forming the Wings):
Change to the butterfly wing color. In any dc, join yarn and ch 3, dc in the same stitch, then make 2 dc in each of the next 11 stitches. You will now have 24 stitches around the circle. This forms the base for creating the butterfly wings.
Round 3 (Wing Shaping):
In this round, you’ll start creating the upper and lower wings. Ch 1, sc in next 2 sts, hdc in next 2 sts, dc in next 2 sts, tr in next 2 sts, dc in next 2 sts, hdc in next 2 sts, sc in next 2 sts. This sequence forms one butterfly. Fasten off wing color.
Round 4 (Butterfly Assembly):
Fold the circle vertically so the wings stand out to the side. Take a small piece of yarn in the body color and wrap it around the center to define the body and antennae. Knot at the top and trim the yarn ends to form the antennae.
Round 5 (Creating the Square Background):
Join your background color yarn behind the butterfly using a sl st in any stitch around the base circle. Ch 3, dc in the same space, ch 1, skip 1 st, 2 dc in next. Repeat around forming a circle of small 2-dc groups separated by ch-1 spaces.
Round 6 (Forming Square Corners):
To square the round, you’ll work into the ch-1 spaces. (2 dc, ch 2, 2 dc) in the next ch-1 space (corner), then 2 dc in each of the next two ch-1 spaces. Repeat 3 more times to form the four corners. Join with sl st to the top of the beginning chain. Fasten off and weave in ends. Your Crochet Butterfly Granny Square is now complete!
The Crochet Butterfly Granny Square can be the foundation for countless beautiful crochet creations. One popular idea is to join several squares together to form a cozy afghan or baby blanket. By alternating square colors and butterfly shades, you can achieve a vibrant patchwork effect.
For home décor, try using your Crochet Butterfly Granny Square to create throw pillow covers. Make two large panels using squares and stitch them together around a pillow insert for a charming handmade touch to your living room or bedroom.
You can also turn a single Crochet Butterfly Granny Square into a mini wall hanging. Add a border, attach it to a wooden dowel, and hang it in a nursery, craft room, or meditation space for a calming and whimsical accent.
Fashion accessories are another great use. Consider using the square as part of a tote bag or even on the back of a denim jacket as an applique. The butterfly motif adds personality and meaning to wearable pieces.
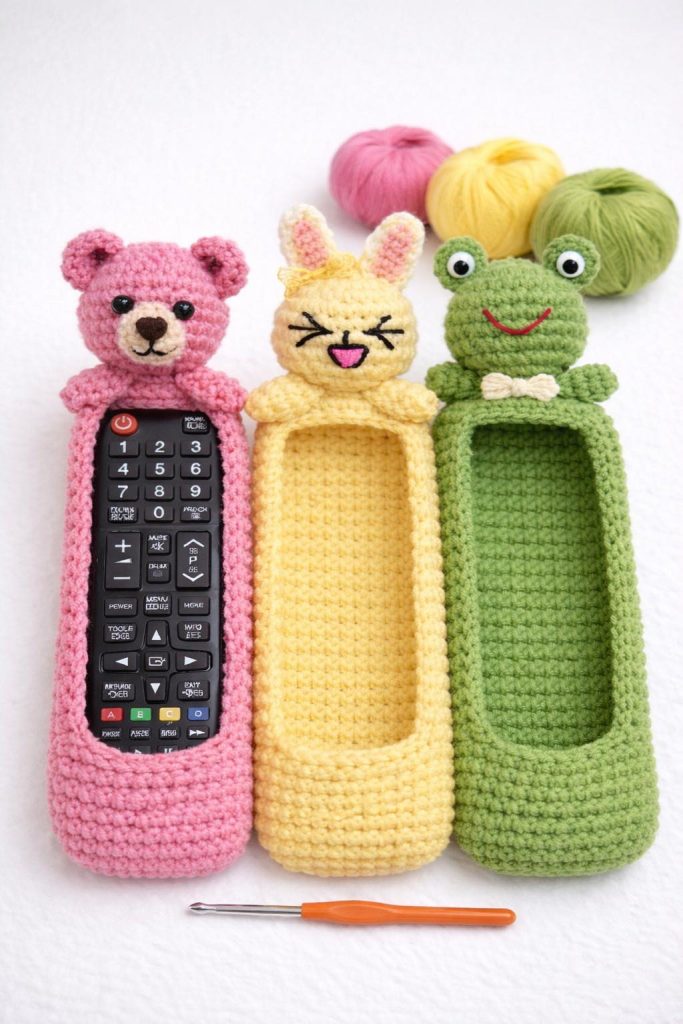
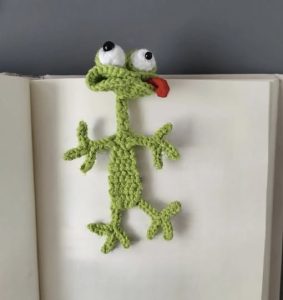
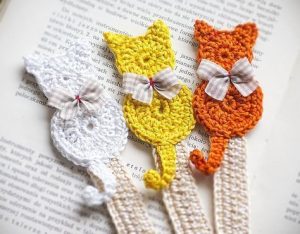
If you’re into gift-making, these squares can become coasters, mug rugs, or even bookmarks. They’re small, quick to finish, and easily customized, making them ideal for birthdays, baby showers, or holiday gifts.
Finally, for craft fairs or online shops, Crochet Butterfly Granny Squares make eye-catching inventory. Offer them as finished items, kits with yarn and instructions, or patterns for other crocheters to try. The butterfly theme always resonates well with handmade buyers.
When working on your Crochet Butterfly Granny Square, it helps to keep your tension consistent. Uneven tension can distort the butterfly or make the square wavy. Take your time and relax your hands while crocheting for a more polished result.
Using stitch markers to note corners or beginnings of rounds can simplify the pattern, especially for beginners. Don’t hesitate to use them generously—they’re a great aid in keeping things symmetrical.
Try different yarn textures to vary the look of your Crochet Butterfly Granny Square. A glossy cotton yarn will make the butterfly stand out, while a soft pastel acrylic might create a dreamy, cloud-like effect.
You can also experiment with size by changing your hook. A smaller hook will give you a tighter, smaller square perfect for accessories, while a larger hook creates a looser, more draped piece suitable for blankets and shawls.
When planning a project using multiple squares, lay them out before joining to visualize the color distribution and ensure aesthetic balance. This is especially important when using vibrant or multicolored butterflies.
For joining your squares, methods like whip stitch, slip stitch join, or even join-as-you-go can be used. Each technique gives a different finish, so test a few to see what suits your project best.
Q: Is the Crochet Butterfly Granny Square beginner-friendly?
A: Yes, with basic crochet skills and a bit of patience, beginners can complete this pattern successfully.
Q: How long does it take to make one square?
A: Depending on your skill level, one Crochet Butterfly Granny Square takes about 30–45 minutes.
Q: Can I use different yarn weights?
A: Yes, but adjust your hook size accordingly and be aware that your finished size will change.
Q: How do I wash my finished project?
A: Gently hand wash in cold water with mild detergent, then lay flat to dry to maintain shape and color.
Q: Can I sell finished items made from this pattern?
A: Absolutely! Handmade items are always welcome to sell, just don’t distribute the pattern as your own.
Q: Is blocking necessary?
A: Yes, blocking helps define the shape, even out the stitches, and highlight the butterfly motif.
The Crochet Butterfly Granny Square is more than just a crochet motif—it’s a symbol of creativity, beauty, and transformation stitched with care. Whether you’re making a heartfelt gift, a cozy home item, or adding to your personal craft collection, this pattern offers endless joy and possibilities.
With its easy-to-follow steps, customizable design, and charming look, the Crochet Butterfly Granny Square stands out as a favorite among crochet lovers. Don’t hesitate to experiment with colors, textures, and arrangements to make your piece truly unique.
We’d love to hear how your project turned out! Leave your thoughts, experiences, or suggestions in the comments below. Happy crocheting!


