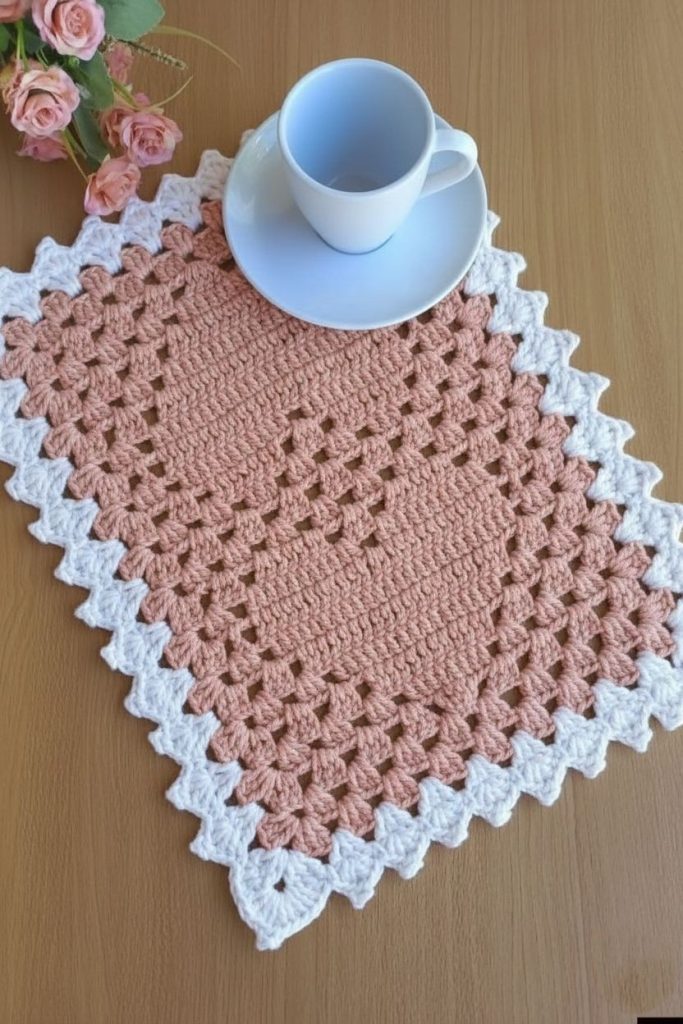
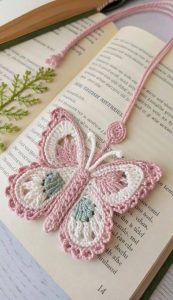
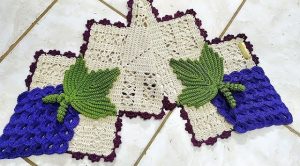
Crochet placemat rectangular placemat with hearts Pattern
If you’re searching for the perfect Basset Hound Crochet Tutorial, you’ve come to the right place! This step-by-step guide will help you bring a charming crocheted Basset Hound to life, perfect for dog lovers and crochet enthusiasts alike. Using basic stitches and a touch of creativity, you can create an adorable piece that makes a heartfelt gift or a delightful home decoration.
The beauty of the Basset Hound Crochet Tutorial lies in its combination of simplicity and detail. Even beginners can follow this tutorial with a bit of patience, while experienced crocheters will love the opportunity to personalize their Basset Hound with unique color choices. With every stitch, you’ll see this beloved breed’s characteristic droopy ears and soulful expression come alive.
Throughout this Basset Hound Crochet Tutorial, we’ll walk you through each step, from choosing the right materials to assembling the final piece. Whether it’s your first crochet animal or your hundredth, this tutorial aims to inspire and guide you through the joy of crafting your very own Basset Hound companion.

To begin your Basset Hound Crochet Tutorial, it’s essential to gather all the materials and plan your fabric cuts. Having everything ready before you start makes the process smoother and more enjoyable.
For the body of the Basset Hound, use about 150g of medium-weight acrylic yarn in a classic brown shade. You’ll also need 50g of white yarn for the paws and chest, plus 30g of black yarn for detailing around the eyes and nose. For the ears, cut two separate pieces measuring about 15cm x 8cm each using felt or fabric if you want them to be softer than crocheted ones.
Next, prepare a pair of 12mm safety eyes and a small black safety nose (about 15mm). If you prefer a completely crocheted finish, you can also crochet the nose using black yarn. Have some polyester stuffing ready to fill the body and give your Basset Hound its adorable shape.
For extra structure, especially in the ears, you might want to insert a piece of lightweight interfacing. Cut two pieces approximately 13cm x 6cm to slip inside the ears. A tapestry needle, stitch markers, and scissors complete your toolkit for this Basset Hound Crochet Tutorial.
Let’s dive into the heart of the Basset Hound Crochet Tutorial with this detailed pattern, which is written in standard US crochet terms. Follow each step carefully, and don’t forget to pause and check your progress along the way.
1. Start with the body:
Make a magic ring and crochet 6 single crochets (sc) into it. Increase to 12 sc by making two sc in each stitch around. Continue increasing evenly until you reach 48 sc in the round. Crochet evenly for about 25 rounds to form the main body.
2. Shape the back and chest:
Switch to white yarn and crochet 4 rounds, then back to brown for another 10 rounds. As you reach the end of the body, begin to decrease evenly to close. Leave an opening to insert polyester stuffing. Once stuffed, finish closing with decreases and fasten off.
3. Create the head:
Repeat the body’s start: magic ring, 6 sc, and increase to 36 sc. Crochet evenly for about 15 rounds. Add stuffing, then start shaping by adding or skipping stitches to make the muzzle longer. The characteristic long face of the Basset Hound is key to this part.
4. Add the floppy ears:
Using brown yarn, chain 18, turn, and sc in each chain. Crochet back and forth for about 10 rows to make the ear’s length. Cut your interfacing pieces and slip them inside if you want more structure. Make two ears and sew them to the sides of the head.
5. Crochet the paws and tail:
For each paw, start with a magic ring, 6 sc, increase to 12, and crochet about 10 rounds in white yarn before switching to brown for another 8 rounds. Stuff lightly before sewing to the body. For the tail, chain 14 and sc back, tapering toward the end.
6. Assemble and detail:
Sew the head to the body, add the paws, and attach the tail. Place the safety eyes between rounds 8–10 of the head and insert the nose. Use black yarn to embroider eyebrows or extra markings to bring out the Basset Hound’s soulful look.
Once the basic shape is complete, this part of the Basset Hound Crochet Tutorial shows how to personalize your creation. It’s where your dog comes to life with expression and style.
Add color patches using small crocheted pieces or felt shapes, sewing them securely to the body. Classic Basset Hounds often have white, brown, and black markings that you can replicate creatively.
Consider giving your Basset Hound a crocheted collar. Chain enough stitches to wrap around the neck, slip stitch to join, and add a contrasting color stripe if you’d like. This small detail adds a finished look.
For extra charm, use embroidery thread to outline the paws or create small claws. A few stitches at the ends of the paws give an adorable, realistic effect.
Don’t forget the eyes! Position them carefully for a friendly or sleepy expression. Embroidering small white highlights onto the black safety eyes adds sparkle and life.
If you’d like, add accessories: a small crocheted bone, a blanket, or even a miniature leash. These touches make the finished piece truly yours and delight anyone who sees it.
Finally, check every seam and stitch to ensure everything is secure, especially if your crocheted Basset Hound will be handled by children.
Following the Basset Hound Crochet Tutorial can be relaxing and fun, but a few extra tips can help you achieve the best results.
1. Choose soft yarn:
Soft acrylic or cotton blends make your Basset Hound cuddly and easier to shape. Avoid stiff yarns, which can make sewing parts together harder.
2. Keep stitches consistent:
Using even tension ensures your finished Basset Hound looks smooth and professional. If you notice uneven areas, gently stretch and shape them before stuffing.
3. Stuff carefully:
Use small pieces of polyester filling and build up gradually to avoid lumps. Overstuffing can distort the shape, while too little filling leaves it floppy.
4. Use strong sewing:
Attach ears, paws, and tail securely with backstitch or whipstitch. Reinforce parts that might get tugged or bent.
5. Take breaks:
Crocheting many small pieces can be tiring. Break your project into sessions so you can return with fresh eyes and hands.
6. Enjoy the process:
Remember that your Basset Hound doesn’t have to be perfect. Each handmade piece has its own charm and personality!
Congratulations on completing this Basset Hound Crochet Tutorial! By following these steps and tips, you’ve crafted a sweet, droopy-eared companion that reflects your creativity and care.
Crocheting is more than following a pattern—it’s about expressing yourself and creating something unique. Whether you gift your Basset Hound to someone special or keep it for yourself, each stitch carries a piece of your story.
We’d love to hear your thoughts! Did this Basset Hound Crochet Tutorial help you? What colors did you choose, and what unique touches did you add? Share your creations, ask questions, or suggest ideas for future tutorials in the comments.
Happy crocheting, and may your Basset Hound bring you lots of joy!
