
Easter Bunny Basket - Crochet Pattern
Creating a Christmas tree with a tin can ring pattern is a charming and eco-friendly craft project that adds a touch of handmade warmth to your holiday décor. This creative idea transforms simple materials—like recycled tin can rings—into a festive and sparkling tree design. Whether you’re an experienced crafter or just starting your DIY journey, this project offers endless possibilities for creativity. Using tin can rings not only gives new life to everyday items but also makes your Christmas tree decorations more sustainable and meaningful.
The beauty of the Christmas tree with a tin can ring pattern lies in its simplicity and rustic appeal. The metallic shine of the rings beautifully reflects the Christmas lights, giving your tree a unique, shimmering look. You can make small decorative versions to hang as ornaments or build a larger display as a tabletop centerpiece. What makes this craft so special is that it combines creativity with environmental consciousness—repurposing materials that would otherwise go to waste. Plus, it’s a wonderful activity to enjoy with family during the holiday season.
When crafting your Christmas tree with a tin can ring pattern, the design possibilities are endless. You can add ribbons, beads, or paint to personalize your project. Choose a color scheme that matches your Christmas décor, or keep it rustic with natural metallic tones. This pattern works beautifully for DIY lovers who want to explore zero-waste crafting and still create something elegant. With a few basic tools and a bit of imagination, you can transform recycled materials into a beautiful, festive piece that will bring joy for many Christmases to come.
To create your Christmas tree with a tin can ring pattern, you’ll need only a few affordable and accessible materials. The star of this project is, of course, the tin can ring, which you can easily collect from canned food containers. Make sure the rings are clean, dry, and free from sharp edges before using them. You can also use rings of various sizes to give your tree a layered and textured appearance.
Other essential materials include a hot glue gun, sturdy cardboard or wooden base, green and gold paint, and decorative accessories such as ribbons, beads, or mini ornaments. These items will help you customize your tin can Christmas tree according to your preferred style—rustic, modern, or traditional.
To prepare the rings, lightly sand any rough edges for safety. You can also spray-paint them in festive shades like green, silver, or red to enhance their appearance. If you prefer a minimalist look, you may leave them in their natural metallic color, which beautifully catches and reflects light.
For the structure, consider using a cone-shaped base made of foam, cardboard, or even wire. This shape will serve as the core to which the tin can rings will be attached. Using hot glue or wire, start from the bottom and gradually layer the rings upward, overlapping slightly to create a full, tree-like texture.
Once assembled, add final touches like a glittery star or a bow on top to complete your Christmas tree with a tin can ring pattern. You can even wrap small LED lights around it for an enchanting glow. The end result is a unique, eye-catching decoration that combines simplicity, sustainability, and creativity.
Creating your Christmas tree with a tin can ring pattern is simple and fun. Start by preparing your workspace. Make sure you have all materials ready and a clean, flat surface to work on. Wear gloves when handling tin rings to avoid sharp edges.
Step 1: Gather and clean your tin can rings. Collect rings from various sizes of cans to create a natural taper for your tree. Wash and dry them thoroughly.
Step 2: Prepare your base. Cut a cone shape from sturdy cardboard or use a pre-made foam cone. This will be the structure to which you attach your rings.
Step 3: Paint or decorate the tin rings if desired. You can spray-paint them green for a more traditional tree look, or leave them metallic for a rustic, industrial style.
Step 4: Begin gluing the rings around the base, starting from the bottom. Use hot glue for strong adhesion. Overlap the rings slightly as you go upward to mimic the layers of pine branches.
Step 5: Once the entire cone is covered, decorate your tin can ring Christmas tree with small embellishments like ribbons, beads, or glitter. You can even attach a string of mini fairy lights to make it glow beautifully at night.
Step 6: Add a final touch by placing a star, bow, or small ornament at the top. Allow everything to dry completely before displaying your tree. Your Christmas tree with a tin can ring pattern is now ready to spread festive cheer in your home!
One of the most exciting things about the Christmas tree with a tin can ring pattern is how versatile it is. You can customize it in countless ways to suit your personal taste or match your home décor.
Try making miniature versions of the tin can ring tree to use as ornaments for your main Christmas tree. These mini trees can also make thoughtful handmade gifts for family and friends. Attach a ribbon or a loop at the top for easy hanging.
For a rustic farmhouse theme, use unpainted tin rings and pair them with burlap ribbons and wooden stars. This combination gives your decoration a warm, vintage look that’s perfect for cozy holiday settings.
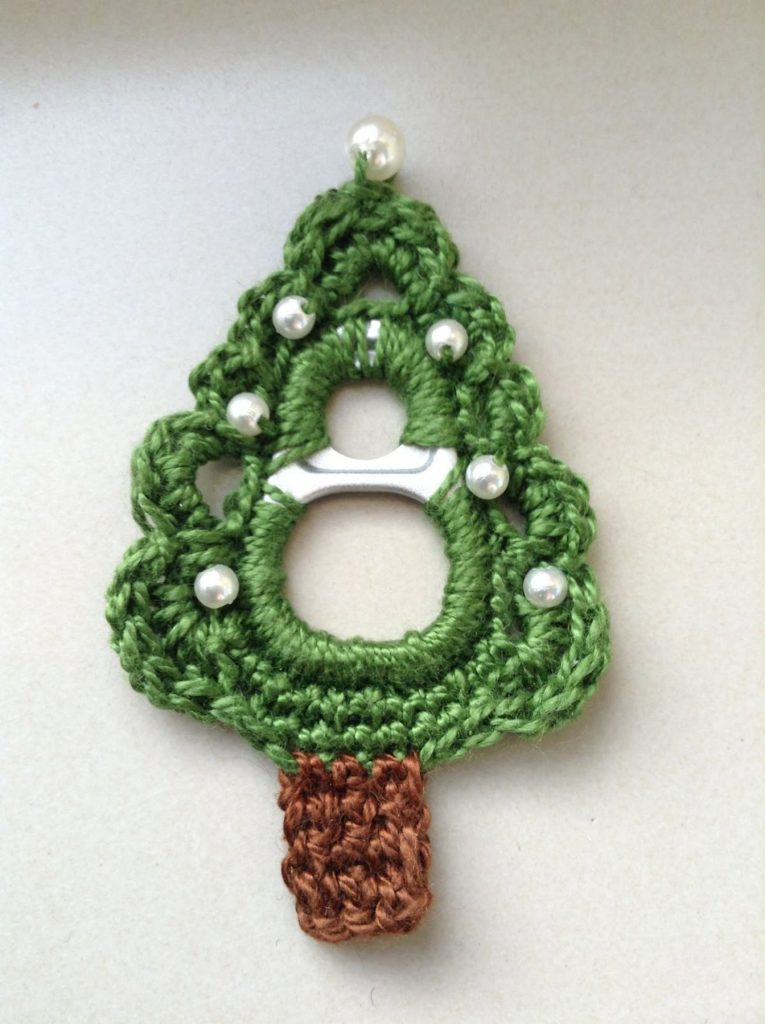
If you prefer a more glamorous aesthetic, consider spray-painting the rings in metallic gold or silver and adding sequins, pearls, or rhinestones for sparkle. The metallic tones will beautifully reflect your Christmas lights, creating a dazzling centerpiece.
You can also incorporate recycled materials like old buttons, beads, or scraps of fabric for added texture and character. Each tree will be completely unique, representing your creativity and love for sustainability.
Lastly, experiment with different tree sizes. Large trees can serve as stunning table or mantel displays, while small versions make excellent stocking stuffers or holiday party favors. The Christmas tree with a tin can ring pattern truly allows you to express your artistic vision in a fun and eco-friendly way.
After completing your Christmas tree with a tin can ring pattern, you’ll want to display it proudly and keep it in good condition for many holidays to come. Placement is key—choose a spot where the light will highlight the metallic reflections, such as near a window or next to your Christmas lights.
If your tree includes electrical lights, make sure the materials you used (paint, glue, ribbons) are heat-resistant and safe for indoor use. Safety should always come first when creating and displaying DIY crafts.
To make your decoration stand out even more, place it on a decorative tray surrounded by pinecones, ornaments, or small candles. You can even create a festive village scene with miniature houses and figurines.
For long-term storage, gently wrap your tin can ring tree in soft tissue paper or bubble wrap to prevent scratches or bending. Store it in a cool, dry place to protect it from moisture and dust.
Another idea is to update your Christmas tree with a tin can ring pattern each year by adding new decorations. Maybe you can add one new ornament annually to symbolize each year’s celebration. This way, your tree becomes not only a decoration but also a cherished family tradition.
Finally, remember that the goal of this project is not perfection but creativity and joy. Every tree will be different, reflecting the unique personality of its maker. The Christmas tree with a tin can ring pattern is more than just a craft—it’s a celebration of imagination, sustainability, and the spirit of Christmas.
1. What kind of tin can rings should I use?
You can use rings from any type of can, such as soup or soda cans. Just make sure they are clean, dry, and free of sharp edges before starting your project.
2. Is it safe to work with tin can rings?
Yes, as long as you handle them carefully. Wear gloves when cutting or cleaning to avoid injury, and always sand down rough or sharp areas.
3. Can I paint the tin can rings?
Absolutely! Spray paints or acrylic paints work well. Choose festive colors like green, gold, or silver for a more Christmas-inspired look.
4. How can I make the tree more stable?
Use a sturdy base such as wood or thick cardboard. For extra stability, you can glue the base to a decorative platform or add small weights at the bottom.
5. What decorations can I add to my tin can ring tree?
You can add ribbons, beads, glitter, sequins, or small ornaments. LED fairy lights also look beautiful when wrapped around the tree.
6. Can I make this project with kids?
Yes, but adult supervision is recommended when handling metal rings and hot glue. Kids can help with painting, gluing, and decorating the tree safely.
7. How do I store my Christmas tree after the holidays?
Wrap the tree in soft paper or fabric and store it in a dry place. Avoid stacking heavy objects on top to prevent bending or damage.
8. How long does it take to make a tin can ring Christmas tree?
Depending on the size and level of detail, it can take anywhere from one to three hours to complete.
The Christmas tree with a tin can ring pattern is a beautiful blend of creativity, sustainability, and festive joy. By repurposing simple materials like tin can rings, you can craft a decoration that’s both eco-friendly and full of holiday spirit. Whether you make a large display or small ornaments, this DIY project brings warmth, sparkle, and a personal touch to your Christmas décor.
We hope this guide inspired you to try your own Christmas tree with a tin can ring pattern at home. Share your thoughts and let us know what creative twists you added to your version! Your feedback and suggestions are always welcome to make future craft guides even better.


