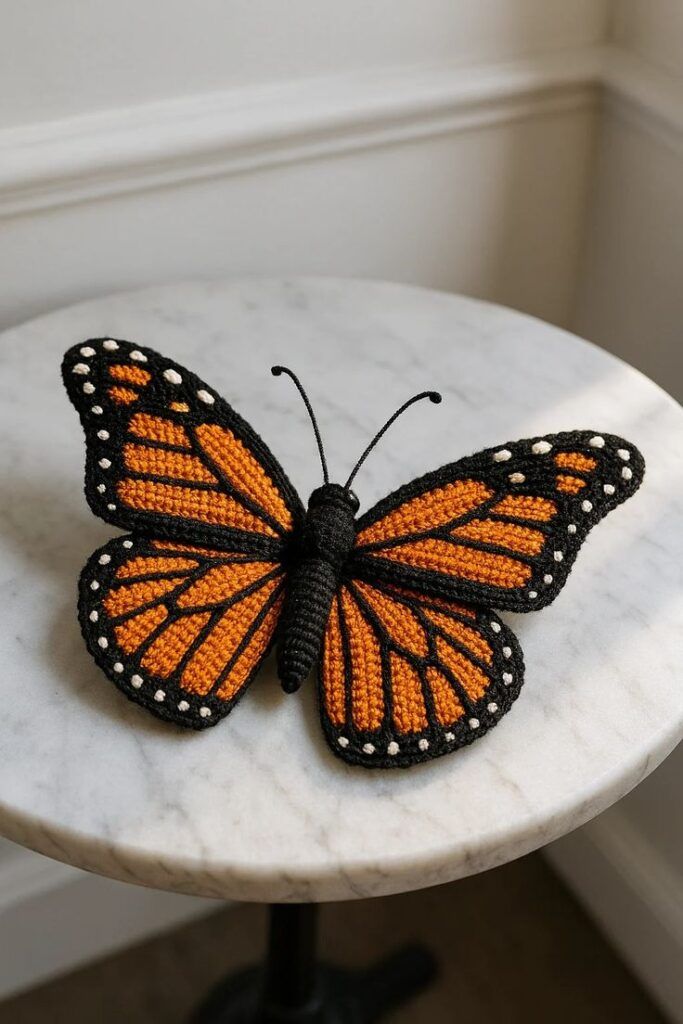
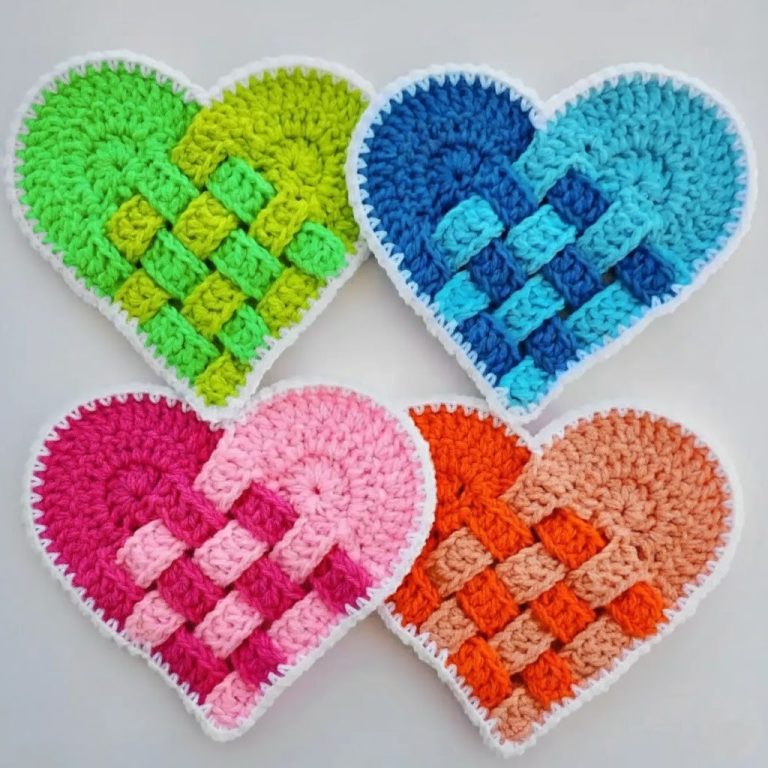
How to Make a Monarch Butterfly Crochet Pattern
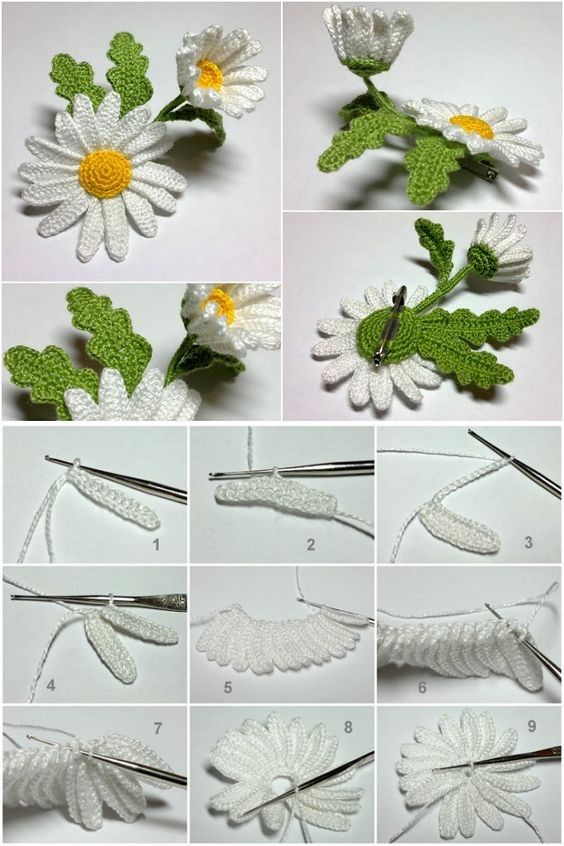
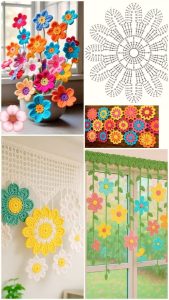
The Crochet 3D Daisy Flower Pattern is one of the most beautiful and versatile crochet designs you can learn. Perfect for beginners and experts alike, this pattern brings the elegance of nature into your crochet projects, creating stunning flowers that look realistic and full of life. Whether you plan to decorate hats, bags, blankets, or even make home décor items, the Crochet 3D Daisy Flower Pattern is a must-have technique to add to your creative collection.
The charm of this pattern lies in its dimensional petals and layered structure, which gives the impression of a real blooming daisy. Unlike flat flower designs, the 3D Crochet Daisy Pattern adds texture, volume, and personality to your work. With a few basic stitches and a bit of practice, you’ll be able to craft beautiful daisies that can be used as appliqués, accessories, or centerpieces.
In this article, you’ll learn everything you need to know about making a Crochet 3D Daisy Flower Pattern — from choosing the right materials to following step-by-step instructions. You’ll also discover ideas for using these flowers in various projects and how to personalize your daisies with different colors and sizes. Let’s dive into the creative process and learn how to crochet a 3D daisy that will brighten any space or outfit.
To create the perfect Crochet 3D Daisy Flower Pattern, having the right materials is essential. Start by choosing a high-quality yarn that matches your desired effect. Cotton yarn works best because it provides structure and definition to each petal, making your flower look crisp and professional. You can also use acrylic yarn if you want a softer or more flexible result.
Next, you’ll need a crochet hook that fits your yarn size. A smaller hook gives tighter stitches and a firmer flower, while a larger hook creates a looser, fluffier look. For most daisy flower patterns, a 2.5 mm to 3.5 mm crochet hook works well. Always check your yarn label for hook recommendations.
Don’t forget a yarn needle for weaving in ends and a pair of sharp scissors. You might also want a stitch marker to help keep track of your rounds, especially if you’re making multiple layers of petals. These small tools make your crochet process smoother and more organized.
Color selection is also a key part of the Crochet 3D Daisy Flower Pattern. Traditional daisies have white petals with a yellow center, but you can experiment with pastel or bright shades to make your design unique. Pink, lavender, and blue daisies can add a charming twist to your crochet projects.
Lastly, prepare a flat surface or a small blocking board if you want to shape your petals perfectly. Lightly steaming your finished flower helps the petals stand out and stay in shape. With all your materials ready, you’re set to begin creating your beautiful crochet daisy.
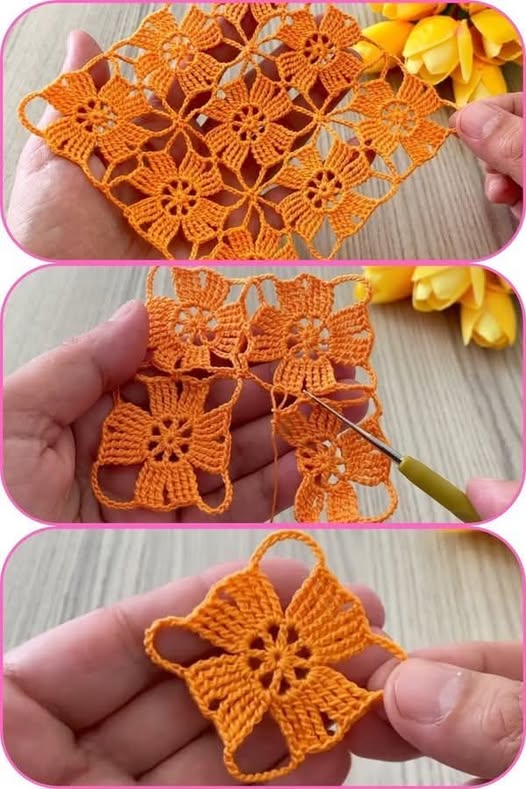
Now that you have all your supplies, it’s time to start crocheting the 3D Daisy Flower Pattern. Begin by making a magic ring, which forms the base of your flower. Into this ring, crochet 10 single crochets and close the round with a slip stitch. This will be the foundation for the flower center.
For the daisy’s middle section, use yellow yarn and work 2 rounds of single crochets to form a raised center. This part mimics the natural texture of a daisy’s core and gives your flower a 3D effect. Once finished, fasten off and change to the color of your petals.
To create the first layer of petals, chain 6, then work double crochets back into the base round. Continue this process around until you have a full circle of petals. You can slightly curl the petals with your fingers to enhance their dimensional look.
The second layer of petals is what truly makes the Crochet 3D Daisy Flower Pattern stand out. Attach your yarn behind the first layer and repeat the petal process, staggering them between the front petals for a realistic blooming effect. You’ll see your flower take shape beautifully.
For an optional finishing touch, add a third layer or a few tiny leaves using green yarn. This adds depth and a more natural look. Once your flower is complete, weave in all loose ends and lightly steam or block your work for perfect petal alignment.
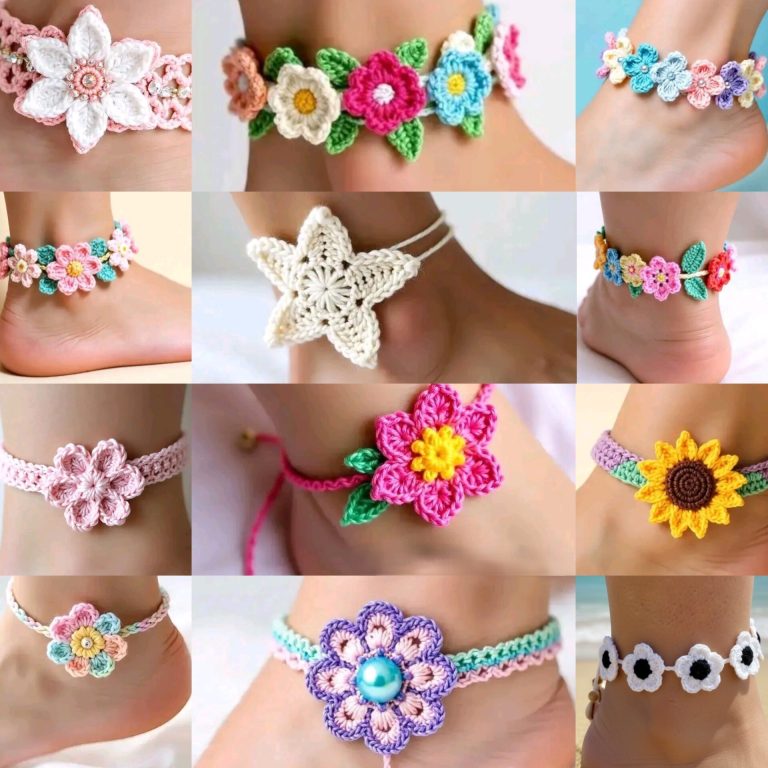
Once you’ve mastered the Crochet 3D Daisy Flower Pattern, the creative possibilities are endless. These charming flowers can be used to decorate almost anything. For example, attach them to a headband or a hat to create a cheerful spring accessory. They also look lovely on bags, scarves, or baby blankets.
If you enjoy home décor projects, use your crocheted daisies to make garlands, wreaths, or table centerpieces. A bouquet of crochet daisies in a vase can brighten any room without ever wilting. You can even use them to decorate photo frames or handmade greeting cards for a personal touch.
Another great idea is to make brooches or pins using your Crochet 3D Daisy Flower Pattern. Simply glue or sew a pin backing onto the flower and you’ll have a unique handmade accessory. These also make thoughtful gifts for friends and family.
If you love wearable art, consider sewing several daisies together to form a floral necklace or bracelet. Mix colors and sizes for an eye-catching boho-chic look. Your handmade jewelry will be both lightweight and stylish.
For crocheters who sell their work, 3D daisies are fantastic products to offer. They are quick to make, appealing, and versatile — perfect for markets or online shops. Adding these little flowers to your collection can boost your creative business.
Finally, don’t forget seasonal crafts. The Crochet 3D Daisy Flower Pattern fits perfectly in spring and summer themes. You can also combine it with other flower designs to make stunning floral arrangements for any occasion.
Even though this pattern is beginner-friendly, a few expert tips can help you make your Crochet 3D Daisy Flower Pattern look flawless. First, maintain consistent tension throughout your work. Uneven stitches can cause petals to look different in size or shape.
Always block your flowers after finishing. Blocking helps each petal open beautifully and keeps your flower’s 3D shape intact. Use a gentle steam or damp cloth to shape them carefully without flattening.
Experiment with yarn types to discover different effects. Cotton gives a neat and crisp finish, while acrylic or wool creates softer, fluffier petals. You can even use variegated yarns for colorful, unique results.
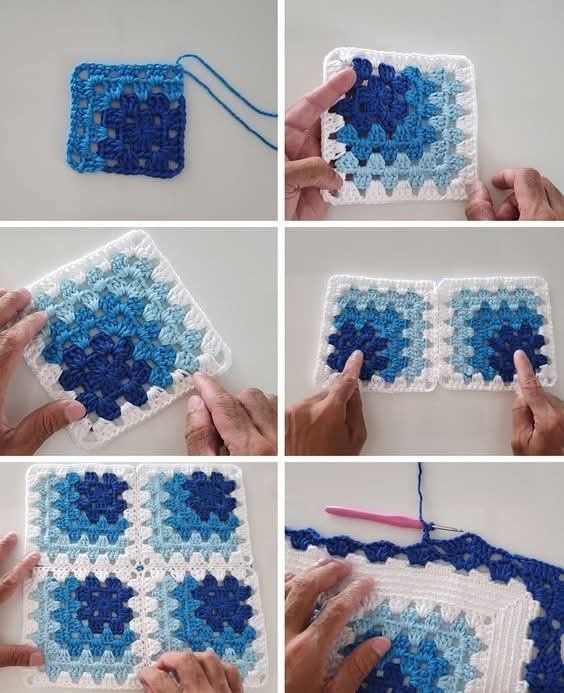
Keep in mind that layering is what gives this pattern its signature look. If you want more dimension, add extra petal rounds or mix shorter and longer petals in one flower. This creates the illusion of a naturally full bloom.
Another tip is to secure your yarn changes neatly. Hide your color transitions behind petals or the flower center to keep the design clean. This makes your finished piece look more professional.
Finally, practice patience and creativity. Each Crochet 3D Daisy Flower Pattern you make will improve your technique. With every stitch, you’ll gain more control and confidence in your crochet skills.
1. What type of yarn is best for the Crochet 3D Daisy Flower Pattern?
Cotton yarn is the best choice because it holds its shape well and shows stitch details clearly. However, you can also use acrylic or wool if you prefer a softer texture.
2. Is this pattern suitable for beginners?
Yes, the Crochet 3D Daisy Flower Pattern is beginner-friendly. It uses basic stitches like chain, single crochet, and double crochet. With some practice, even new crocheters can achieve beautiful results.
3. How long does it take to make one daisy?
Depending on your skill level, a single flower usually takes between 20 to 40 minutes. Once you’re familiar with the pattern, you can make several daisies in an hour.
4. Can I use this flower for clothing embellishment?
Absolutely! These daisies make lovely embellishments for hats, scarves, sweaters, and even dresses. Just make sure to securely attach them with a needle and matching thread.
5. How do I make the petals more dimensional?
Adding multiple layers of petals or using slightly thicker yarn can make the petals pop more. You can also block your flower to emphasize its 3D structure.
6. Can I wash crocheted daisies?
Yes, you can wash them gently by hand using mild soap and cool water. Let them air dry flat to preserve their shape and color.
The Crochet 3D Daisy Flower Pattern is a timeless and delightful project that adds elegance and charm to any creation. From home décor to accessories, this beautiful design showcases your crochet talent in a simple yet impressive way. By following the steps, tips, and ideas shared here, you can master this technique and bring a touch of nature into your handmade crafts.
We hope this guide has inspired you to try your own Crochet 3D Daisy Flower Pattern. Have you made your first 3D daisy yet? Share your honest opinion and suggestions — your feedback helps us create even better crochet tutorials and guides for you!
