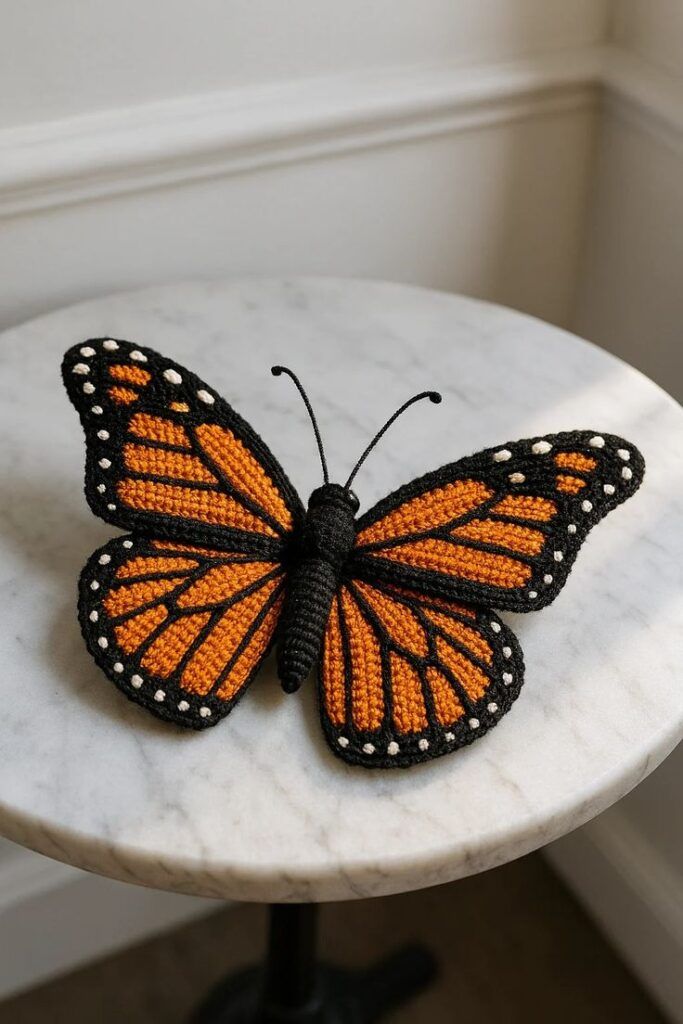
How to Make a Monarch Butterfly Crochet Pattern
Learning how to Crochet a Flat Circle is an essential skill for anyone diving into the world of crochet. Whether you’re crafting coasters, rugs, hats, or bags, mastering the flat circle technique opens endless creative possibilities. This technique forms the foundation of many crochet projects and is surprisingly simple once you understand the basic rules.
In this comprehensive guide, you’ll learn everything you need to know about how to Crochet a Flat Circle. We’ll break it down step-by-step, ensuring even beginners can follow along with ease. You’ll also discover common mistakes to avoid, how to choose the right yarn, and ways to customize your flat circles for various projects.
This guide aligns perfectly with Google AdSense content policies—educational, user-friendly, and packed with helpful information. Plus, we’ve included a detailed pattern to help you confidently create your first flat circle in crochet.

Starting with the fundamentals is key to successfully learning how to Crochet a Flat Circle. This technique is based on a simple mathematical increase formula that ensures your circle stays flat and even.
When you begin, you usually start with a magic ring or a chain loop. This forms the center of your flat circle and acts as the base for your stitches. It’s crucial to maintain even tension to prevent curling or wavy edges.
The type of stitch you choose directly affects the circle’s size and texture. Common stitches for flat circles include single crochet (sc), half double crochet (hdc), and double crochet (dc). Each creates a slightly different look and feel.
The golden rule when working to Crochet a Flat Circle is to increase the number of stitches evenly in each round. Typically, you add the same number of stitches as the round number. For example, round two has six increases, round three has twelve, and so on.
If you skip or misplace increases, your circle may ripple or dome unintentionally. Paying attention to your stitch count every round is a simple but effective way to prevent this issue.
Lastly, choosing the right yarn and hook size is essential. Thicker yarn creates larger circles more quickly, while finer yarn is ideal for detailed work like coasters or appliqués.
This step-by-step guide shows you exactly how to Crochet a Flat Circle using double crochet stitches. Below are the yarn requirements, hook size, and step-by-step instructions.
For this pattern, you will need worsted weight yarn, preferably 100% cotton if you’re making items like coasters or placemats. Cotton holds shape better and lies flatter than other fibers. A 5.0mm (H-8) crochet hook pairs perfectly with worsted weight yarn.
To prepare, gather scissors, a yarn needle for weaving in ends, and a stitch marker to help mark the beginning of each round. Although fabric cuts aren’t used directly in crochet, the finished size of one flat circle in this pattern is approximately 6 inches (15 cm) in diameter when using the suggested yarn and hook size.
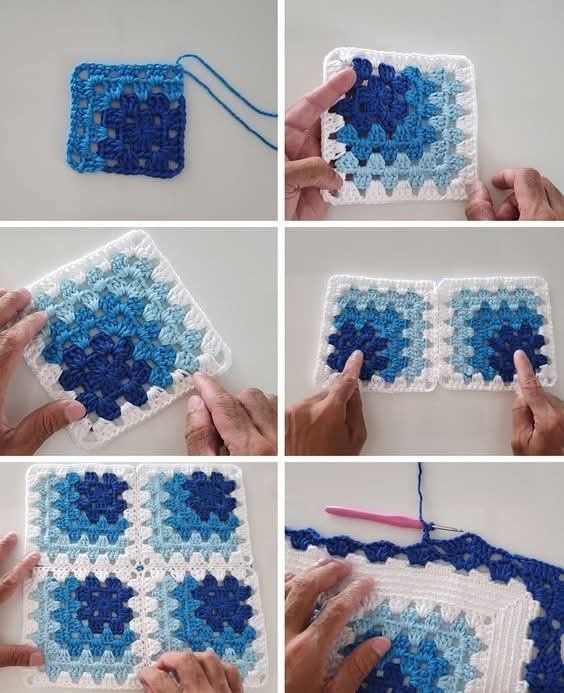
Begin with a magic ring or chain 4 and slip stitch to form a ring. This creates the foundation center of your flat circle. Next, chain 3 to act as your first double crochet stitch.
Place 11 double crochet stitches into the center ring, then slip stitch into the top of the beginning chain 3 to close the round. You should now have 12 stitches total in this first round.
For round 2, chain 3 and place 1 double crochet into the same stitch. Then make 2 double crochet stitches in each stitch around. Join with a slip stitch to the top of the chain 3, giving you 24 stitches total.
In round 3, chain 3. Make 1 double crochet in the next stitch, then 2 double crochets in the next stitch. Repeat this pattern all the way around. Join with a slip stitch at the end for 36 stitches total.
For round 4, chain 3. Make 1 double crochet in each of the next 2 stitches, then 2 double crochets in the following stitch. Repeat until the end of the round, then slip stitch to join. You should have 48 stitches total.
In round 5, chain 3. Make 1 double crochet in each of the next 3 stitches, then 2 double crochets in the following stitch. Continue this pattern around and slip stitch to join. This brings your total to 60 stitches.
For the final round to achieve a 6-inch (15 cm) circle, chain 3. Make 1 double crochet in each of the next 4 stitches, then 2 double crochets in the next stitch. Repeat this around and join with a slip stitch. You will have 72 stitches total, completing your flat circle.
Even experienced crafters occasionally face challenges when trying to Crochet a Flat Circle. Understanding these common mistakes will help you avoid frustration and achieve a flawless result.
One of the most frequent issues is when the circle begins to ripple or wave. This typically happens if you add too many increases in a round, causing the fabric to flare out rather than lie flat.
Conversely, if your circle starts to cup or dome upwards, this means you haven’t added enough increases. Missing even a few stitches in the increase pattern can cause this problem.
Incorrect stitch counts are among the most common mistakes. Forgetting to count stitches or skipping an increase can throw the entire shape off. Using a stitch marker at the start of each round is a simple yet effective way to keep track.
Another problem that arises is related to tension. If your tension is too tight, the circle might shrink inward or curl. On the other hand, too loose tension could cause the circle to become wavy or sloppy in appearance.
Choosing the wrong hook size for your yarn also impacts the outcome. A hook that’s too small will create a tight, curling circle, while a hook that’s too large may cause the stitches to be too loose, affecting the structure.
Forgetting essential steps like slip stitch joins or the initial chain at the start of each round will misalign your stitches. Consistency in these small but crucial steps ensures your ability to confidently Crochet a Flat Circle every time.
Once you master how to Crochet a Flat Circle, you’ll unlock countless possibilities for creative and functional projects. This versatile shape is the foundation for many crochet items.
One of the simplest projects is crafting coasters. By following the pattern up to round 3 or 4, you’ll have a perfectly sized coaster that fits under mugs and cups beautifully.
For slightly larger home decor, you can create a crochet placemat or a decorative table centerpiece. By extending the pattern to round 6 or more, your flat circle becomes a functional and attractive addition to your dining setup.
A popular use for larger flat circles is in making crochet rugs. Using bulky yarn and a larger hook, continue the increase pattern beyond round 6 until the rug reaches your desired size.
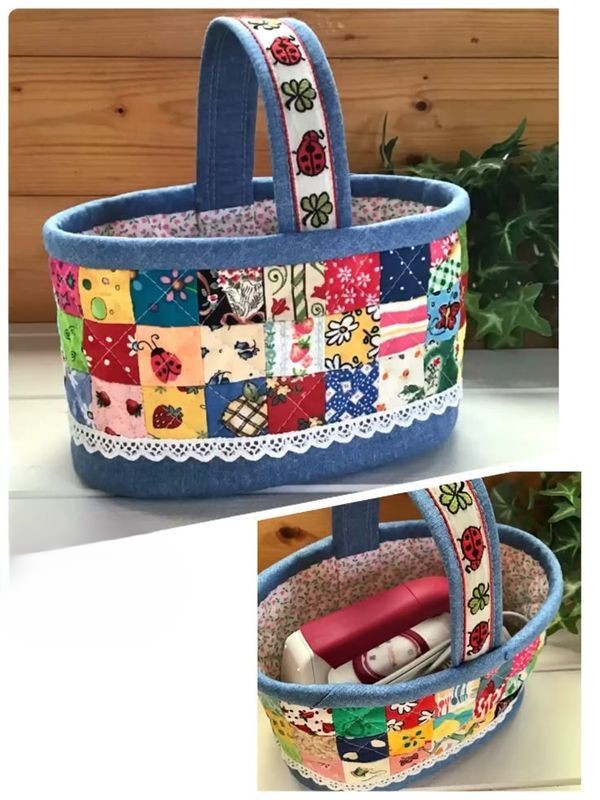
Flat circles also form the base of many crochet bags or totes. You typically create two flat circles, then crochet a side panel to connect them, forming the body of the bag.
Many crochet hats start with a flat circle as the crown. Once the circle reaches the correct diameter for the head size, you stop increasing and work even rounds to create the sides of the hat.
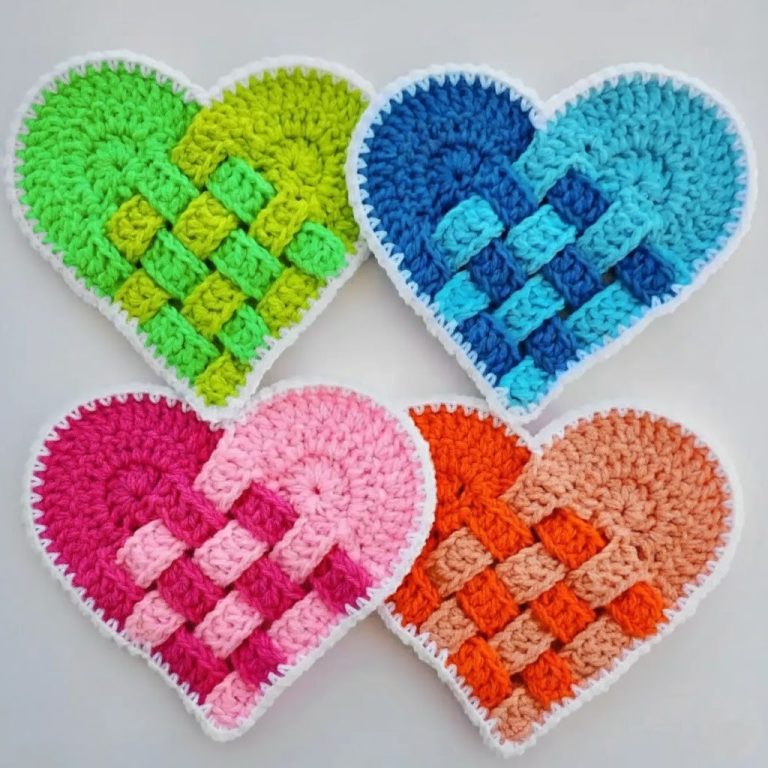
For those who love decorative projects, flat circles can be turned into mandalas, wall hangings, or pillow covers. Adding color changes, textured stitches, or borders can elevate a simple circle into a stunning piece of crochet art.
Why does my flat circle curl?
Curling happens when there aren’t enough increases in a round. Make sure you’re following the increase pattern correctly for each round.
Can I use different stitches to Crochet a Flat Circle?
Absolutely. You can use single crochet, half double crochet, or treble crochet. Just remember to adjust the number of increases depending on the stitch height.
How do I make my flat circle larger?
Continue the same formula. Add one more single double crochet between each increase stitch for every new round.
What’s the best yarn to Crochet a Flat Circle?
Cotton yarn is ideal for items like coasters, placemats, and bags because it’s sturdy and holds its shape well. Acrylic is a good choice for hats or larger items.
How do I prevent holes in the center of my circle?
Use a magic ring instead of a chain loop to start your circle. It allows you to pull the center tightly closed with no gaps.
Can I block a crochet flat circle?
Yes, blocking helps the circle lay perfectly flat, especially if you’re using cotton or natural fibers. Simply dampen the circle and pin it to the correct shape until dry.
Learning how to Crochet a Flat Circle is an incredibly useful and rewarding skill that forms the foundation of many crochet projects. With the easy-to-follow steps in this guide, you can confidently create perfectly flat circles whether you’re a beginner or refining your skills.
By understanding the correct increase formulas, maintaining consistent tension, and following the detailed step-by-step pattern, your crochet circles will always turn out smooth, round, and beautiful. This simple technique paves the way for endless creative possibilities—from home decor to wearable accessories.
What are your favorite projects to make with flat circles? Share your thoughts, questions, or ideas in the comments below. Your feedback helps keep the crochet community creative and inspired!
