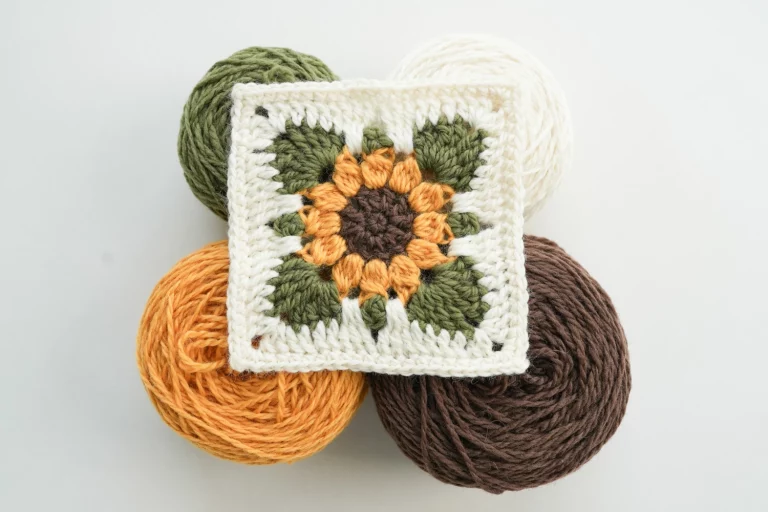
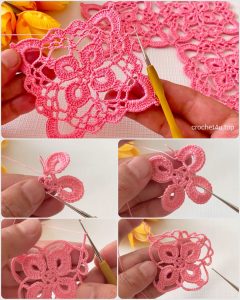
Sunflower crochet square with leaves Tutorial
Crochet a Spiral Tutorial is one of the most exciting and versatile techniques you can learn if you love working with yarn.
From modern home décor to delicate appliqués and bold statement pieces, mastering a spiral design opens the door to endless creative possibilities. In this complete guide, you will discover not only how to crochet a spiral step by step, but also how to refine your technique and apply it to different projects with confidence.
When people search for a Crochet a Spiral Tutorial, they are usually looking for clarity. Spiral crochet can feel confusing at first because it does not always follow the traditional joined-round method. However, once you understand how continuous rounds work, everything becomes easier and more intuitive. This method is widely used in amigurumi, coasters, hats, and decorative motifs.
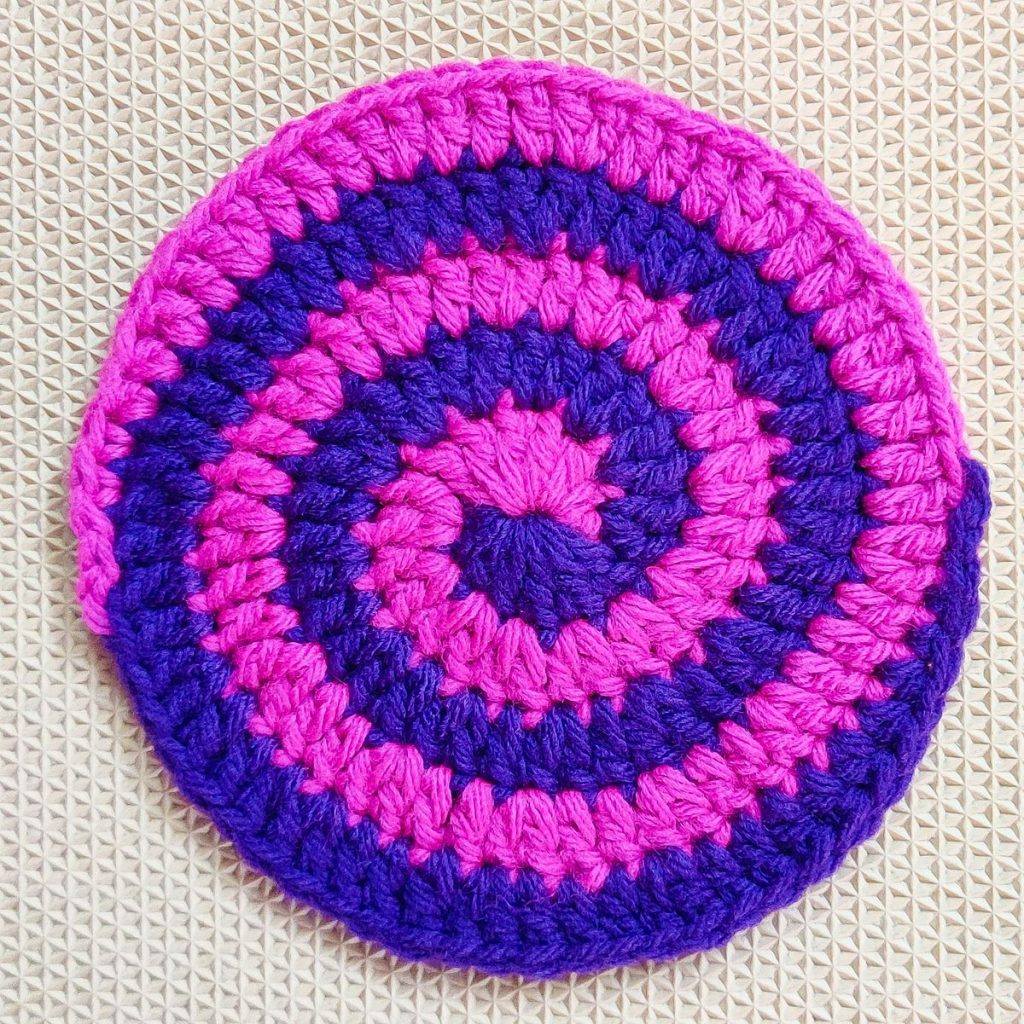
Learning the right structure is essential for achieving a clean and professional finish. A well-made spiral should look smooth, evenly shaped, and balanced. In this detailed Crochet a Spiral Tutorial, we will break down the entire process in simple, practical steps. Whether you are a beginner or an experienced crocheter looking to refine your technique, this guide will help you feel confident and inspired.
The foundation of any successful Crochet a Spiral Tutorial begins with understanding how spirals differ from traditional crochet rounds. Instead of closing each round with a slip stitch, spiral crochet continues working in a continuous motion. This creates a seamless look without visible joining lines.
To begin, most spiral projects start with a magic ring or a chain circle. The magic ring is often preferred because it allows you to tighten the center completely, avoiding holes. After creating the ring, you work single crochet stitches directly into it.
One important detail in spiral crochet is stitch marking. Because you are not joining rounds, it becomes easy to lose track of where each round begins. Placing a stitch marker in the first stitch of each round helps maintain accuracy and keeps your increases evenly distributed.
Increases are what form the spiral shape. Typically, you add stitches in a consistent pattern, such as increasing in every stitch of the first round, then every second stitch in the next round, and so on. This gradual expansion creates a flat, circular spiral.
Tension control is another key factor. If your tension is too tight, your spiral may curl inward. If it is too loose, the piece may become wavy. Practicing consistent tension will ensure your spiral lays flat and smooth.
Understanding these fundamentals makes following any Crochet a Spiral Tutorial much easier. Once you master the concept of continuous rounds and structured increases, you can confidently create spirals of any size.
Starting your Crochet a Spiral Tutorial step by step ensures you build a strong foundation. Begin with a magic ring and work six single crochet stitches into the ring. Pull the tail tightly to close the center.
For round one, place a stitch marker in the first stitch. Work two single crochet stitches into each stitch around. You should end this round with twelve stitches. Do not join; simply continue to the next round.
In round two, work one single crochet in the first stitch, then two single crochet in the next stitch. Repeat this pattern around. This increase pattern gradually widens your spiral while keeping it flat.
In round three, work one single crochet in each of the first two stitches, then two single crochet in the next stitch. Continue this sequence around. Each round adds one more single crochet between increases.
Continue expanding your spiral following the same logic. For round four, work three single crochet, then increase. For round five, work four single crochet, then increase. This structured method ensures symmetry.
Finish your spiral by cutting the yarn and fastening off neatly. If needed, use an invisible finish technique to create a smooth edge. By following this structured Crochet a Spiral Tutorial, you will achieve a clean, balanced shape every time.
One of the most exciting aspects of a Crochet a Spiral Tutorial is the variety of creative possibilities. You can experiment with color changes to create bold swirl effects. Simply switch yarn colors at the beginning of a round for a vibrant spiral pattern.
Another popular variation involves using different stitch heights. While single crochet is the most common, you can try half double crochet or double crochet for a looser, more textured spiral. Each stitch type creates a unique visual effect.
Textured spirals are also beautiful. Adding back loop only stitches can create subtle ridges that emphasize the spiral shape. This technique works wonderfully for decorative pieces and accessories.
If you want to create a three-dimensional spiral, slightly reduce the number of increases. This technique causes the piece to curve naturally, making it ideal for bowls or sculptural crochet art.
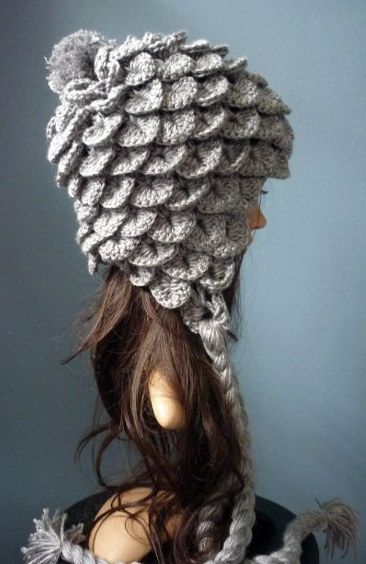
Combining spirals of different sizes can result in stunning appliqués. Small spirals can become flowers, embellishments for blankets, or decorative elements for bags and hats.
By exploring these variations within your Crochet a Spiral Tutorial, you move beyond the basics and begin developing your own creative style. The spiral technique becomes a foundation for limitless design ideas.
Consistency is essential when following a Crochet a Spiral Tutorial. Always count your stitches at the end of each round. Even one missing stitch can distort the spiral’s shape.
Using the right yarn and hook size also makes a difference. Beginners often find that medium-weight yarn and a comfortable hook size help maintain even tension and better stitch visibility.
Blocking can improve the final appearance of your spiral. Lightly steaming or shaping the piece ensures it lays flat and highlights the smooth curve of the design.
If your spiral begins to cup unintentionally, you may need more increases. If it starts to ripple, you may have added too many. Adjusting your increase rate solves most shape issues quickly.
Practice is key. The more you repeat the steps of this Crochet a Spiral Tutorial, the more natural the technique becomes. Over time, you will instinctively understand how increases affect the overall structure.
Finally, remember that crochet is a creative journey. Mistakes are part of learning. Each spiral you make will improve your skill, precision, and confidence.
What is the difference between spiral crochet and joined rounds?
Spiral crochet works continuously without joining at the end of each round, creating a seamless look. Joined rounds are closed with a slip stitch, forming visible round lines.
Why does my spiral curl instead of laying flat?
Curling usually happens when there are not enough increases. Make sure you follow the increase pattern carefully and maintain consistent tension.
Do I need a stitch marker for spiral crochet?
Yes, using a stitch marker is highly recommended in any Crochet a Spiral Tutorial. It helps track the beginning of each round and prevents counting mistakes.
Can beginners learn spiral crochet easily?
Absolutely. With clear instructions and patience, beginners can successfully follow a Crochet a Spiral Tutorial and create beautiful spirals.
What projects use spiral crochet techniques?
Spiral crochet is widely used in amigurumi, coasters, rugs, appliqués, hats, and decorative motifs. It is a versatile technique with many applications.
How do I change colors in a spiral pattern?
To change colors smoothly, switch yarn at the final yarn-over of the previous stitch. This ensures a clean and professional transition.
In this complete Crochet a Spiral Tutorial, you learned the essential techniques for creating smooth and balanced spiral designs. We explored the basics of continuous rounds, step-by-step instructions, creative variations, and practical tips for achieving professional results. Understanding how increases shape your spiral and maintaining consistent tension are the keys to success.
Now it is your turn to put this knowledge into practice. Try experimenting with colors, textures, and different stitch heights to create unique designs. I would love to hear your honest opinion about this tutorial. Did it help you understand the spiral technique better? Leave your thoughts and suggestions, and share how you plan to use spiral crochet in your next project.

