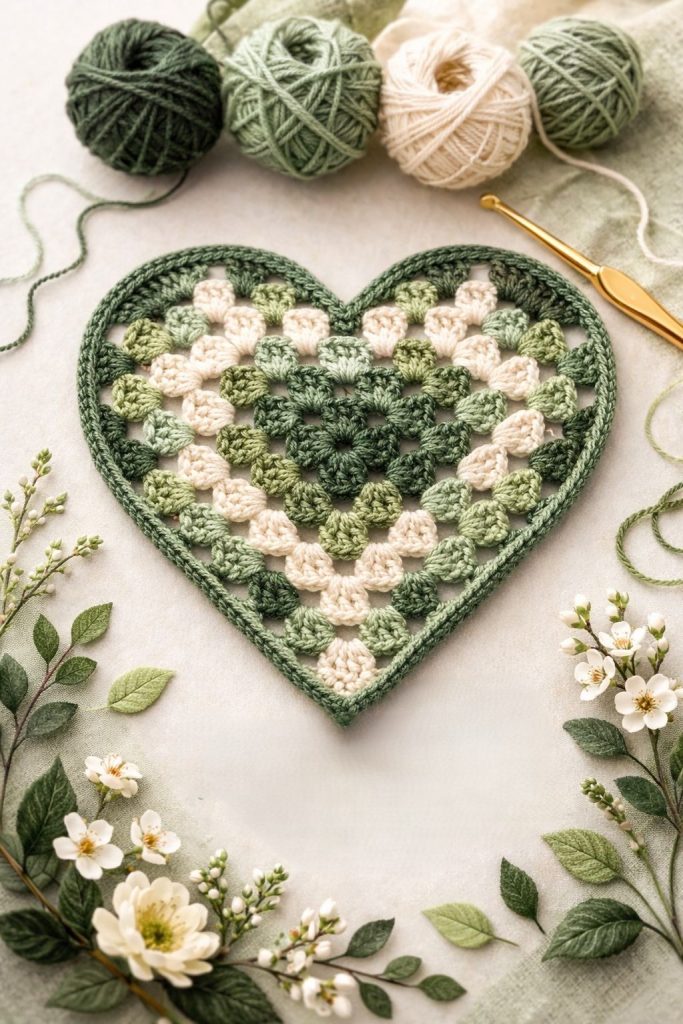
Crochet Easter Garland Tutorial
Crochet basic granny square Tutorial is the perfect starting point for anyone who wants to learn crochet in a simple, structured, and enjoyable way.
If you’ve ever admired colorful blankets, cozy pillow covers, or stylish handmade bags, chances are they were created using the timeless and versatile granny square pattern. This classic square is one of the most recognizable motifs in the crochet world, and mastering it opens the door to countless creative possibilities. Whether you are a complete beginner or someone looking to refresh your foundational skills, this comprehensive guide will walk you through everything you need to know.
The beauty of the Crochet basic granny square Tutorial lies in its simplicity. Built from repeating clusters of stitches, the granny square teaches essential techniques such as chain stitches, double crochet, slip stitches, and working in the round. These foundational crochet skills are the backbone of many advanced projects. By understanding how a granny square is formed, you’ll gain confidence in reading patterns, counting stitches, and managing tension. With practice, what once seemed complicated becomes rhythmic and relaxing.
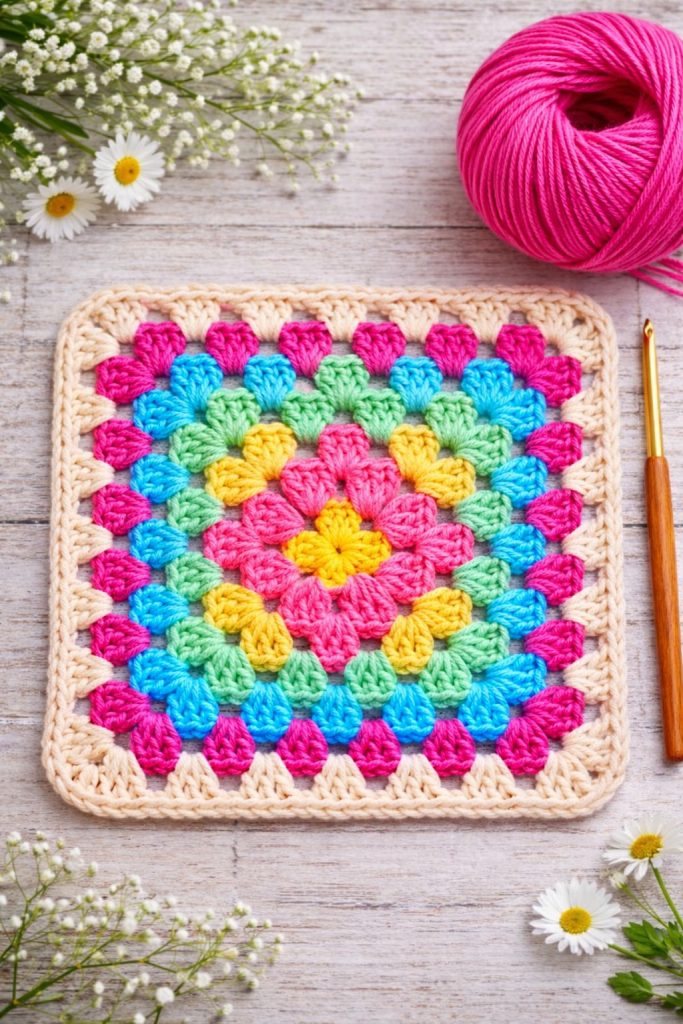
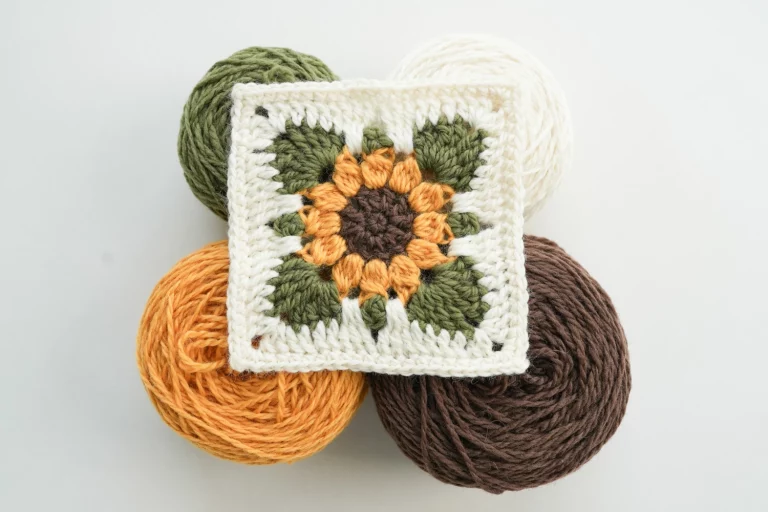
Another reason why the Crochet basic granny square Tutorial remains so popular is its flexibility. You can use a single color for a minimalist look or change colors at every round for a vibrant, vintage aesthetic. Granny squares can be joined together to create blankets, cardigans, scarves, table runners, and even modern fashion accessories. Because each square is small and portable, it’s also ideal for crocheting on the go. Now, let’s dive deeper into the step-by-step process and essential techniques behind this timeless crochet staple.
The first step in mastering the Crochet basic granny square Tutorial is understanding the materials you need. A medium-weight yarn, often labeled as worsted weight, is ideal for beginners because it’s easy to see your stitches. Pair this with a crochet hook size recommended on the yarn label, usually between 4.0 mm and 5.5 mm. Choosing the right hook size ensures your stitches are neither too tight nor too loose.
Next, it’s important to understand the basic stitches used in the granny square pattern. The core stitches include the chain stitch (ch), double crochet (dc), and slip stitch (sl st). These stitches form clusters that create the square’s signature look. Each cluster typically consists of three double crochet stitches worked into the same space, separated by chain stitches to form corners.
The process begins with creating a foundation ring. Many beginners use a simple chain-4 joined with a slip stitch to form a loop. Others prefer the magic ring technique for a tighter center. In a traditional Crochet basic granny square Tutorial, the chain loop method is more common and easier for beginners to manage.
After forming the ring, you’ll work the first round by creating clusters separated by chain stitches. Usually, you make three double crochets, chain two to form a corner, and repeat this pattern four times to create the square shape. The chain-two spaces are crucial because they define the corners of the square.
As you complete the first round, you’ll join with a slip stitch to the top of the starting chain. This closes the round and forms the square’s initial shape. Even though it may look circular at first, the corner spaces create the structure needed for the square to emerge.
Understanding this foundation makes every subsequent round easier. Each new round builds on the previous one by placing clusters into the corner spaces and side gaps. This repeating structure is what makes the Crochet basic granny square Tutorial beginner-friendly and incredibly satisfying to follow.
To begin your Crochet basic granny square Tutorial, start by making a slip knot and chaining four stitches. Join with a slip stitch into the first chain to form a loop. This loop serves as the center of your granny square and will hold your first round of stitches.
Chain three stitches to act as your first double crochet. Then work two additional double crochets into the center loop. This forms your first cluster. Chain two stitches to create the first corner space. Remember, corners always consist of chain-two spaces in a basic granny square.
Next, create three more double crochets into the center loop to form the second cluster. Chain two again for the next corner. Repeat this process until you have four clusters separated by chain-two spaces. You should see a square shape beginning to form as you complete the round.
Join the round with a slip stitch to the top of your starting chain three. For the second round, slip stitch into the next two stitches and into the corner space. Chain three and work two double crochets into the same corner space, chain two, and work three more double crochets in the same corner. This forms a corner cluster.
Move to the next corner space and repeat the process: three double crochets, chain two, three double crochets. Continue around until all four corners are complete. Join with a slip stitch to close the round. You will notice the square growing evenly on all sides.
Additional rounds follow the same logic. In side spaces between clusters, work three double crochets. In each corner space, work three double crochets, chain two, and three double crochets. This repetition is the heart of the Crochet basic granny square Tutorial and ensures symmetrical growth.
While following a Crochet basic granny square Tutorial, beginners often struggle with tension. If your square curls inward, your stitches may be too tight. If it looks floppy or uneven, your stitches may be too loose. Practicing consistent hand positioning helps maintain balanced tension.
Another common mistake is miscounting clusters. Each side of the square should have an equal number of clusters as you increase rounds. Carefully counting your stitches at the end of each round ensures your square stays even and proportional.
Skipping corner spaces can also distort the square shape. Corners must always include the chain-two space between two sets of three double crochets. Missing this detail can cause the square to lose its defined edges.
Twisting your starting chain when forming the initial loop is another issue. Make sure the chain is not twisted before joining with a slip stitch. A twisted foundation can make the center look uneven or bulky.
Forgetting to join rounds properly can create a spiral effect rather than defined rounds. Always finish each round with a slip stitch in the correct stitch to maintain structure in your Crochet basic granny square Tutorial.
Finally, weaving in ends securely is essential. Loose ends can unravel over time. Use a yarn needle to weave tails back and forth through stitches to ensure durability and a professional finish.
Once you master the Crochet basic granny square Tutorial, you can explore creative applications. One of the most popular projects is the classic granny square blanket. By joining multiple squares together, you can create a cozy and colorful throw perfect for any season.
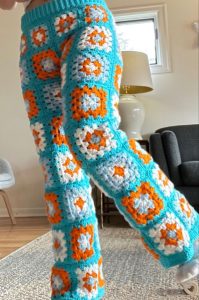
Granny square cardigans have also become trendy in modern fashion. By arranging squares strategically, you can construct sleeves, back panels, and fronts. The modular nature of granny squares makes garment construction surprisingly manageable.
Home décor projects are another fantastic option. Pillow covers, table runners, and wall hangings made from granny squares add texture and warmth to any space. You can customize colors to match your interior design theme.
Small accessories like bags and pouches are ideal for practicing joining techniques. The sturdy structure of granny squares makes them excellent for creating reusable market bags or stylish clutches.
If you enjoy gifting handmade items, granny square baby blankets are thoughtful and meaningful presents. Soft yarns and gentle color palettes create beautiful keepsakes that families cherish for years.
You can also experiment with different color changes, textured stitches, or larger hooks for a looser drape. The Crochet basic granny square Tutorial serves as a foundation that encourages creativity and endless experimentation.
What is the easiest yarn for beginners learning the Crochet basic granny square Tutorial?
Medium-weight acrylic or cotton yarn is usually best because it’s durable, affordable, and easy to see while stitching.
How many rounds should a basic granny square have?
There is no fixed rule. Many beginners start with 4 to 6 rounds, but you can continue adding rounds until you reach your desired size.
Why does my granny square look round instead of square?
This usually happens if corner spaces are missing or incorrectly made. Always include chain-two spaces at each corner.
Can I use different stitches in a granny square?
Yes, once you understand the basic structure from the Crochet basic granny square Tutorial, you can experiment with variations and textured stitches.
How do I join granny squares together?
Common joining methods include whip stitch, slip stitch join, and join-as-you-go techniques. Each method creates a slightly different look.
Is blocking necessary for granny squares?
Blocking helps even out stitches and create crisp edges, especially if you plan to join multiple squares into a large project.
In this comprehensive Crochet basic granny square Tutorial, you learned the essential materials, foundational stitches, step-by-step construction process, common mistakes to avoid, and creative project ideas. The granny square is more than just a beginner motif—it is a timeless building block for countless crochet creations.
By practicing consistent tension, counting stitches carefully, and understanding corner construction, you can confidently create perfectly shaped squares every time. Now it’s your turn to pick up your hook and start stitching. I would love to hear your honest opinion about this tutorial and any suggestions you may have for future crochet guides. Your feedback helps inspire even more creative content. Happy crocheting!


