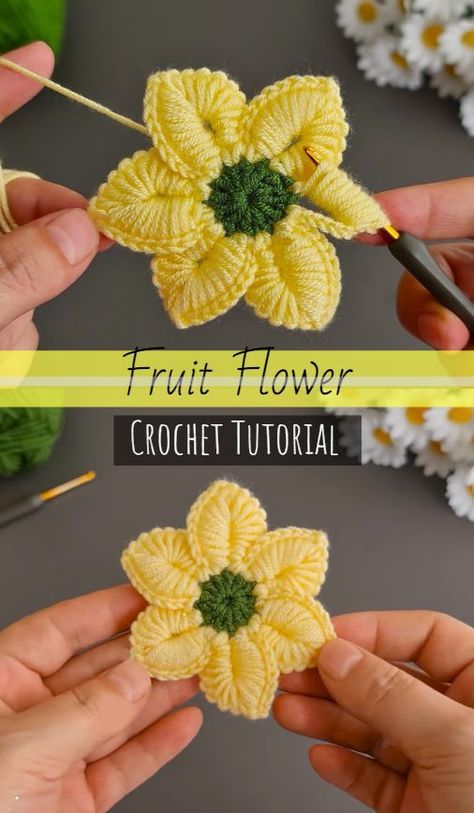
Crochet Fruit Flower Pattern
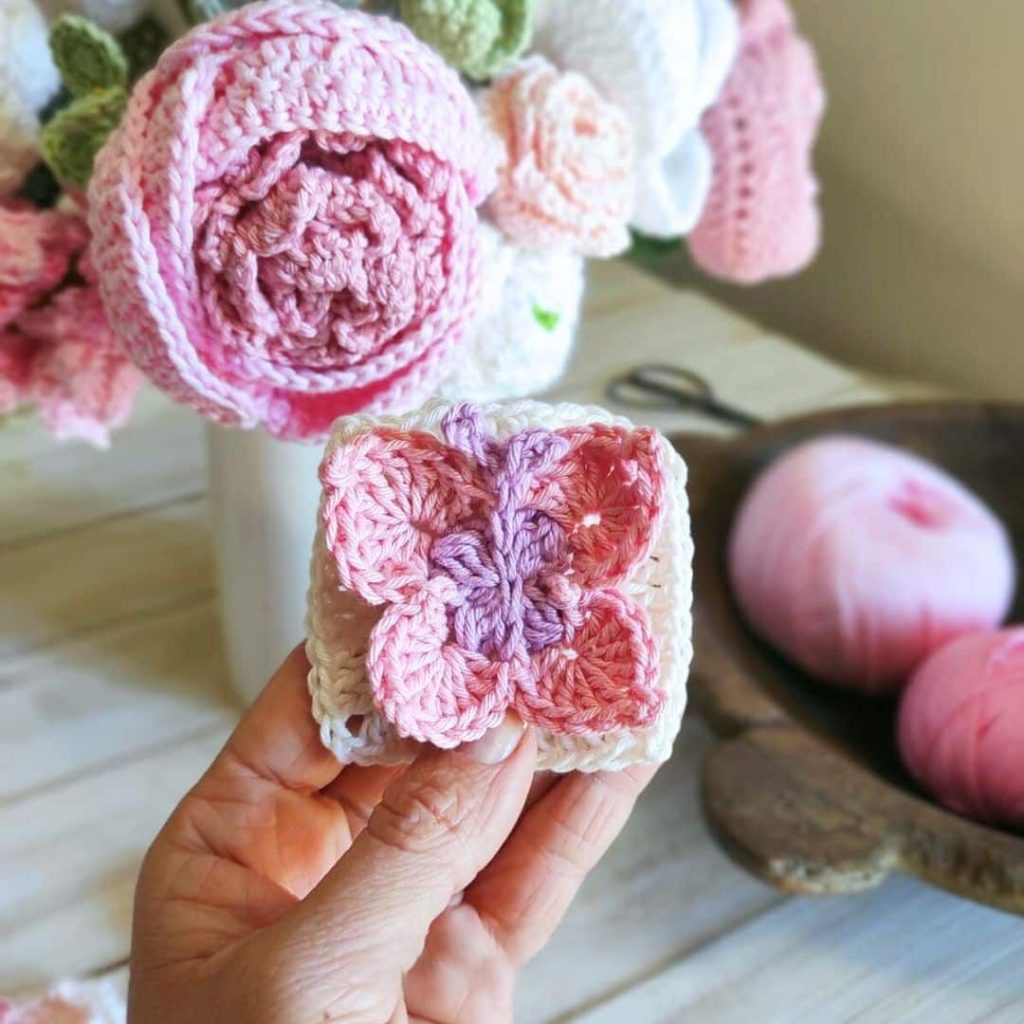
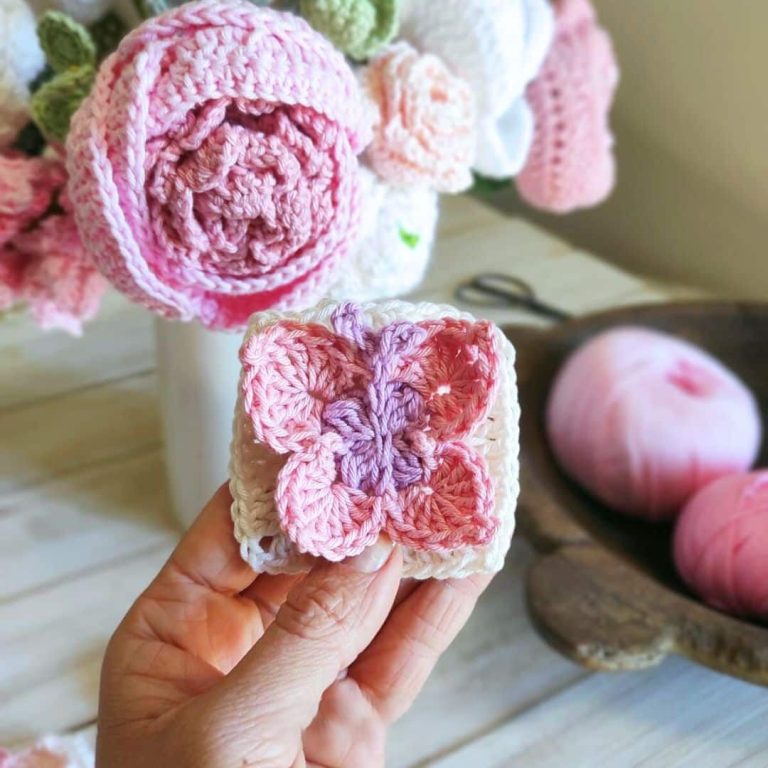
Crochet Butterfly square Pattern is a charming and versatile design that brings texture, color, and delicate beauty to handmade projects.
Whether you are creating a cozy blanket, a decorative pillow cover, or a stylish tote bag, the Crochet Butterfly square Pattern offers a creative way to combine classic granny square structure with an elegant butterfly motif. This pattern is especially popular among crafters who love detailed yet relaxing crochet projects that can be customized with endless color combinations.
When you explore the world of crochet, you quickly realize that square motifs are the foundation of many timeless projects. The Crochet Butterfly square Pattern stands out because it merges visual storytelling with practical construction. The butterfly, often associated with transformation and creativity, adds personality to each square. At the same time, the structured shape ensures that the squares can be easily joined into larger pieces without distortion or uneven edges.
In today’s crafting community, there is a growing appreciation for mindful, handmade creations. The Crochet Butterfly square Pattern fits perfectly into this trend because it allows crocheters to slow down and focus on stitch definition, color harmony, and finishing techniques. This article will guide you through everything you need to know about this pattern, including materials, step-by-step instructions, customization ideas, and expert tips to ensure professional results. If you are looking to expand your crochet skills while creating something beautiful and meaningful, this guide is for you.
The foundation of the Crochet Butterfly square Pattern begins with a central motif that forms the butterfly shape. Unlike a traditional granny square that starts with simple clusters, this pattern often incorporates layered stitches and strategic color changes to define the wings and body. Understanding the structure is essential before starting, as it helps you visualize how each round builds upon the previous one.
Typically, the butterfly motif is created in the center using basic stitches such as chain stitches, double crochet, and slip stitches. These stitches are arranged carefully to create symmetry between the left and right wings. Precision in counting stitches is crucial, as even a small mistake can affect the final alignment of the square.
After completing the butterfly center, the pattern transitions into forming the square shape. This is usually achieved by adding corner spaces and gradually expanding outward in rounds. The transformation from a circular or decorative center into a square frame is one of the most satisfying aspects of the Crochet Butterfly square Pattern.
Maintaining even tension throughout the project ensures that the square lays flat. Uneven tension may cause curling or puckering, especially around the butterfly wings. Blocking the finished square can also help define the shape and enhance stitch clarity.
Choosing the right yarn plays a significant role in highlighting the details of the butterfly. Cotton yarn is often preferred for its stitch definition, while acrylic yarn offers softness and affordability. The key is selecting a yarn that complements the intricate design of the Crochet Butterfly square Pattern.
Finally, understanding the stitch abbreviations and reading the pattern carefully before beginning will save time and frustration. Even beginners can master this pattern with patience and practice, as it relies mostly on foundational crochet techniques.
Selecting appropriate materials is the first step toward achieving a polished result with the Crochet Butterfly square Pattern. The most commonly recommended yarn weight for this pattern is worsted weight or DK weight, as these provide enough structure to showcase the butterfly design clearly.
A crochet hook that matches your chosen yarn weight is essential. Most yarn labels suggest a hook size, but many crocheters adjust slightly depending on their tension. Testing your gauge before starting multiple squares ensures consistency across your project.
Stitch markers are incredibly helpful when working on detailed sections of the butterfly motif. They can mark wing edges, corner spaces, or important stitch counts, preventing mistakes that may require unraveling several rounds.
Scissors and a yarn needle are necessary for trimming and weaving in ends neatly. Because the Crochet Butterfly square Pattern often involves color changes, careful finishing is crucial to keep the back of your work tidy and secure.
Blocking tools such as a foam board and rust-proof pins can elevate your finished squares. Blocking helps shape the butterfly wings and ensures that all corners of the square are crisp and even, especially if you plan to join multiple squares together.
Lighting and workspace comfort should not be overlooked. Working in a well-lit area reduces eye strain and helps you see stitch details clearly. Comfortable seating supports longer crafting sessions, making the crochet experience more enjoyable.
To begin the Crochet Butterfly square Pattern, create a magic ring or foundation chain loop. This forms the center of the butterfly body. Work the required stitches into the ring, usually combining double crochet clusters and chain spaces to shape the initial round.
In the second round, you will typically start defining the butterfly wings. This may involve increasing stitches in specific sections to create a gentle curve. Pay close attention to stitch placement to maintain symmetry on both sides.
The third round often enhances the wing structure by adding layered stitches or color accents. Changing yarn colors at this stage can make the butterfly stand out against the background. Always complete the final yarn-over of the previous stitch with the new color for a clean transition.
As you continue, the pattern shifts from the butterfly motif to forming the square. Corners are created using chain spaces, usually consisting of chain-two or chain-three stitches between clusters. This technique gradually transforms the central design into a square shape.
In subsequent rounds, maintain consistent stitch counts along each side. This ensures that your Crochet Butterfly square Pattern remains balanced and easy to join later. Counting stitches at the end of each round is a helpful habit.
Finish the square by fastening off the yarn and weaving in all loose ends securely. Light blocking can improve the overall appearance, giving your square a professional and polished finish ready for assembly.
One of the greatest advantages of the Crochet Butterfly square Pattern is its versatility. Multiple squares can be joined together to create a stunning afghan or blanket. By alternating background colors while keeping the butterfly motif consistent, you can achieve a cohesive yet dynamic design.
This pattern also works beautifully for cushion covers. A set of four to nine squares joined into a panel can instantly transform a living space with handmade charm. Soft pastel butterflies create a gentle aesthetic, while bold contrasts make a striking statement.
For wearable projects, consider incorporating the Crochet Butterfly square Pattern into cardigans or lightweight shawls. Joining squares strategically allows you to create custom-fit garments that showcase your crochet skills.
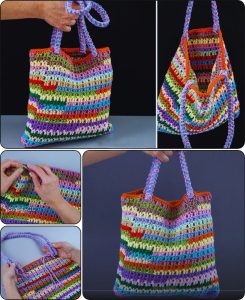
Tote bags and market bags are another practical application. Reinforcing the squares with lining fabric ensures durability while maintaining the delicate appearance of the butterfly motif.
Baby blankets made with this pattern are especially meaningful gifts. Choosing soft, hypoallergenic yarn ensures comfort and safety, while the butterfly design adds a playful and sweet touch.
You can also use a single square as a decorative wall hanging. Adding a border or tassels enhances the presentation, turning your crochet work into a piece of textile art.
Color selection dramatically impacts the final look of the Crochet Butterfly square Pattern. Using gradient yarn for the wings can create a realistic and eye-catching effect. Alternatively, monochromatic palettes provide elegance and simplicity.
Experimenting with textured stitches can add dimension. Puff stitches or bobble stitches within the wings create a raised, three-dimensional appearance that enhances visual interest.
Adjusting the size of your square is possible by adding extra border rounds. This flexibility allows you to tailor the pattern to different project dimensions without altering the central butterfly motif.
If you prefer a more minimalist look, use subtle color transitions between the butterfly and background. High contrast emphasizes the motif, while low contrast blends it softly into the square.
Combining the Crochet Butterfly square Pattern with other square motifs can produce a sampler-style blanket. This approach keeps large projects engaging and varied.
Finally, always make a sample square before committing to a large project. This allows you to test color combinations, gauge, and overall appearance, ensuring satisfaction with your final creation.
What skill level is required for the Crochet Butterfly square Pattern?
The pattern is generally suitable for confident beginners to intermediate crocheters. Basic knowledge of chain stitches, double crochet, and working in rounds is helpful.
How long does it take to complete one square?
The time varies depending on experience and yarn weight, but most crocheters can complete a square within one to two hours.
Can I use different yarn weights?
Yes, you can adapt the Crochet Butterfly square Pattern to various yarn weights. Keep in mind that changing yarn weight will alter the final size of the square.
How do I join multiple squares together?
Squares can be joined using slip stitch, single crochet, or whip stitch methods. Choose a joining technique that complements the overall look of your project.
Why is my square curling?
Curling may occur due to tight tension or incorrect stitch counts. Blocking often resolves minor curling issues.
Is blocking necessary?
While not mandatory, blocking significantly improves the shape and stitch definition of the finished square.
Video Tutorial
Throughout this comprehensive guide, we explored every essential aspect of the Crochet Butterfly square Pattern, from understanding its structure and selecting materials to following a detailed step-by-step process. We also discussed creative project ideas and customization tips to help you make each square uniquely yours. By mastering this pattern, you gain the ability to create meaningful handmade pieces filled with color, texture, and personality.
The Crochet Butterfly square Pattern is more than just a decorative motif; it is an opportunity to express creativity and build confidence in your crochet skills. With patience, attention to detail, and thoughtful color choices, you can transform simple yarn into stunning works of art.
I would love to hear your honest opinion about this guide. Did it help you feel confident about starting your own butterfly squares? Please share your thoughts, experiences, and suggestions. Your feedback inspires future creative content and helps build a supportive crochet community.


