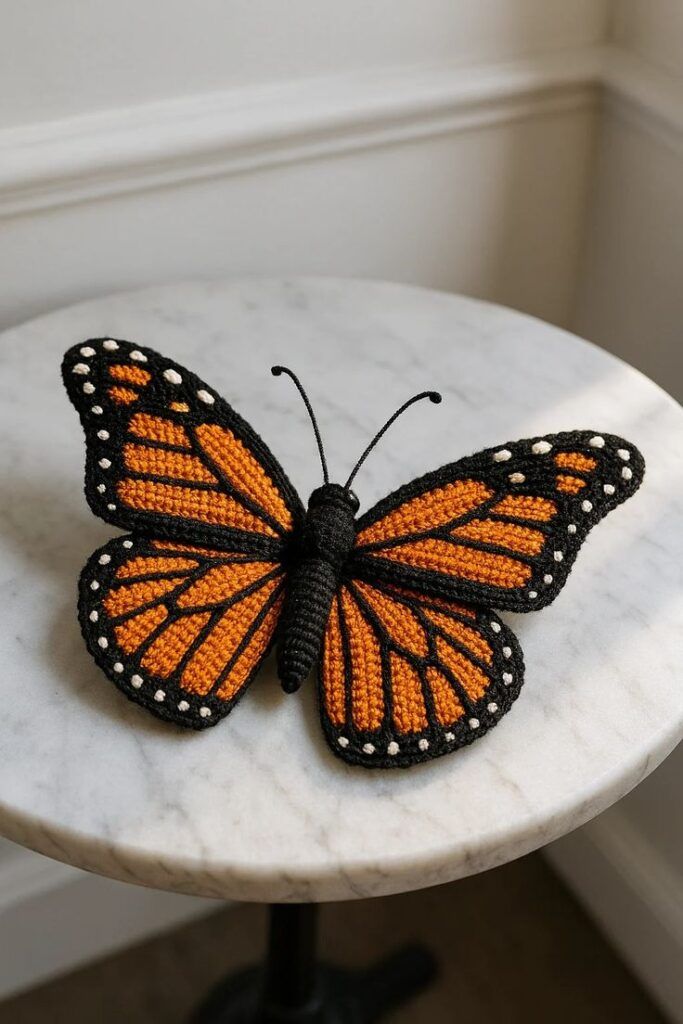
How to Make a Monarch Butterfly Crochet Pattern
The art of crafting a Crochet Crown offers a charming way to blend creativity with tradition. In this guide, we will explore every detail you need to design and create your very own Crochet Crown masterpiece. Whether you are making it for a birthday, a festival, or simply to add a playful touch to your crochet collection, this pattern ensures your project stands out beautifully.
The beauty of the Crochet Crown lies in its versatility and ease. Using just a few simple materials and stitches, even beginners can achieve a stunning result. The process becomes a delightful journey, transforming basic yarn and hooks into a unique accessory that symbolizes elegance and fun.
In the sections below, we’ll cover everything from choosing the right yarn to finishing touches, along with a detailed, beginner-friendly pattern. Let’s dive into the magical world of Crochet Crown making and create a piece worthy of any celebration.

The first step to making a perfect Crochet Crown is selecting the best materials. For a crown that feels soft yet holds its shape, choose a worsted weight cotton or acrylic yarn. These yarns are durable and provide the necessary stiffness once blocked or starched.
Next, pick a crochet hook that matches your yarn size. Typically, a 4mm (G-6) or 4.5mm (7) hook works well for this type of project. Using a slightly smaller hook can make your Crochet Crown tighter and more structured, while a larger hook creates a looser, softer feel.
Color choice plays an important role too. Classic gold or royal purple are popular for a regal look, but don’t hesitate to try pastel shades for baby crowns or bright colors for festivals. Remember, the Crochet Crown reflects your personality and style.
For embellishments, consider beads, pearls, or sequins. Sew them onto the finished crown or add them into stitches as you go. This step adds an extra layer of charm and uniqueness to your Crochet Crown.
Before starting, measure the head circumference of the person who will wear the crown. A standard adult head is about 22 inches (56 cm), while children typically measure around 18–20 inches (46–51 cm). This measurement ensures your crown fits comfortably.
Finally, gather basic tools: scissors, a yarn needle for weaving in ends, and optional fabric stiffener or spray starch to give your Crochet Crown its final shape. With materials ready, it’s time to start crocheting!
Let’s create a beautiful Crochet Crown with clear, simple steps. This pattern is written for a child-size crown measuring about 19 inches (48 cm) in circumference, adjustable by adding or removing repeats.
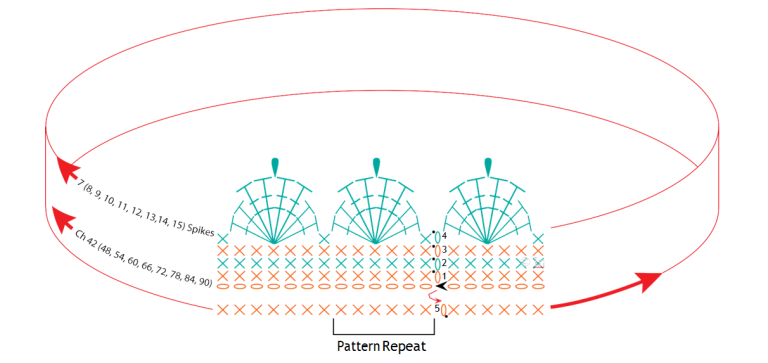
Foundation Row:
– Using worsted weight yarn and a 4mm hook, chain 76 (or any multiple of 12 + 4 for your head measurement).
– Join with a slip stitch to form a ring, being careful not to twist.
Round 1:
– Chain 1, single crochet (sc) in each chain around.
– Join with a slip stitch to the first sc.
Round 2:
– Chain 3 (counts as first double crochet – dc), dc in next stitch and around.
– Join with a slip stitch.
Round 3:
– Skip next stitch, dc in next stitch, chain 2, dc in skipped stitch (crossed dc made). Repeat from * around.
– Join with a slip stitch.
Round 4:
– Chain 1, sc in each stitch and chain space around.
– Join with a slip stitch.
Round 5 (Points):
– Skip next stitch, in next stitch: (dc, chain 2, dc, chain 2, dc), skip next stitch, slip stitch in next stitch. Repeat from * around.
– Join and fasten off.
For measurements and cuts, if making a decorative padded crown instead of lace style:
– Cut a fabric strip 3 inches (7.5 cm) wide and as long as your head measurement plus 1 inch (2.5 cm) for overlap.
– Cut thin quilt batting the same size for padding.
– Crochet over this strip for a soft, structured crown effect.
Block your Crochet Crown by pinning it to a foam board and spraying lightly with water or starch. Let it dry completely for crisp points.
Adding decoration transforms a basic Crochet Crown into something extraordinary. Use beads or sequins stitched onto each peak for a royal sparkle. Choose colors that complement your yarn for a harmonious look.
If you want a more playful feel, attach small pom-poms to each point of the crown. This technique works beautifully for children’s party crowns or festive occasions. Use lightweight pom-poms so they don’t weigh down the tips.
Ribbons also add charm. Weave a thin satin ribbon through the base row or tie small bows at intervals around your Crochet Crown. Match or contrast the ribbon color depending on your design preference.
For a firm structure, brush fabric stiffener onto the finished crown, shaping the points as it dries. This step keeps the crown upright and maintains its shape over time, especially useful for costume or photography props.
Personal touches make each Crochet Crown unique. Add initials with embroidery, small crochet flowers, or even tiny charms. This approach is perfect for birthday crowns or personalized gifts.
Lastly, weave in all ends securely and check the crown’s fit. Adjust if necessary by adding or removing pattern repeats or using elastic at the base for a flexible, snug fit.
One great advantage of making a Crochet Crown is how easily you can adapt it. Change the number of stitches in the foundation row to make it larger or smaller. Remember: add or remove repeats in multiples of 12 for this pattern.
Experiment with different yarn weights. A lighter weight yarn and smaller hook create a delicate, lacy crown, perfect for babies or newborn photo shoots. Chunky yarn and a larger hook produce a bold, statement crown.
Adjust the height of the points by changing the number of chains in Round 5. Adding extra chains creates taller, more dramatic points, while fewer chains make a subtle, gentle crown shape.
Combine yarn textures, like metallic threads or glitter yarns, for a luxurious feel. These yarns catch light beautifully and add an elegant shine to your Crochet Crown.
If you’d like a double-layered crown for extra strength and thickness, crochet two identical crowns and sew them together along the base. Add a thin foam or batting layer between them for a padded look.
Lastly, share your finished Crochet Crown online or in crochet groups for inspiration. Many crafters enjoy seeing unique adaptations, and you may inspire someone else with your creative choices!
Creating your own Crochet Crown is a rewarding journey that combines creativity, skill, and personal expression. With simple materials and this clear step-by-step pattern, anyone can craft a crown fit for royalty.
Remember to measure carefully, choose your colors and decorations thoughtfully, and enjoy the process. Whether for a birthday, festival, or fun dress-up accessory, a Crochet Crown adds a magical touch to any occasion.
If you try this pattern, share your results! We’d love to hear your tips, see your unique designs, or answer any questions you have about the process. Your creativity makes the world of crochet even richer.
Did you enjoy this tutorial? Leave a comment below, share it with fellow crocheters, and let us know what other crochet patterns you’d like to see next!

