Mitered Granny Squares are a delightful variation of the classic granny square pattern. They have gained immense popularity among crochet enthusiasts for their unique shape and versatility.
Unlike the traditional granny square, mitered versions feature a diagonal design that creates an eye-catching effect, making them perfect for modern and creative crochet projects. If you are a fan of crochet, this technique is a must-learn!
Advertising
Whether you are new to crochet or have years of experience, mitered granny squares offer an opportunity to challenge your skills and explore innovative designs. These squares are not only fun to make but also incredibly practical, as they can be used in projects ranging from blankets and scarves to bags and home decor. The combination of classic granny square elements and the diagonal twist adds a fresh perspective to any project.
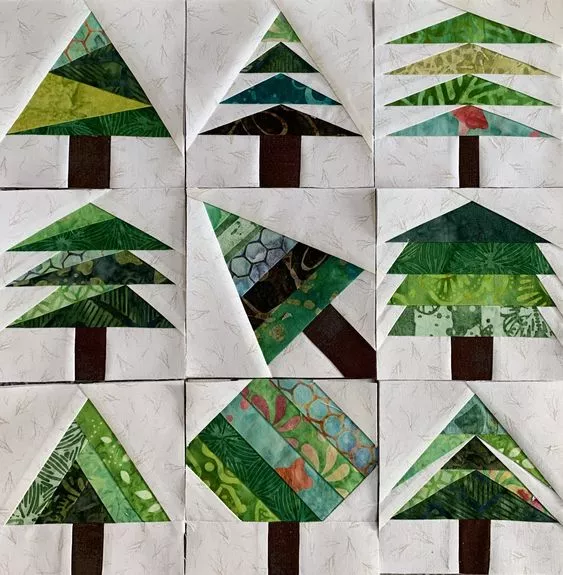
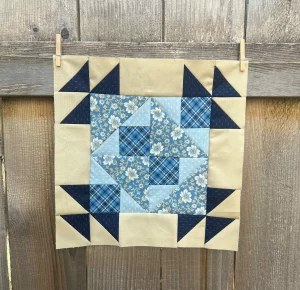
Image From Pinterest
In this article, we will explore everything you need to know about mitered granny squares. From understanding the basics to advanced tips for customization, we’ve got you covered. Let’s dive into this exciting crochet journey and create stunning pieces that you’ll be proud to show off!
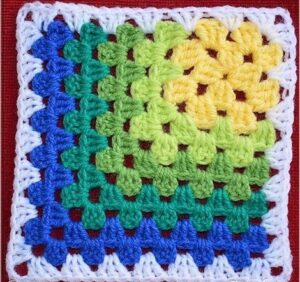
Mitered granny squares are a type of crochet pattern that builds on the traditional granny square but with a mitered or diagonal effect. Instead of working in a symmetrical pattern outward, the stitches are arranged to create a diagonal line across the square, giving it a striking appearance. This design makes it stand out while still retaining the charm of classic crochet techniques.
Unique Diagonal Design: The main feature of mitered granny squares is the diagonal line that runs through the center. This is achieved by strategically increasing or decreasing stitches as you work through the pattern.
Versatility: Mitered granny squares can be used in a variety of projects. Whether you’re making a colorful throw or a chic bag, these squares can elevate your designs.
Color Play: One of the most exciting aspects of this pattern is the opportunity to experiment with colors. By using contrasting or complementary shades, you can enhance the diagonal effect and make your projects visually stunning.
Skill Level: While they may look complex, mitered granny squares are accessible to crocheters of all levels. Beginners can follow simple patterns, while more experienced crafters can explore intricate variations.
Customizable Size: These squares can be made in any size, depending on your project requirements. From tiny motifs to large centerpiece designs, the possibilities are endless.
Connection Options: Once your squares are complete, you can join them using different methods, such as slip stitching, whip stitching, or decorative joins, to create a seamless and cohesive look.
How to Crochet Mitered Granny Squares
To begin your journey with mitered granny squares, it’s important to familiarize yourself with the basic steps. Here’s a step-by-step guide to help you master this beautiful crochet technique.
Advertising
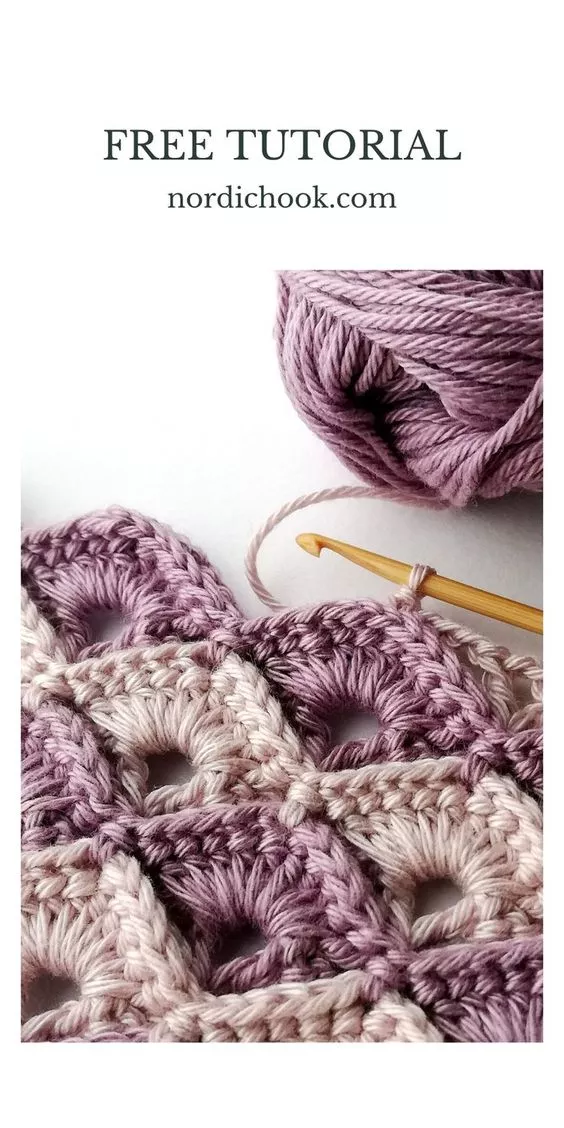
Materials Needed: Start with the right materials. You’ll need yarn in your desired colors, a matching crochet hook, scissors, and a tapestry needle. Choosing high-quality yarn ensures better results.
Foundation Chain: Begin with a foundation chain. The length will depend on the size of the square you want to create. Typically, starting with an even number of chains works best.
First Row Setup: Work your first row by creating clusters of double crochet stitches (or the stitch pattern required). Ensure you follow the pattern instructions carefully to establish the diagonal line.
Shaping the Square: The mitered effect is achieved by making increases or decreases at specific points in each row. This creates the diagonal shape that defines the pattern.
Changing Colors: To add visual interest, switch colors at regular intervals. Use a clean join technique to maintain a neat appearance.
Finishing Touches: Once your square is complete, weave in the ends using a tapestry needle. This step is crucial for a polished and professional look.
Creative Ideas for Mitered Granny Squares
Mitered granny squares offer endless possibilities for creativity. Here are some inspiring ideas to incorporate this pattern into your projects:
Blankets and Afghans: Combine multiple squares in different colors to create cozy and vibrant blankets. Arrange them in a mosaic-like pattern for added flair.
Pillows and Cushions: Use mitered squares to design decorative pillow covers. Mix and match colors to complement your home decor.
Scarves and Shawls: Create a chic accessory by joining several mitered squares into a scarf or shawl. Experiment with gradient yarns for a stunning effect.
Bags and Totes: Use sturdy yarn to crochet mitered granny squares for bags. Add a lining and straps to complete the look.
Wall Hangings: Design unique wall art by arranging squares in an abstract pattern. This can be a great conversation starter in your home.
Wearables: Incorporate mitered squares into garments such as cardigans, vests, or skirts. This adds a handmade touch to your wardrobe.
Tips for Perfecting Mitered Granny Squares
Achieving flawless mitered granny squares requires attention to detail and practice. Here are some expert tips to help you:
Practice Consistent Tension: Maintaining even tension throughout your work ensures uniformity in size and shape.
Use Stitch Markers: Place stitch markers at key points to track increases or decreases. This prevents mistakes and saves time.
Block Your Squares: Blocking helps to shape and even out your squares. Simply dampen the square, pin it to the desired size, and let it dry.
Experiment with Yarn Weights: Different yarn weights can create varied effects. Try lightweight yarn for delicate designs or bulky yarn for a cozy look.
Follow a Pattern: Start with a written or video tutorial to get a clear understanding of the technique. As you gain confidence, you can create your own designs.
Join Neatly: Choose a joining method that complements your project. Seamless joins create a polished appearance, while decorative joins can add texture
FAQ: Common Questions About Mitered Granny Squares
Q: What is the difference between mitered and traditional granny squares? A: The main difference lies in the design. Traditional granny squares are symmetrical, while mitered squares feature a diagonal line that creates a more dynamic look.
Q: Are mitered granny squares suitable for beginners? A: Yes! While they may seem complex at first, beginners can follow simple patterns and gradually build their skills.
Q: How do I change colors in mitered granny squares? A: To change colors, finish the last stitch of the row with the new color. This ensures a clean transition without loose ends.
Q: Can I use different stitches in mitered granny squares? A: Absolutely! You can incorporate various stitches, such as half-double crochet or treble crochet, to add texture and depth.
Q: What is the best way to join mitered granny squares? A: The best method depends on your project. Slip stitching creates a seamless join, while whip stitching is quick and easy.
Q: How can I customize the size of my squares? A: To customize the size, simply add or reduce the number of rows. Keep in mind that consistent increases or decreases are key to maintaining the mitered effect.
Mitered granny squares are a versatile and creative addition to any crochet repertoire. Their unique diagonal design opens up endless possibilities for projects, from home decor to wearable art. By mastering this technique and experimenting with colors and stitches, you can create truly stunning pieces that showcase your skills.
We hope this guide has inspired you to try mitered granny squares in your next project. If you found this article helpful, please leave your thoughts and suggestions below. We’d love to hear about your experiences and see your creations!


