
Easter Bunny Basket - Crochet Pattern
The Wheat Stitch Pumpkin – Crochet Pattern is a charming and seasonal project that combines texture, style, and the cozy feel of fall. Whether you are preparing decorations for your home, looking for a thoughtful handmade gift, or simply wanting to explore new crochet stitches, this pattern offers an enjoyable crafting experience. The wheat stitch creates a beautiful, raised texture that resembles bundles of wheat in a field, making it perfect for autumn-themed items. With a bit of yarn and your crochet hook, you can bring a pumpkin to life that looks stylish in any setting.
Crocheting pumpkins has become increasingly popular in recent years because they are versatile, reusable, and eco-friendly compared to store-bought décor. The Wheat Stitch Pumpkin – Crochet Pattern adds a unique twist to this trend, focusing on stitch definition and a tactile finish. This project is suitable for intermediate crocheters but can also be attempted by confident beginners willing to learn new techniques. The combination of shaping, stitch work, and assembly offers a satisfying challenge and a stunning final result.
One of the best things about working with the Wheat Stitch Pumpkin – Crochet Pattern is its adaptability. You can create pumpkins in different sizes by adjusting yarn weight, hook size, and stitch count. Plus, you can choose colors that fit your décor, whether you want the traditional orange and green or modern, neutral tones like cream, beige, or dusty rose. With this pattern, your creativity can truly shine, and you can enjoy making as many pumpkins as your heart desires.
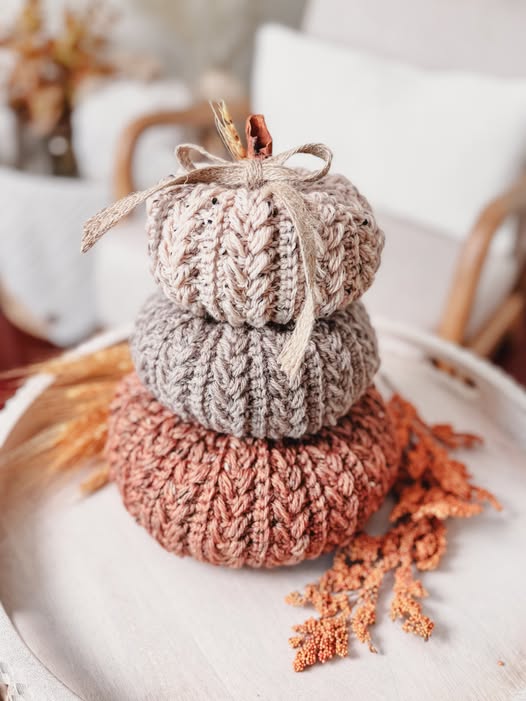
The wheat stitch is the foundation of the Wheat Stitch Pumpkin – Crochet Pattern, and it is what gives the pumpkin its rich texture. This stitch is a series of elongated, looped stitches that stack in a way that resembles stalks of wheat. It is typically worked over a background of simple stitches, such as single or half-double crochet, which allows the raised portions to stand out beautifully.
To create the wheat stitch, you generally work into stitches from previous rows in a specific sequence, pulling up loops to form the vertical lines. The technique can feel unusual at first, but once you get the rhythm, it becomes a relaxing and repetitive motion. Practicing the stitch before starting the pumpkin will help you feel confident as you move through the pattern.
This stitch is not only visually appealing but also adds thickness to the fabric, which is ideal for shaping a pumpkin that will hold its structure. In the Wheat Stitch Pumpkin – Crochet Pattern, the stitch is used in panels that are later sewn together, creating the signature rounded look. Choosing a yarn that shows stitch definition clearly, like cotton or a smooth acrylic blend, will enhance the beauty of the wheat stitch.
For those who have never tried textured stitches before, the wheat stitch can be an excellent starting point. It teaches you how to work into lower rows, manage yarn tension, and create even loops. Once mastered, you can apply it to other projects like blankets, scarves, or even tote bags for a rustic touch.
The wheat stitch also has a timeless quality. Because it mimics natural elements, it pairs well with seasonal themes, especially fall and harvest décor. In this pattern, it transforms a simple crochet pumpkin into a showpiece.
If you want your Wheat Stitch Pumpkin – Crochet Pattern to truly stand out, experiment with two-tone designs by using one color for the base rows and another for the raised wheat stitches. This contrast will highlight the stitch pattern and make your pumpkin even more eye-catching.
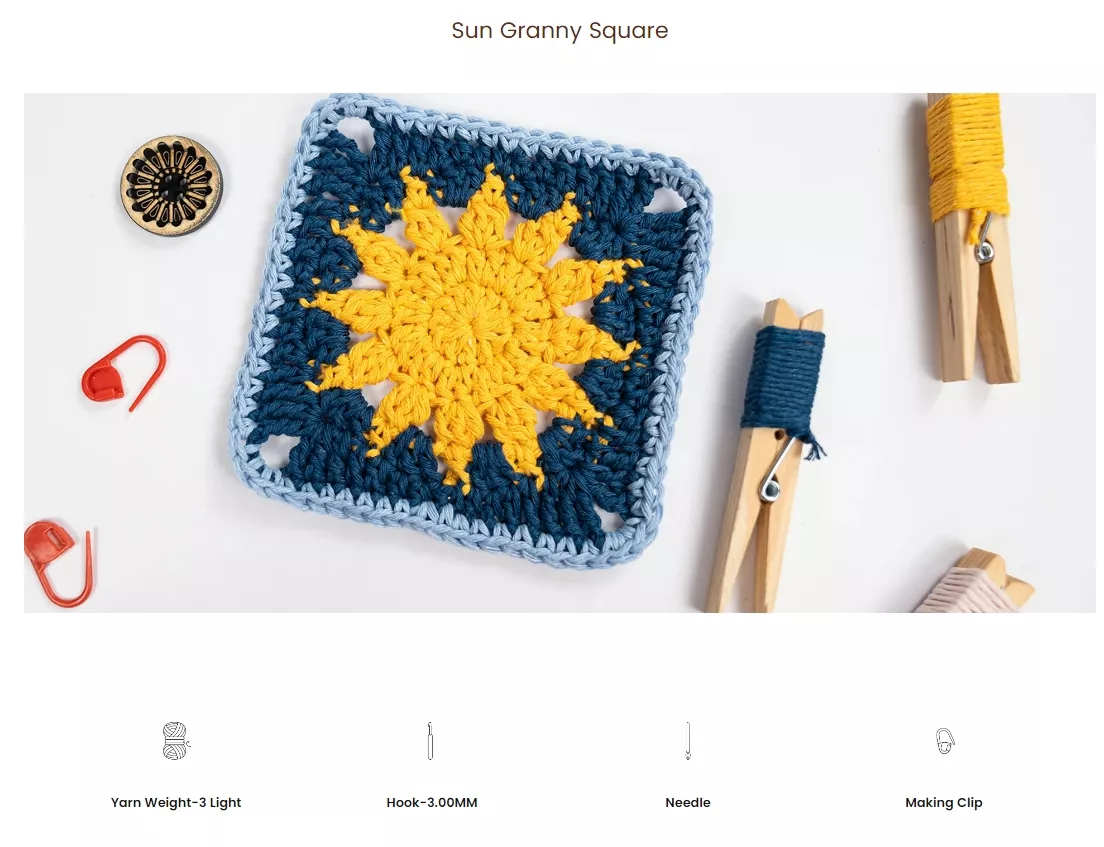
Before starting the Wheat Stitch Pumpkin – Crochet Pattern, gather your materials to ensure a smooth crocheting process. The basic supplies include yarn, a crochet hook, stuffing, a yarn needle, and optional embellishments. Selecting the right materials can make a big difference in the final appearance and feel of your pumpkin.
For yarn, worsted-weight cotton or acrylic is highly recommended. Cotton yarn gives a crisp stitch definition, while acrylic is soft, easy to work with, and more budget-friendly. You can also use chunky yarn for a larger pumpkin or fine yarn for a miniature version. The pattern is adaptable to suit your preferred size.
The crochet hook size will depend on your yarn choice, but generally, a 4.0 mm to 5.5 mm hook works well for worsted-weight yarn. Choosing a slightly smaller hook than recommended for your yarn helps create a tighter fabric that prevents stuffing from showing through.
You will also need fiberfill or a similar stuffing material to give your pumpkin its shape. For a more natural and eco-friendly option, you could use scrap yarn pieces or fabric scraps as stuffing. A yarn needle is essential for sewing the seams and closing the top and bottom of the pumpkin securely.
Embellishments are optional but can add a special touch to your pumpkin. Consider adding a crochet stem, a cinnamon stick for a rustic look, or even felt leaves to complete the harvest theme. These details can make your pumpkin unique and tailored to your personal style.
Before beginning, read through the entire Wheat Stitch Pumpkin – Crochet Pattern to understand each step. Having a clear plan will prevent mistakes and help you estimate how long the project will take. It is also wise to create a small swatch of the wheat stitch to ensure you are comfortable with the technique before committing to the full project.
Once your materials are ready, you are set to bring your pumpkin to life with color, texture, and creativity. This preparation phase ensures that your crochet time will be smooth and enjoyable.
To make the Wheat Stitch Pumpkin – Crochet Pattern, start by creating a foundation chain according to the size you want. Work the first few rows in a base stitch, such as half-double crochet, to give structure before introducing the wheat stitch.
Once you begin the wheat stitch rows, focus on keeping your loops consistent in height for a neat and uniform texture. This consistency will make the finished pumpkin look professional and well-crafted. Repeat the wheat stitch pattern for the desired number of rows to create the body panel of your pumpkin.
After completing the panel, you will shape it into a tube by sewing the side edges together. This tube will form the pumpkin’s outer shell. Next, gather one end of the tube tightly with your yarn needle and secure it, then stuff the pumpkin firmly to give it volume.
Once the stuffing is in place, close the other end of the pumpkin in the same gathered style. At this stage, you can create pumpkin segments by threading yarn through the center from top to bottom several times, pulling slightly to indent the sides and form the characteristic ridges of a pumpkin.
For the stem, you can crochet a short cylinder or use natural materials like a twig or cinnamon stick for a rustic touch. Secure the stem at the top and add any embellishments you wish. Your Wheat Stitch Pumpkin – Crochet Pattern is now complete and ready to display.
The step-by-step process is straightforward once you are familiar with the wheat stitch. Take your time, enjoy each stage, and don’t hesitate to experiment with variations in size and color.
One of the joys of completing the Wheat Stitch Pumpkin – Crochet Pattern is deciding how to use or display your finished creations. These pumpkins make excellent table centerpieces, mantel decorations, or accents on bookshelves. Their soft texture also makes them suitable for family-friendly décor.
You can create a set of pumpkins in various sizes for a tiered arrangement that adds depth to your décor. Mixing different colors and yarn textures will make the display even more dynamic.
For seasonal markets or craft fairs, the Wheat Stitch Pumpkin – Crochet Pattern is a wonderful product idea. Handmade, textured pumpkins are in high demand during the fall season and can be sold individually or in sets.
These pumpkins also make thoughtful gifts for friends and family. Because they are lightweight and non-perishable, they can be shipped easily, making them perfect for long-distance gifting.
Another fun idea is to incorporate the pumpkins into holiday wreaths or garlands. Their lightweight structure makes them easy to attach, and they add a cozy, handmade touch to any display.
Whether you keep them for yourself or share them with others, these pumpkins will bring warmth and charm wherever they are placed.
1. Is the Wheat Stitch Pumpkin suitable for beginners?
Yes, confident beginners can attempt this project. It is helpful to practice the wheat stitch on a small swatch before starting.
2. What yarn is best for the Wheat Stitch Pumpkin – Crochet Pattern?
Cotton yarn is excellent for stitch definition, while acrylic is soft and easy to work with. Choose according to your preference.
3. How can I make my pumpkin larger or smaller?
Adjust the yarn weight, hook size, and stitch count to change the size of your pumpkin.
4. Can I wash the crochet pumpkin?
If using washable yarn, you can gently hand wash it. Avoid machine washing to maintain its shape.
5. How long does it take to make one pumpkin?
Depending on your speed, it can take anywhere from a few hours to a day.
6. Can I sell pumpkins made from this pattern?
Yes, as long as you follow any usage guidelines provided by the original pattern creator.
The Wheat Stitch Pumpkin – Crochet Pattern is a delightful and rewarding project that combines texture, creativity, and seasonal charm. From understanding the wheat stitch to choosing the right materials and assembling the final product, each step offers a chance to learn and enjoy the art of crochet. These pumpkins make perfect home décor, gifts, or craft fair items, and their timeless design ensures they will be cherished year after year. I hope this guide has inspired you to pick up your hook and yarn and start creating. Please share your honest opinion and suggestions—I’d love to hear how your pumpkins turn out.


