
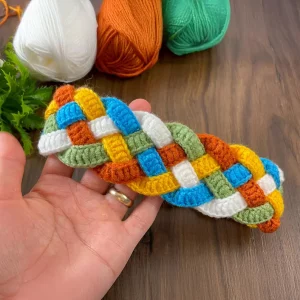
French Braid Quilt Block Pattern
The Around the Corner Quilt Block is a delightful and versatile pattern that brings a fresh twist to traditional quilting designs. As its name suggests, this block creates the illusion of movement “around the corner,” adding depth and dimension to any quilt project. Whether you’re a beginner or an experienced quilter, the Around the Corner Quilt Block offers endless creative opportunities to experiment with colors, fabrics, and layouts.
In this article, we’ll explore the story behind the Around the Corner Quilt Block, share step-by-step instructions on how to make it, and provide practical tips for choosing fabrics and assembling your quilt. You’ll also discover why this pattern has become a favorite among quilting enthusiasts worldwide.
By the end, you’ll feel confident and inspired to create your own Around the Corner Quilt Block masterpiece, transforming simple fabric pieces into a work of art that’s both modern and timeless.

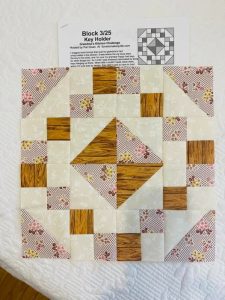
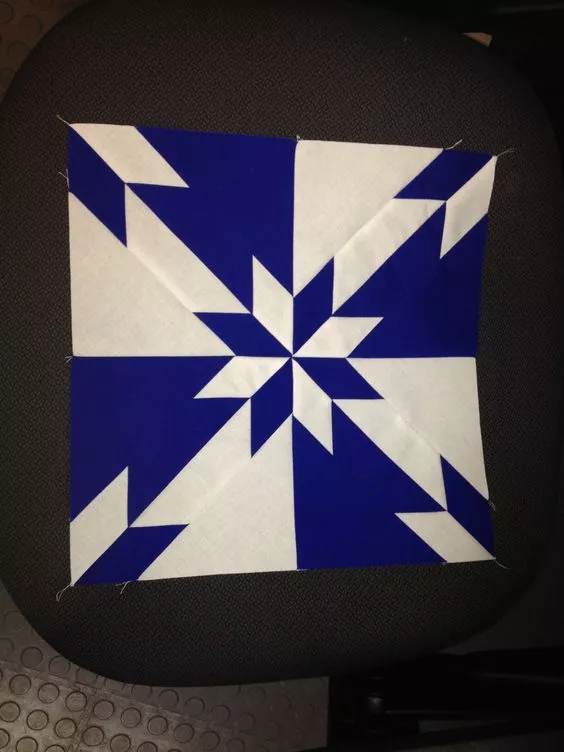
The Around the Corner Quilt Block stands out for its clean lines and dynamic appearance. It creates a playful sense of movement that makes any quilt visually striking. This block is perfect for adding a modern twist to classic quilting projects.
Quilters often choose the Around the Corner Quilt Block for its versatility. You can use it in full quilts, pillow covers, table runners, or even wall hangings. It adapts beautifully to different color palettes, from bold contrasts to soft pastels.
Another advantage of the Around the Corner Quilt Block is its simplicity in construction. Even though it looks intricate, it’s built from straightforward units that come together quickly. This makes it a fantastic choice for quilters who want a professional-looking result without a complicated process.
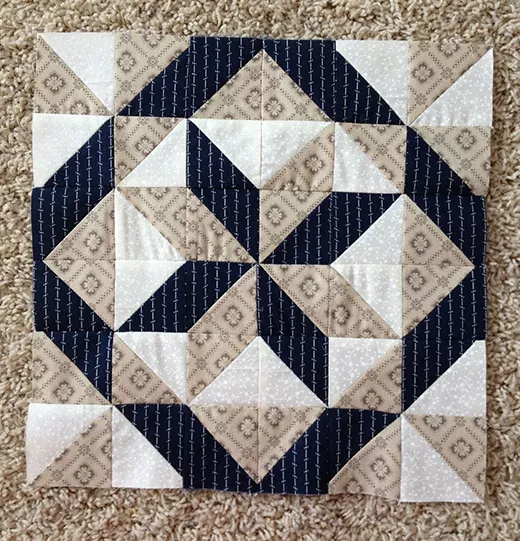
The block’s name reflects the visual effect it creates: the design leads the eye “around the corner,” producing a sense of motion. This effect can be enhanced by carefully choosing contrasting or complementary fabrics.
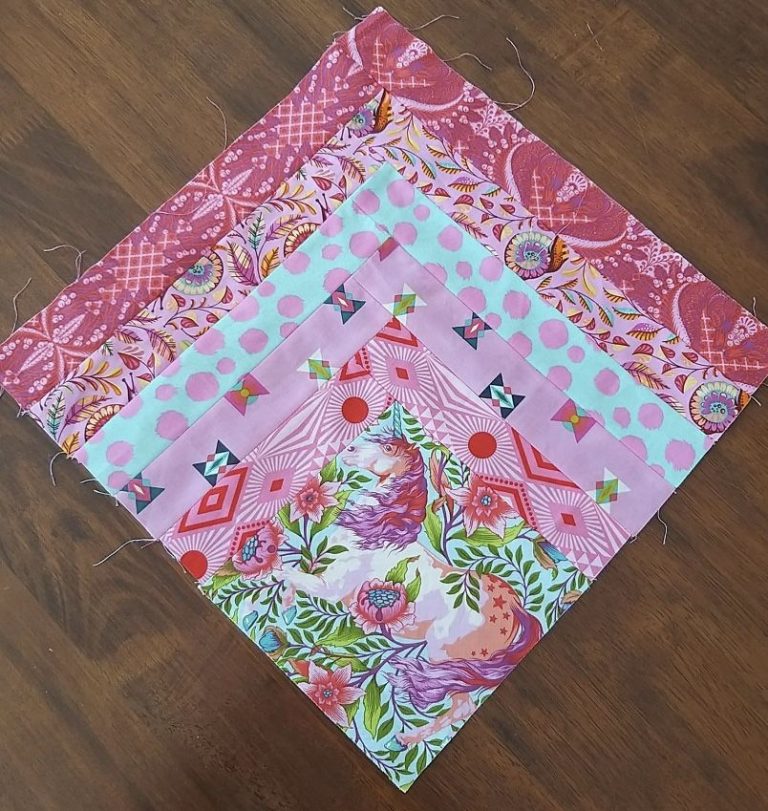
Traditionally, the Around the Corner Quilt Block uses two or three colors. However, modern quilters often experiment with gradients, prints, or even scraps to give it a unique look. This flexibility means you can make each block as simple or as detailed as you like.
Quilters love that this pattern works well for both small and large projects. By adjusting the block’s size, you can create everything from miniature quilts to full-size bedspreads, all featuring the captivating Around the Corner Quilt Block design.
Before you begin sewing, it’s important to prepare all the fabric pieces for your Around the Corner Quilt Block. Here’s a step-by-step cutting guide with measurements designed for a finished 12-inch block. You can adjust these measurements proportionally if you prefer a larger or smaller block.
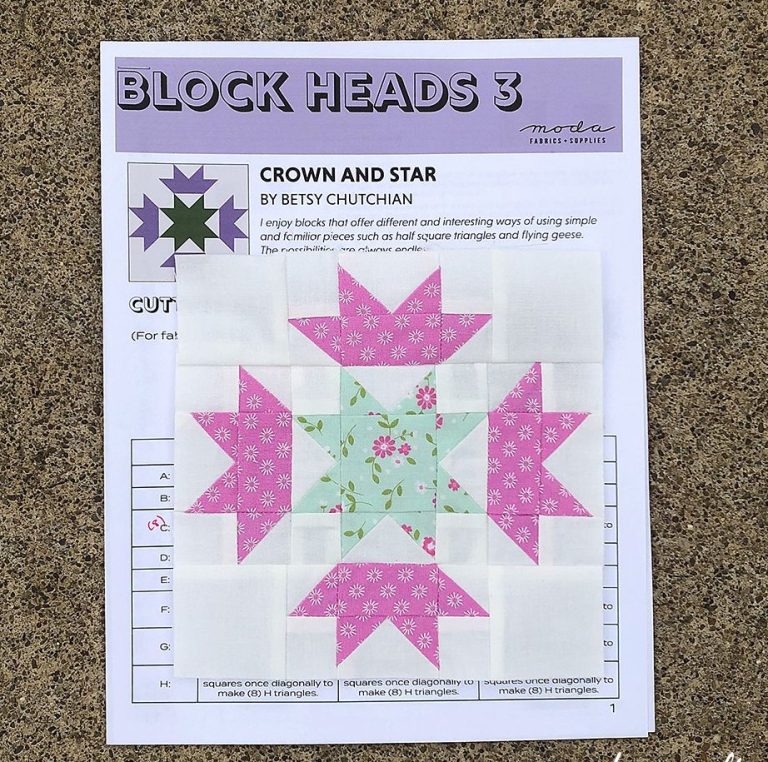
First, choose three fabrics: Fabric A (background), Fabric B (corner pieces), and Fabric C (center square). These three fabrics will highlight the contrast and movement of the Around the Corner Quilt Block.
Cut the following pieces:
Double-check your measurements to ensure accuracy. Precise cutting is essential for clean seams and a block that fits perfectly into your quilt.
If you’re making multiple Around the Corner Quilt Block units, cut all your fabric at once. Group similar pieces together to keep your workspace organized and sewing process efficient.
For added visual interest, consider using Fabric B in a bold print or bright color. This will emphasize the “corner” effect in the Around the Corner Quilt Block and make your quilt design pop.
Once all your pieces are cut, press them with an iron to remove any wrinkles. Flat fabric pieces will make piecing easier and help maintain consistent seam allowances.
Now that your fabric is ready, let’s assemble the Around the Corner Quilt Block step by step. Each small step brings you closer to completing this charming and modern quilt block.
Step 1: Begin with the center. Place the 6.5″ x 6.5″ Fabric C square in the middle. This square anchors the block and draws the eye.
Step 2: Take two 3″ x 6.5″ Fabric A rectangles. Sew one to the top edge of the center square and the other to the bottom edge. Use a 1/4″ seam allowance, and press the seams toward Fabric A.
Step 3: Sew the remaining two 3″ x 6.5″ Fabric A rectangles to the left and right sides of the center unit. Again, use a 1/4″ seam allowance and press the seams outward.
Step 4: Place the four 3″ x 3″ Fabric B squares on each corner of the block. To create the “corner” effect, draw a diagonal line from corner to corner on the back of each square.
Step 5: Align each square with the corners of the block, right sides together. Sew along the diagonal lines you drew. Trim away the excess fabric, leaving a 1/4″ seam allowance, then press the corners open.
Step 6: Your Around the Corner Quilt Block is complete! Check your block’s measurements to confirm it finishes at 12.5″ x 12.5″ before joining it to other blocks in your quilt.
By repeating these steps, you can create multiple blocks that come together to form a cohesive quilt top. Each block will contribute to the quilt’s dynamic and modern look.
If you’re a beginner, take your time with each step. Even experienced quilters benefit from careful pinning and pressing to keep seams aligned.
The beauty of the Around the Corner Quilt Block lies in its versatility. Here are some creative ideas to help you design a quilt that feels uniquely yours.
First, experiment with color placement. Try using a dark fabric for the corners and a light fabric for the background, or switch them to see how the design changes. This can dramatically alter the block’s visual effect.
Second, play with prints and solids. Combining prints with solid fabrics adds texture and depth to your Around the Corner Quilt Block. Just make sure the prints don’t overwhelm the corner effect.
Third, vary the block sizes within a single quilt. Mix standard 12″ blocks with larger or smaller versions to create a modern, asymmetrical look that feels fresh and contemporary.
Fourth, add sashing between the blocks. Sashing can highlight each Around the Corner Quilt Block and give your quilt a structured appearance. Consider using a contrasting fabric for even more impact.
Fifth, use the block in non-quilt projects. The Around the Corner Quilt Block makes stunning pillow covers, tote bags, or table runners. These smaller projects are perfect for trying out new fabric combinations.
Finally, trust your creativity! The Around the Corner Quilt Block is a canvas for your ideas. Whether you choose bold colors, soft pastels, or an unexpected mix of fabrics, your finished quilt will reflect your personal style.
The Around the Corner Quilt Block combines simplicity, elegance, and endless creative possibilities. With its clean lines and dynamic design, it’s a perfect addition to any quilting project. By following the step-by-step instructions, preparing precise fabric cuts, and exploring creative color choices, you can transform basic materials into a stunning quilt that showcases your passion for quilting.
Whether you’re crafting a single block for a small project or assembling an entire quilt, the Around the Corner Quilt Block invites you to experiment, learn, and enjoy the process. Quilting isn’t just about sewing fabric together—it’s about telling a story with every stitch.
We hope this guide inspires you to create your own version of the Around the Corner Quilt Block. Have you tried this pattern before? Share your thoughts, tips, or photos of your quilt in the comments below. We’d love to see your creations and hear your quilting journey!


