
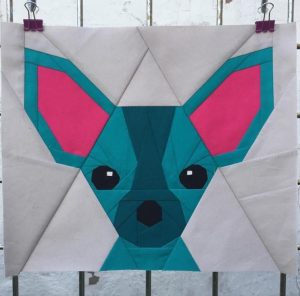
Bird Quilt Block Pattern
The Bright Star Blooms quilt block pattern is a stunning and joyful design that brings together the symmetry of stars with the softness of floral arrangements. It’s a block that blends boldness and elegance, ideal for modern or traditional quilts alike. With its intricate geometry and vibrant effect, this quilt block pattern is perfect for adding a splash of color and visual interest to any quilting project.
Using the Bright Star Blooms quilt block pattern gives quilters the freedom to play with contrast, color gradients, and floral fabric motifs. Whether you’re planning a full quilt, a table runner, or a single wall hanging, this block offers just the right mix of complexity and charm. It also provides a great opportunity to explore piecing skills and precise cutting while creating something visually captivating.
In this article, we will break down the step-by-step process of making the Bright Star Blooms quilt block pattern, including detailed fabric cuts and measurements. We’ll also provide layout guidance, assembly tips, and ideas to personalize your project. Let’s get started on this bright and blooming journey!
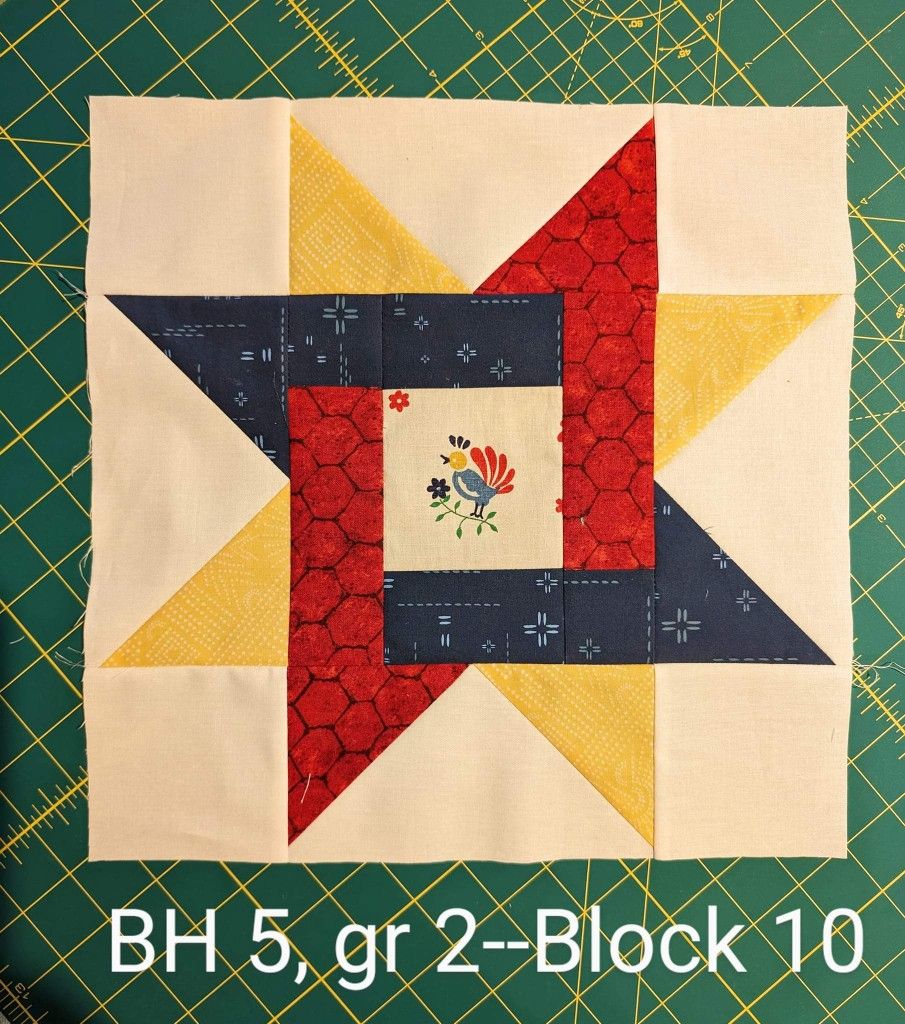
The Bright Star Blooms quilt block pattern features a central star motif surrounded by petal-like extensions that resemble flower blooms. This structure makes the block a radiant centerpiece when repeated in a quilt layout.
Each Bright Star Blooms quilt block pattern consists of three main components: the center star unit, petal corner units, and the background pieces. These combine to form a finished 12.5″ x 12.5″ (unfinished) block.
The center star is typically made using Flying Geese units, while the petal shapes are constructed with half-square triangles (HSTs) and squares. This combination creates a dynamic look that mimics a flower blooming outwards from the star’s center.
The Bright Star Blooms quilt block pattern allows for a beautiful play of fabric tones. Choosing contrasting or complementary colors helps the block “pop” while keeping the floral essence alive.
Whether you use batiks, solids, or prints, you’ll see that each version of this pattern brings a different personality to your quilt. Stick with a bold star and soft floral tones for a romantic look or go for saturated tones for a more vibrant design.
With its versatile design and straightforward piecing methods, the Bright Star Blooms quilt block pattern is suitable for both intermediate and confident beginners.
To make one 12.5″ x 12.5″ unfinished Bright Star Blooms quilt block pattern, you will need the following fabrics and cuts:
Using these cuts, you’ll assemble the block in three parts: Flying Geese for the star points, HSTs for the petals, and square-in-a-square layout for center definition.
Ensure all fabric is pressed and squared before cutting to improve accuracy during piecing.
Use a scant 1/4″ seam throughout for best alignment and consistent block size.
Now that you have your fabric ready, let’s start piecing the Bright Star Blooms quilt block pattern. Follow the steps below for a successful block.
Step 1: Make the Flying Geese Units
Step 2: Create Half-Square Triangle (HST) Units
Step 3: Assemble the Star Center
Step 4: Arrange the Petal Units
Step 5: Assemble Rows
Step 6: Final Pressing and Trimming
Congratulations, you’ve completed one radiant Bright Star Blooms quilt block pattern!
Once you’ve mastered the basics of the Bright Star Blooms quilt block pattern, it’s time to explore fun variations. Small tweaks in fabric or layout can completely change the mood of your quilt.
Try using ombré fabrics in the petals to create a gradient effect that gives your blooms added dimension. This brings a lovely sense of movement and depth to your quilt blocks.
Another idea is to reverse the fabric values—make the background dark and the petals and stars light-colored. This creates a dramatic nighttime bloom effect.
For a scrappy version of the Bright Star Blooms quilt block pattern, mix various prints within the petal or star sections. This is a great stash-busting approach and adds visual variety across your quilt top.
Quilters also enjoy using the Bright Star Blooms quilt block pattern as a feature block in a sampler quilt, pairing it with simpler blocks like nine-patch or hourglass for contrast.
You can enlarge the block to 18″ for faster quilt builds or shrink it to 8″ for mini quilts and pillows. Just scale the cuts proportionally.
Lastly, consider adding sashing between blocks with cornerstones that echo the star center for a more cohesive overall design.
Q1: Is the Bright Star Blooms quilt block pattern beginner-friendly?
Yes! Although it involves HSTs and Flying Geese, confident beginners with a good 1/4″ seam can enjoy making it.
Q2: How many blocks do I need for a full quilt?
For a throw-size quilt (~60″ x 72″), make 20 blocks (4 across by 5 down), adding borders if desired.
Q3: Can I foundation paper piece this block?
This version is made with traditional piecing, but you could adapt parts of the block (like the star center) for foundation paper piecing.
Q4: What’s the best fabric type to use?
100% quilting cotton is best. Avoid stretchy fabrics as they may distort points and seams.
Q5: What if I want a smaller or larger block?
You can resize the pattern proportionally. Use a calculator to scale each piece’s measurements by your desired block size.
Q6: Can I use jelly rolls or precuts?
Yes! You can adapt strips from jelly rolls for the rectangles and squares in this pattern with minimal waste.
The Bright Star Blooms quilt block pattern is a visually stunning and skill-enhancing design that will brighten up any quilting project. With its radiant star and blooming petal effect, it offers a great balance of challenge and creativity. From carefully planned color palettes to scrappy improvisation, this block shines in every form.
We hope this guide has helped you understand and feel confident in piecing your own Bright Star Blooms quilt block pattern. Try it today and let your quilt bloom with brilliance!


