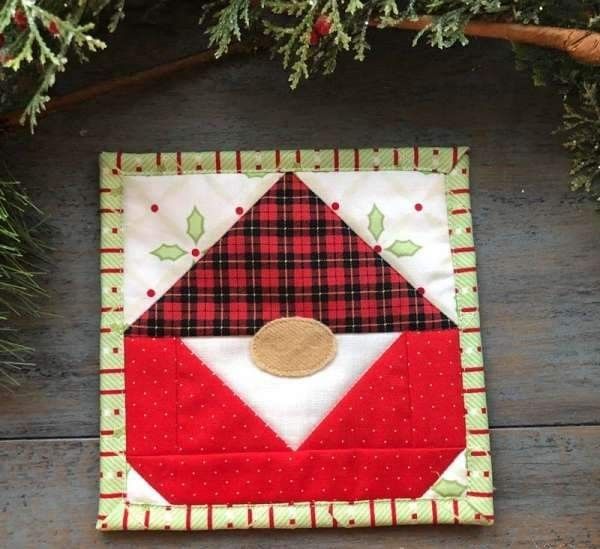
Gnome Quilt - Block Pattern
If you’re looking to blend your love of felines with the cozy art of quilting, the Cat Collage Quilted Blanket is the perfect project to dive into. This imaginative design captures the playful charm of cats while allowing quilters to showcase their creativity in fabric selection, color coordination, and piecing techniques. Whether you’re a cat lover, a seasoned quilter, or someone searching for a meaningful handmade gift, this quilt is both fun to make and beautiful to display.
The Cat Collage Quilted Blanket involves assembling various cat silhouettes, appliquéd or pieced together in a dynamic and colorful layout. Each cat block is unique, allowing you to use different fabrics, patterns, and tones. This freedom makes it an excellent project for using fabric scraps or telling a story through prints. Once complete, it creates a charming visual narrative that adds personality and warmth to any space.
In this step-by-step article, we’ll explore how to make your own Cat Collage Quilted Blanket, complete with fabric cuts, measurements, and layout instructions. We’ll also discuss material recommendations, design tips, and sewing techniques to ensure your quilt turns out just as whimsical and lovely as you imagined.

The first step in creating your Cat Collage Quilted Blanket is selecting fabrics that will bring your cat designs to life. Aim for a variety of colors and patterns that reflect the quirky and charming nature of cats. Cotton quilting fabric works best due to its durability and ease of use.
Begin by choosing a background fabric. A light neutral shade like ivory, pale gray, or soft blue will help your cats stand out. For the cats themselves, you’ll need small pieces of fabric in various colors. Think of floral prints, polka dots, stripes, and solids for a playful combination.
Cut your background fabric into 12.5″ x 12.5″ squares. You’ll need 20 of these squares for a throw-size quilt. For each cat appliqué or pieced block, prepare fabric pieces that measure approximately 8″ x 10″. This allows room for shaping and adjustments as you form each cat.
Sketch your layout on paper before cutting into your fabrics. Arrange your cats in a staggered or random pattern across the quilt blocks to create the feeling of a true collage. Use fusible webbing for appliqué-style cats or traditional piecing for a patchwork approach.
Iron your cat fabric pieces onto fusible web if using appliqué. Cut out your desired cat shapes—sitting, stretching, curled up—then fuse them onto the center of each background block. Stitch around the edges using a tight zigzag or blanket stitch for durability.
For a cohesive look, repeat color motifs throughout the quilt. If one cat is orange polka dot, use the same fabric for a tail or ear in another block. This visual echo ties the Cat Collage Quilted Blanket together beautifully.
Now that your layout and fabric selection are set, it’s time to construct the individual cat blocks. Whether you choose appliqué or piecing, each block will add a playful element to your Cat Collage Quilted Blanket.
Start with the background block: cut a 12.5″ x 12.5″ square of your chosen background fabric. Press the square flat and lightly mark the center using a fabric pen to align your cat shapes properly.
To create a basic cat shape, use a printed template or freehand a silhouette of a sitting cat. Your template should measure about 9″ high and 6″ wide. Trace this onto the back of your fusible web, iron it to your chosen fabric, and then cut out the shape carefully.
Fuse the cat shape to the center of the background block. Use a pressing cloth and iron on medium heat to ensure strong adhesion. If you are piecing your cats instead of fusing them, follow your piecing diagram and sew small fabric sections together to form the cat shape, then appliqué the full shape onto the block.
Stitch the edges of the appliquéd cats using a coordinating thread. A tight zigzag stitch provides clean edges, while a decorative blanket stitch adds handmade charm. If piecing, press all seams open and secure the shape with topstitching.
Repeat this process for all 20 blocks. Make sure each cat has its own personality—different poses, prints, or even little accessories like a bow or tail patch. This variety is what gives the Cat Collage Quilted Blanket its playful and inviting appeal.
Lay out your finished blocks on a design wall or floor to finalize your arrangement. Once satisfied, you’re ready to sew the rows together and move to the quilt top assembly.
Once your cat blocks are complete, it’s time to assemble the quilt top and consider border design options. The assembly process is straightforward, but a few creative touches can make your Cat Collage Quilted Blanket extra special.
Arrange the 20 blocks in four rows of five. Sew each row together using a 1/4″ seam allowance, pressing the seams open or to one side depending on preference. After each row is complete, sew the rows together, matching seams as you go.
For added visual interest, you can add sashing between blocks. Cut sashing strips at 2″ x 12.5″ and place them between each block horizontally. Add 2″ x WOF strips between rows for vertical sashing. This frames each cat and gives the quilt a gallery-like appearance.
To finish the top, consider adding borders. A narrow inner border (1.5″) in a coordinating solid followed by a wider outer border (4″) in a colorful print works well. Cut the inner border strips 1.5″ x WOF and the outer border 4″ x WOF, joining strips as needed to fit your quilt size.
Sew the borders onto the quilt top, starting with the sides, then top and bottom. Be sure to press after each addition to keep your quilt flat and even. Your finished quilt top should measure approximately 58″ x 72″ including borders.
Once assembled, layer your quilt top with batting and backing. Choose a soft backing fabric such as flannel or cotton, cut a few inches larger than the quilt top on all sides. Use safety pins or basting spray to secure the quilt sandwich.
Now you’re ready to move on to quilting, which will bring texture and life to your Cat Collage Quilted Blanket.
Quilting your Cat Collage Quilted Blanket is a satisfying step where your artwork truly comes to life. You can keep it simple or add playful detail through your quilting choices. Begin by choosing your quilting method—machine quilting, hand quilting, or sending it to a long-arm quilter.
If quilting by machine, consider using a walking foot for straight-line quilting. You can stitch in the ditch along the block seams or create a gentle diagonal grid across the quilt. This method is beginner-friendly and keeps the quilt soft and flexible.
Free-motion quilting allows for more creativity. You can outline each cat or add whimsical motifs like paw prints, hearts, or swirling yarn trails. Choose thread colors that complement your quilt but also stand out enough to add visual depth.
Once quilted, it’s time to bind your blanket. Cut 2.5″ wide binding strips from your chosen fabric (about 250″ total for a throw-size quilt). Join strips with diagonal seams, press them in half lengthwise, and sew the binding to the front of the quilt using a 1/4″ seam allowance.
Fold the binding over to the back and hand stitch it in place for a clean finish. Alternatively, you can machine-stitch the back of the binding if you prefer a faster method.
As a final touch, consider adding a label to the back of your quilt with your name, the date, and a title like “Whiskers and Wonders” or “Cat Cuddles Collage.” This personalizes your Cat Collage Quilted Blanket and documents your creative journey.
Now your quilt is ready to be displayed, gifted, or snuggled under with your favorite feline friend.
What size is the finished Cat Collage Quilted Blanket?
The finished quilt, including borders, measures approximately 58″ x 72″, making it a generous throw or lap blanket.
Can I use fabric scraps for the cat shapes?
Absolutely! This quilt is perfect for using up colorful fabric scraps. Just make sure the pieces are large enough to accommodate your cat templates (roughly 8″ x 10″).
Is this project suitable for beginners?
Yes, especially if you choose the appliqué method. Piecing requires more precision, but both methods are beginner-friendly with patience and care.
How do I wash the quilt once it’s done?
Machine wash on gentle with cold water and a mild detergent. Air dry or tumble dry on low. Pre-washing your fabrics before starting is also recommended.
What is the best fabric to use for the cats?
Cotton quilting fabric is best. Choose a mix of solids, prints, and patterns to give your cats personality and visual interest.
Can I resize the blocks for a different quilt size?
Yes! You can make smaller blocks (e.g., 10″ instead of 12.5″) or add more blocks for a larger quilt. Adjust your layout and fabric cuts accordingly.
The Cat Collage Quilted Blanket is more than just a cozy throw—it’s a vibrant celebration of creativity and love for cats. This whimsical quilt offers endless opportunities for personalization, from fabric choices to block layout and embellishments. With clear steps, careful cutting, and imaginative design, anyone can bring this charming project to life.
Whether you’re crafting it as a gift, a decorative piece, or simply a fun weekend project, the Cat Collage Quilted Blanket is sure to bring smiles and warmth. We’d love to hear your thoughts! Have you tried making a cat-themed quilt before? Leave a comment and let us know how your feline-inspired quilting journey is going.

