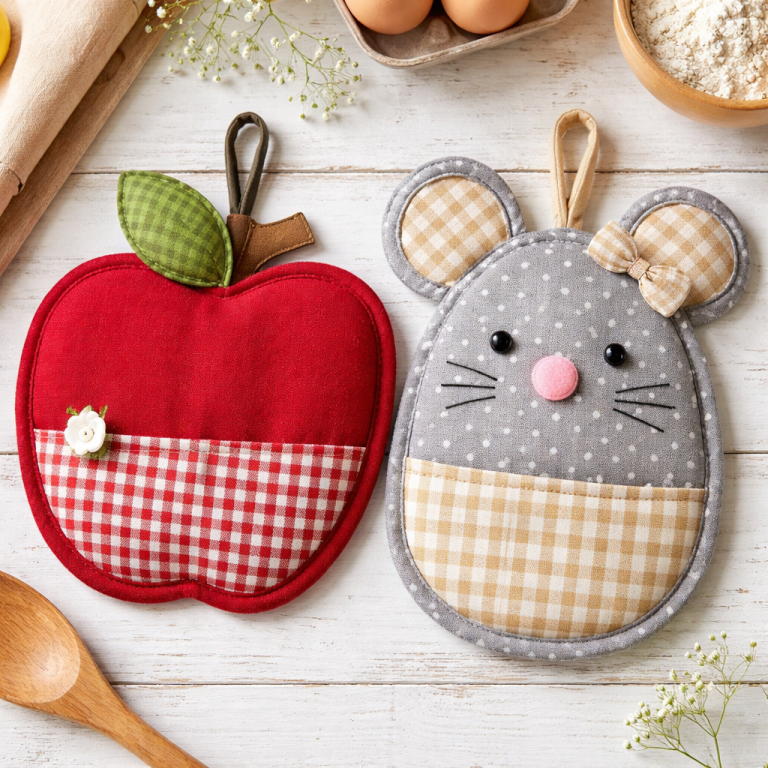
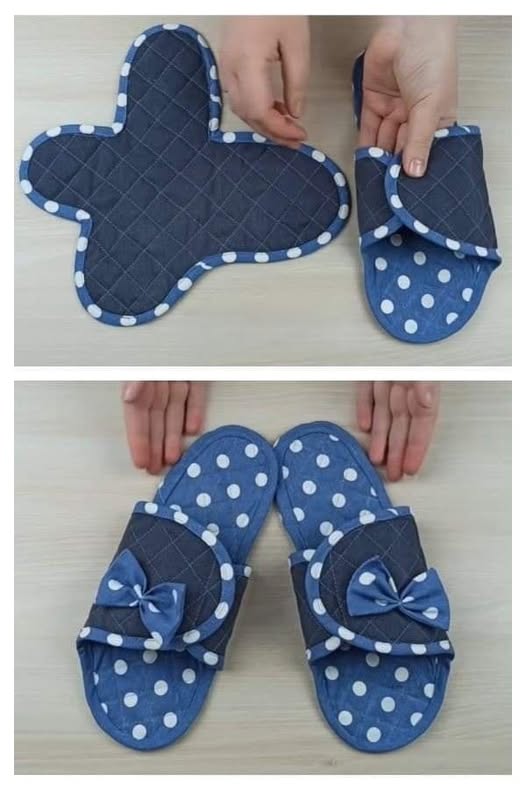
Apple and Mouse-Shaped Potholders Pattern
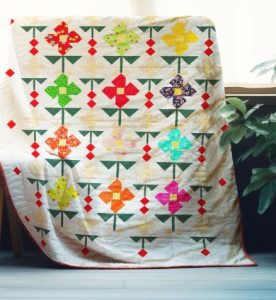
When we hear the name Jane Austen Quilt, it immediately evokes images of classic English charm, delicate floral prints, and timeless patchwork artistry. This quilting pattern, inspired by the beloved author Jane Austen, captures the romanticism and sophistication of the Regency era while offering modern quilters a way to create something truly heirloom-worthy.
Whether you’re a devoted fan of Jane Austen or simply adore intricate quilt designs, the Jane Austen Quilt pattern offers an exquisite journey through fabric, color, and creativity. In this guide, we’ll dive into the history behind this quilt style, explore a step-by-step pattern to help you craft your own masterpiece, and share essential tips to bring your vision to life.
From choosing the perfect fabrics to mastering each stitch, this article aims to inspire both beginners and experienced quilters. Let’s discover how the Jane Austen Quilt can add a touch of literary romance to your sewing projects.

The Jane Austen Quilt design is deeply rooted in history, famously inspired by the coverlet sewn by Jane Austen, her mother, and sister Cassandra in the early 1800s. This quilt embodies a harmonious blend of literary heritage and textile art.
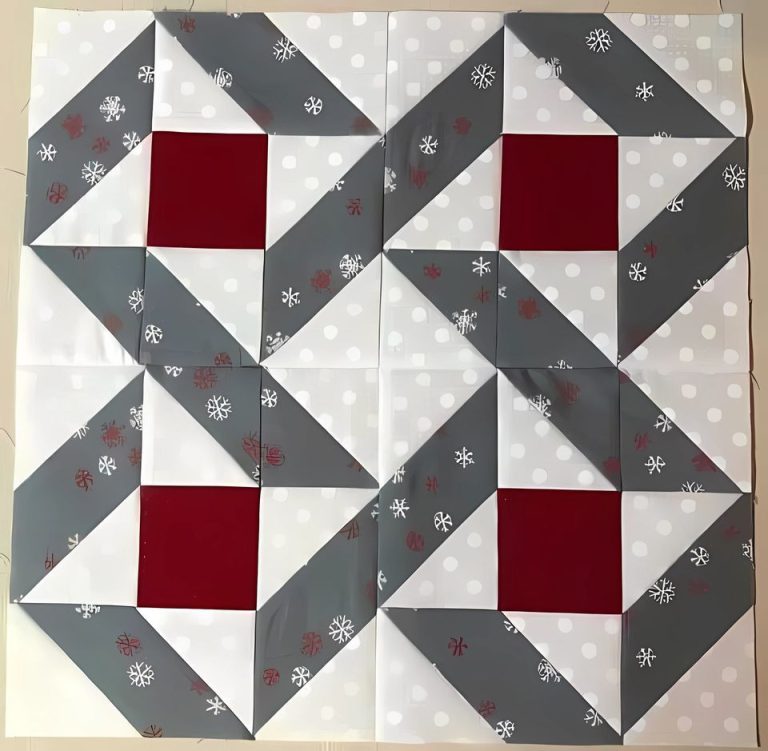
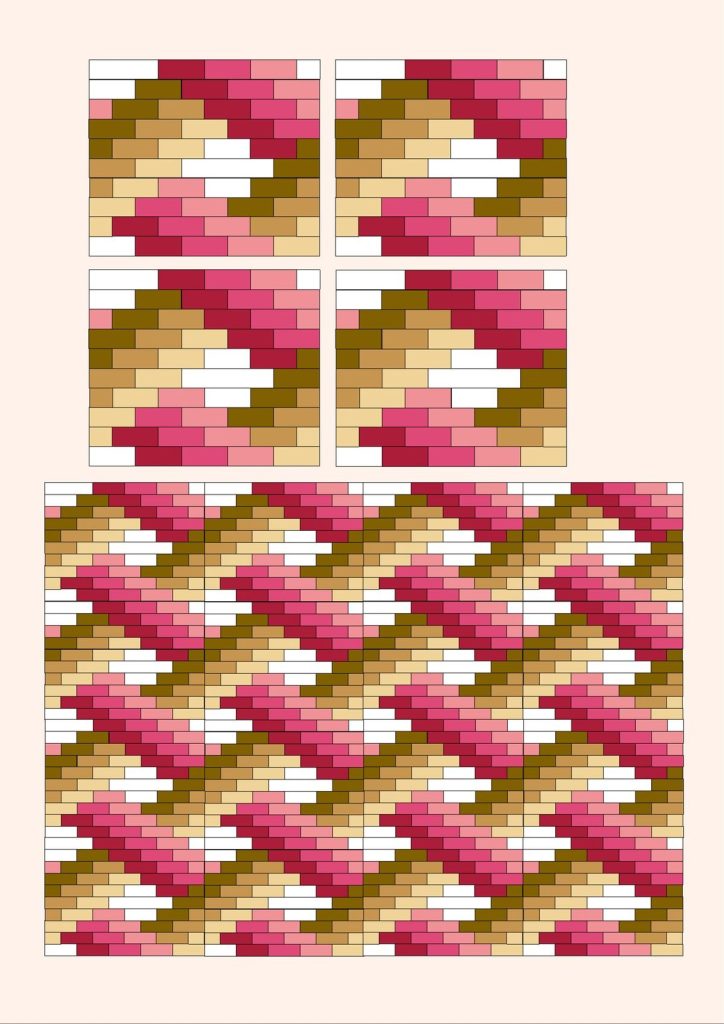
First, what makes this pattern unique is the use of diamond-shaped pieces carefully arranged to create intricate geometric patterns. Each diamond was originally hand-pieced, reflecting the patience and artistry of women in Jane Austen’s time.
Another charming detail of the Jane Austen Quilt is its muted color palette, often built around soft pinks, faded blues, gentle greens, and creams, all reminiscent of English country gardens. Today, quilters can recreate this look with reproduction fabrics that honor historical prints.
Furthermore, the pattern tells a story not only through its fabric but also through its layout. The central medallion or panel often becomes the focal point, symbolizing the heart of the quilt, just as Austen’s novels center on matters of the heart.
Collectors and textile historians treasure the Jane Austen Quilt as an artifact of feminine creativity and domestic artistry. By sewing this pattern, modern quilters connect with a centuries-old tradition while adding their own contemporary twist.
Ultimately, crafting a Jane Austen Quilt is more than a sewing project; it’s a tribute to an era, a family’s shared craft, and the enduring beauty of hand-stitched design.
To begin your Jane Austen Quilt, gather high-quality cotton fabrics in soft floral and Regency-inspired prints. For a quilt measuring approximately 60” x 60”, you will need the following cuts and measurements:
1. Diamond pieces:
2. Border strips:
3. Corner squares:
4. Backing fabric:
5. Batting:
6. Binding:
These measurements allow you to build the traditional diamond patchwork center surrounded by borders, true to the spirit of the original Jane Austen Quilt.
When selecting fabrics, consider the balance of light, medium, and dark tones to give your quilt visual depth. Look for small-scale floral prints, subtle stripes, and Regency motifs to echo the historic charm of Jane Austen’s era.
Having these cuts prepared before you start sewing makes the piecing process smoother and more enjoyable. Always pre-wash your fabrics to prevent shrinking later.
Creating a Jane Austen Quilt may seem daunting, but by breaking it down into steps, you can enjoy the process while staying organized. Follow this step-by-step guide:
Step 1: Arrange the diamonds
Lay out your 300 diamond pieces on a large flat surface. Create diagonal rows, alternating fabric patterns to achieve a balanced look. The diamonds should align so their points meet neatly.
Step 2: Piece the rows
Sew the diamonds together row by row using a ¼” seam allowance. Press each seam to one side to reduce bulk. Continue until all the diagonal rows are completed.
Step 3: Join the rows
With patience, sew the rows together to form the quilt’s center panel. Align the seams carefully so the diamonds create continuous diagonal lines across the quilt.
Step 4: Add the inner border
Measure your quilt center and trim if needed to ensure straight edges. Sew the 2.5” wide inner border strips to the sides first, then the top and bottom. Add the corner squares at each corner to frame the quilt beautifully.
Step 5: Attach the outer border
Sew the 4.5” wide outer border strips around the quilt in the same way: sides first, then top and bottom. This border enhances the traditional frame of the Jane Austen Quilt.
Step 6: Quilting and binding
Layer the quilt top with batting and backing. Baste together, then quilt by hand or machine, following the diamond lines or adding delicate floral motifs. Finish by sewing the binding strips around the edges for a polished look.
As you complete each step, take time to admire the evolving design—it’s a journey through history as much as it is a creative craft.
Though rooted in tradition, the Jane Austen Quilt offers endless room for personalization. Here are a few creative ideas:
1. Choose unique fabrics:
Select fabrics that tell your own story—perhaps prints that remind you of your garden, a special occasion, or favorite colors.
2. Add embroidered details:
Consider adding small embroidered initials, floral motifs, or quotes from Jane Austen’s novels in the borders or center panel.
3. Play with color placement:
Experiment by placing darker diamonds toward the center for a dramatic effect or creating a soft gradient from the center outward.
4. Use vintage-inspired labels:
Sew a custom label on the back, noting your name, date, and the inspiration behind your quilt.
5. Try hand quilting:
While machine quilting is faster, hand quilting offers an authentic feel reminiscent of Jane Austen’s time.
6. Incorporate heirloom fabric:
If you have scraps from family linens or garments, include them to make your quilt even more meaningful.
Remember, the beauty of the Jane Austen Quilt lies in its blend of history and your own creativity. Each quilt becomes a unique work of art and a keepsake for generations.
Making a Jane Austen Quilt is more than following a pattern—it’s about preserving history, celebrating craftsmanship, and expressing your love for classic beauty. From carefully cutting diamond shapes to sewing each seam, every part of the process honors the artistry of Jane Austen’s time.
Whether displayed on a bed, hung as wall art, or gifted to someone special, your finished Jane Austen Quilt becomes a story stitched in fabric—a connection to the past brought to life by your hands.
If you enjoyed this guide or have questions about creating your own Jane Austen Quilt, share your thoughts below! Your quilting journey can inspire others, just as Jane Austen’s legacy continues to inspire us all.

