The String Block: A Beautiful and Easy Quilt Pattern
Advertising
The String Block is one of the most versatile and beginner-friendly quilt patterns that you can create. This pattern is an excellent way to use fabric scraps and transform them into a stunning quilt with a unique design. Whether you are an experienced quilter or just starting, this method allows you to play with colors, textures, and shapes while creating a visually appealing project.
One of the best things about the String Block quilt is its flexibility. You can use leftover fabric strips, mix various prints, and experiment with different color combinations to achieve a customized look. The process is simple, requiring only basic quilting techniques, making it an ideal choice for anyone looking to enhance their skills or make a quick quilt top.
Advertising
In this guide, we will walk you through a step-by-step tutorial on how to create your String Block quilt, including fabric cutting instructions and assembly techniques. By following these detailed steps, you will be able to craft a beautiful quilt that showcases your creativity and sewing skills.
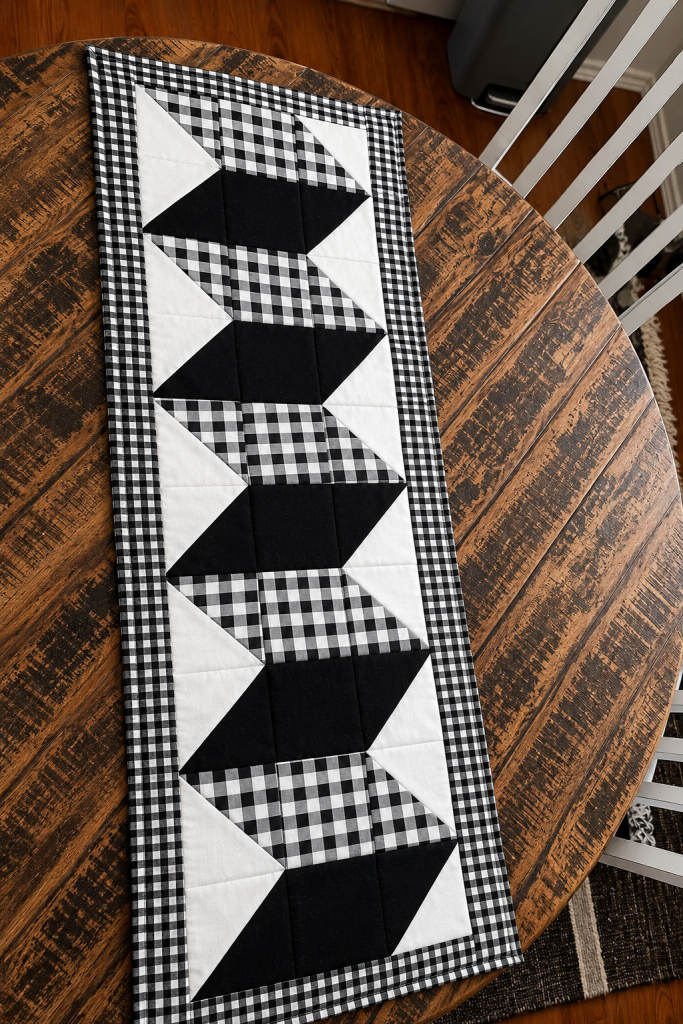
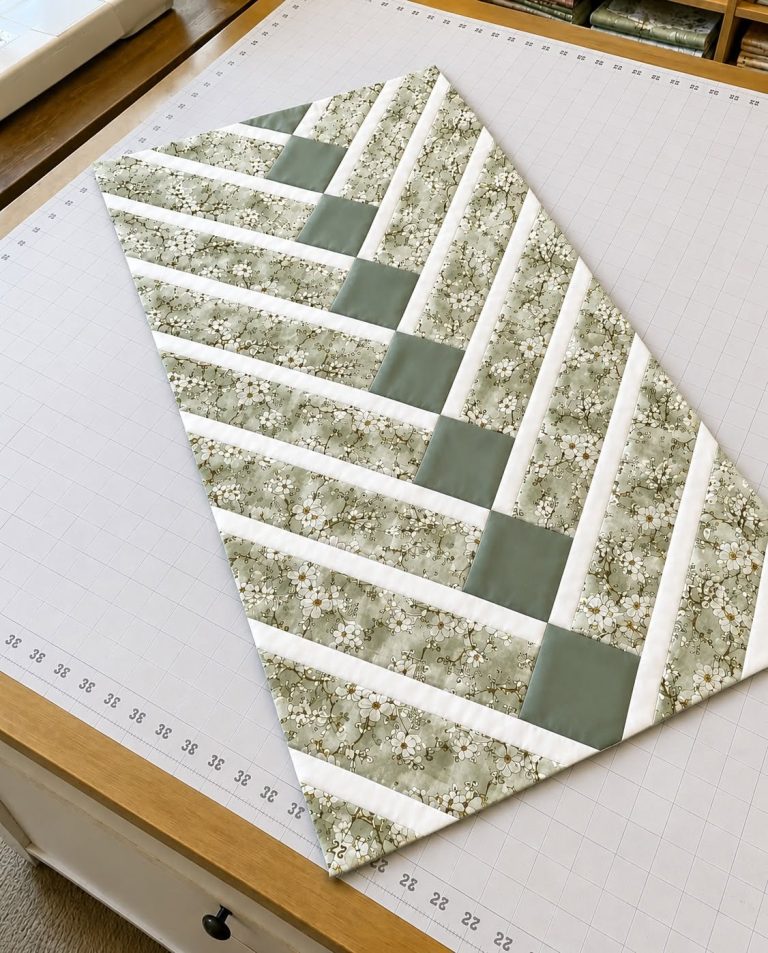
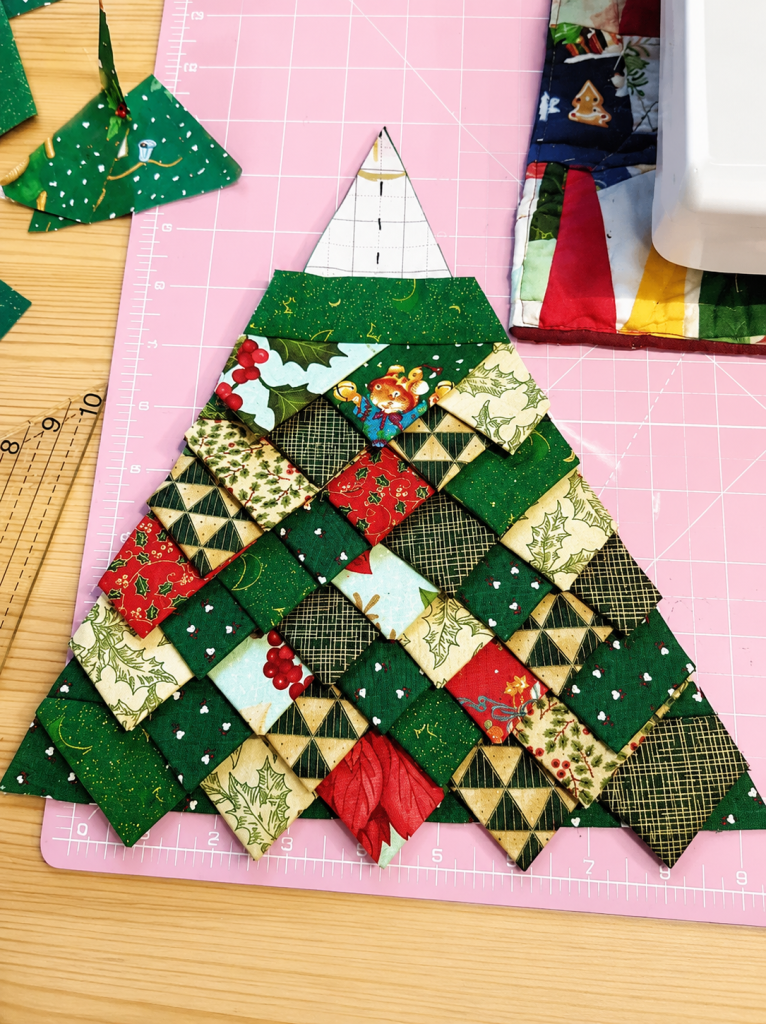
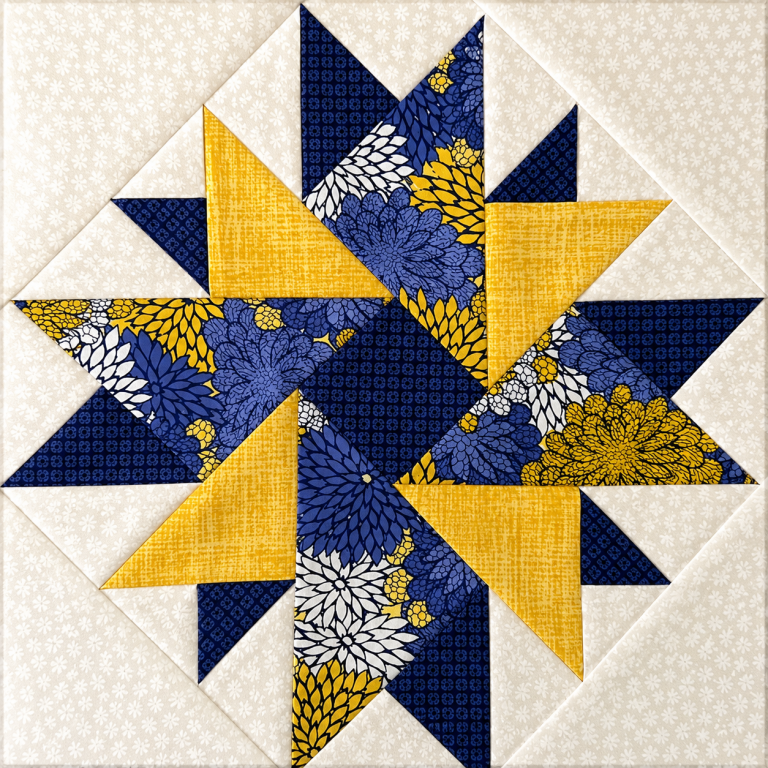
The String Block quilt pattern is a traditional quilting technique that uses strips of fabric, known as “strings,” sewn together in diagonal or horizontal patterns to form a block. This method creates a dynamic look that can be customized with different colors and fabrics.
A scrap-friendly technique: The String Block is perfect for using up leftover fabric pieces, making it an eco-friendly quilting project.
Simple to sew: Even beginners can easily master this technique, as it involves straight-line stitching and minimal cutting.
Endless design possibilities: Depending on how the blocks are arranged, you can create a variety of patterns, from simple layouts to intricate designs.
Perfect for bold colors: This quilt pattern allows for creative freedom, letting you mix and match bright, contrasting, or pastel tones.
Great for quick projects: Since the pieces are easy to assemble, this quilt can be completed in a relatively short time.
A foundation-based approach: Many quilters use a foundation fabric, such as muslin or paper, to stabilize the strips and ensure uniform block sizes.
Materials and Fabric Cutting Instructions
Before you start making your String Block quilt, gather the necessary materials and prepare your fabric strips accordingly. Below is a list of what you’ll need:
Fabric strips (strings): Cut various fabric strips between 1 inch to 2.5 inches wide and at least 8 inches long.
Foundation fabric: Use muslin or lightweight cotton squares measuring 8.5 inches x 8.5 inches.
Rotary cutter and ruler: Essential for cutting precise fabric strips.
Sewing machine and thread: A basic sewing machine with a neutral thread color will work best.
Iron and ironing board: Pressing the strips ensures crisp seams and a polished finish.
Quilting pins or glue: Helps keep strips aligned before sewing.
Fabric Cutting Instructions:
Cut your foundation fabric into 8.5-inch squares.
Cut a variety of fabric strips ranging from 1-inch to 2.5-inch widths.
Ensure that the strips are at least 8 inches long to cover the entire foundation square diagonally.
Trim excess fabric after sewing each block.
Arrange the fabric strips by color and width before sewing for an organized workflow.
Press each strip after sewing to create flat and smooth blocks.
Step-by-Step Guide to Making a String Block Quilt
Now that you have all your materials ready, follow these steps to sew and assemble your String Block quilt.
Advertising
Step 1: Prepare the Foundation Fabric
Start with a foundation square (8.5″ x 8.5″) and place it on your work surface.
If using paper as a foundation, lightly mark the center diagonal with a pencil.
If using fabric, fold it in half diagonally to find the center crease.
This foundation helps stabilize the fabric strips and maintains the block’s shape.
Some quilters prefer to use lightweight interfacing instead of muslin.
Make sure the foundation is wrinkle-free before adding fabric strips.
Step 2: Sew the First Fabric Strip
Select a center strip (about 2 inches wide) and place it right side up along the diagonal line.
Take a second strip and place it right sides together with the first strip.
Stitch a ¼-inch seam allowance along one edge of the strip.
Open the strip and press it flat with an iron to create a crisp seam.
Repeat this process for the opposite side of the center strip.
Ensure the center strip remains straight, as it sets the alignment for the rest of the block.
Step 3: Continue Adding Strips
Keep adding fabric strips on both sides of the center strip.
Use varying widths and colors to create an interesting pattern.
After sewing each strip, press it with an iron before adding the next one.
Continue sewing and pressing strips until the entire foundation square is covered.
Make sure to alternate between light and dark fabrics for contrast.
Once complete, the block should be fully covered with fabric strips extending past the edges.
Step 4: Trim the Block
Flip the block over and place a quilting ruler on top.
Use a rotary cutter to trim the edges to 8.5″ x 8.5″.
This step ensures that all blocks are the same size and align properly.
Be careful while cutting to avoid shifting the fabric layers.
If using a paper foundation, gently remove the paper backing after trimming.
If using fabric as a foundation, leave it intact for stability.
Step 5: Arrange and Assemble the Blocks
Lay out your completed String Blocks on a flat surface.
Experiment with different arrangements, such as chevrons, diamond layouts, or simple rows.
Once satisfied with the layout, start sewing the blocks together using a ¼-inch seam allowance.
Press each row’s seams in opposite directions to reduce bulk.
Join the rows together, aligning seams for a seamless finish.
Continue until the entire quilt top is assembled.
Finishing Your String Block Quilt
After assembling the quilt top, it’s time to finish your String Block quilt with batting, backing, and quilting stitches.
Choose a batting type: Cotton or polyester batting works well for a soft, comfortable feel.
Cut and prepare the backing fabric: Ensure it is 2-3 inches larger than the quilt top on all sides.
Layer the quilt: Place the backing fabric right side down, batting in the middle, and quilt top right side up.
Baste the layers: Use safety pins or basting spray to hold the layers together.
Quilt the layers: Stitch in the ditch or use a free-motion quilting design to add texture.
Bind the edges: Cut 2.5-inch strips for binding, sew around the edges, and hand-stitch or machine-sew to finish.
By following these steps, you’ll have a stunning String Block quilt ready to use or gift to someone special. This quilt pattern is not only beautiful but also an excellent way to use up fabric scraps and practice quilting techniques. Whether you choose a monochromatic theme or a vibrant, scrappy look, the String Block will always result in a unique and eye-catching quilt!


