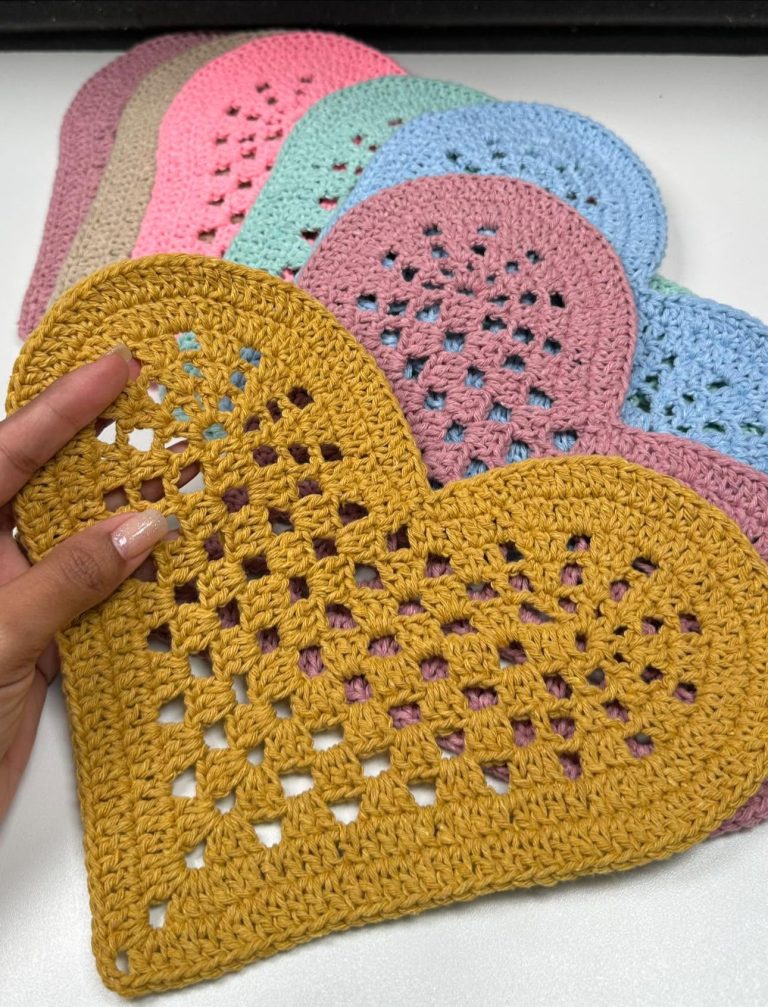
Crochet Heart Step-by-Step Pattern
The Rainbow Granny Square is more than just a crochet block – it’s a burst of color, creativity, and nostalgia. From its cheerful color changes to its timeless design, this classic pattern remains a favorite among crafters worldwide. Whether you’re an experienced crocheter or new to the craft, creating your own Rainbow Granny Square brings a satisfying sense of achievement and a splash of color to any project.
In this guide, we’ll walk you through how to crochet a beautiful Rainbow Granny Square, including exact yarn cuts, color suggestions, and detailed steps. This pattern is versatile, making it perfect for blankets, scarves, pillow covers, or even an entire Vintage Butterfly Quilt Pattern-inspired throw. By the end, you’ll feel ready to add this lively piece to your creative collection.
Using the Rainbow Granny Square design, we’ll not only celebrate tradition but also bring fresh life to your handmade projects. Follow along, and let’s dive into the colorful world of granny squares together.

The Rainbow Granny Square is a timeless pattern that instantly brightens any quilt or crochet piece. What makes it special is the careful balance between color transitions and the traditional square structure. Each round represents a new opportunity to play with colors, echoing the charm of the Vintage Butterfly Quilt Pattern, which is all about graceful color blends.
First, you’ll notice the center of the Rainbow Granny Square often starts with a warm color like red or pink. This helps anchor the design visually and provides a vibrant starting point. Choosing yarn with good stitch definition helps your colors pop.
Next, each round expands outward, often moving through orange, yellow, green, blue, and purple. This rainbow sequence mirrors the balance and symmetry seen in the Vintage Butterfly Quilt Pattern, adding visual depth.
As you build, keep your tension even. Consistent stitches help your Rainbow Granny Square remain flat and perfectly shaped, making it easier to join with other squares later. Blocking your finished square is another secret to making it look professional.
Selecting high-quality yarn is key. Cotton yarn offers clean lines and breathability, while soft acrylic is cozy and affordable. Both options showcase the Rainbow Granny Square beautifully.
Finally, remember to weave in your ends carefully. With multiple colors, you’ll have more loose ends to secure, but this small step keeps your project neat and lasting for years.
Now let’s walk through the process of making your own Rainbow Granny Square. Here’s a simple guide, including the yarn cuts and measurements you’ll need.
Materials:
Step 1: Center Circle
Start with red yarn. Make a magic ring, then chain 3 (counts as first double crochet). Crochet 2 more double crochets into the ring. Chain 2, then 3 double crochets; repeat from * to * two more times. Slip stitch into the top of the first chain 3 to close. Cut yarn (about 15 inches per color is usually enough for the center).
Step 2: First Round of Squares (Orange)
Attach orange yarn in any chain-2 corner space. Chain 3 (counts as first dc), then make 2 dc, chain 2, 3 dc in the same space. Move to the next corner: 3 dc, chain 2, 3 dc. Repeat for the other two corners. Join with slip stitch to the starting chain 3. Cut yarn.
Step 3: Expanding the Square (Yellow and Green)
Attach yellow yarn in any corner space. Again, 3 dc, chain 2, 3 dc in each corner, and place 3 dc in each side space from the previous round. Repeat the same process with green yarn for the next round. Each new round will need about 20–25 inches of yarn per color.
Step 4: Final Rounds (Blue and Purple)
Using blue yarn, add another round: 3 dc, chain 2, 3 dc in corners, and 3 dc in each side space. Repeat with purple yarn for the last round. Finish by slip stitching and weaving in all ends.
Each Rainbow Granny Square you complete will measure around 5×5 inches, perfect for joining together into a larger blanket or integrating into a Vintage Butterfly Quilt Pattern.
Once you’ve mastered your Rainbow Granny Square, you can think about how to join them into bigger projects. The versatility of this pattern makes it easy to design creative layouts.
One popular idea is to alternate the Rainbow Granny Square with solid-colored squares. This helps highlight the bright colors and keeps the overall design balanced, much like the symmetry found in the Vintage Butterfly Quilt Pattern.
Consider using a neutral color like white, cream, or gray to join the squares. This creates contrast and makes the rainbow shades truly stand out. You can use slip stitch, single crochet, or whip stitch to join the squares, depending on your preferred finish.
If you love texture, add a border around the finished blanket using shell stitch or picot edging. A simple border helps tie all the Rainbow Granny Squares together into one cohesive piece.
Planning your layout before joining is another tip. Lay your squares on the floor or a table and play with placement until you find a pattern that pleases your eye. You might discover unexpected color flows or interesting diagonal lines.
Don’t hesitate to mix your Rainbow Granny Square with other patterns. Combining it with motifs from the Vintage Butterfly Quilt Pattern can create a unique quilt or throw that feels vintage yet modern.
Lastly, always block your finished blanket or project. This step smooths out stitches, defines the squares, and gives your handmade piece a polished, professional look.
While the classic use for the Rainbow Granny Square is in blankets or throws, its potential goes far beyond. Small projects are a fantastic way to use leftover yarn and showcase your creativity.
One idea is to create colorful pillow covers. Four to nine Rainbow Granny Squares sewn together can make a bright, cheerful pillow perfect for a living room or bedroom.
You can also make bags or totes. Combine several squares, add a fabric lining for strength, and finish with handles. The result is a unique accessory that turns heads and showcases your love for handmade craft.
Scarves made from a row of connected Rainbow Granny Squares are another stylish option. This design feels playful and cozy, perfect for cooler days.
Think about home decor, too. Placemats, table runners, or even wall hangings made from Rainbow Granny Squares bring color and charm to everyday spaces.
If you enjoy upcycling, add Rainbow Granny Squares to denim jackets, jeans, or tote bags. This gives your wardrobe a personalized, artistic touch.
And remember, these squares can also make a thoughtful gift. From baby blankets to coasters, anything crafted with love and a rainbow of colors is sure to brighten someone’s day.
Q: Can I adjust the size of the Rainbow Granny Square?
A: Yes! Simply add more rounds in your color sequence or keep going with a neutral color until you reach the desired size.
Q: Which yarn works best for this project?
A: Cotton yarn for stitch definition and durability, or acrylic for warmth and softness.
Q: Do I need to block my Rainbow Granny Squares?
A: Blocking is highly recommended for neatness and uniformity, especially before joining squares.
Q: How many squares do I need for a full blanket?
A: It depends on the square size and desired blanket dimensions. For a medium throw, around 42–56 squares often works.
Q: Can beginners try this pattern?
A: Absolutely! The Rainbow Granny Square is beginner-friendly with simple repeats.
Q: Is it okay to mix this with other patterns?
A: Yes! Combining it with designs like the Vintage Butterfly Quilt Pattern creates a unique, beautiful piece.
The Rainbow Granny Square combines tradition and creativity in the most colorful way possible. With its vibrant rounds and endless possibilities, it’s perfect for bringing new life to your projects, from quilts inspired by the Vintage Butterfly Quilt Pattern to stylish accessories.
By following this guide, including the step-by-step and detailed cuts, you can confidently create your own Rainbow Granny Square masterpiece. Let your imagination run wild, and enjoy the joy that each square brings to your crafting journey.
What do you think about adding this timeless pattern to your next project? Share your ideas and suggestions below – and happy crocheting!


