
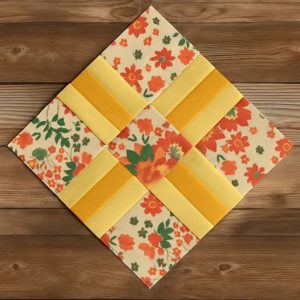
Spiral Sunburst Quilt Pattern
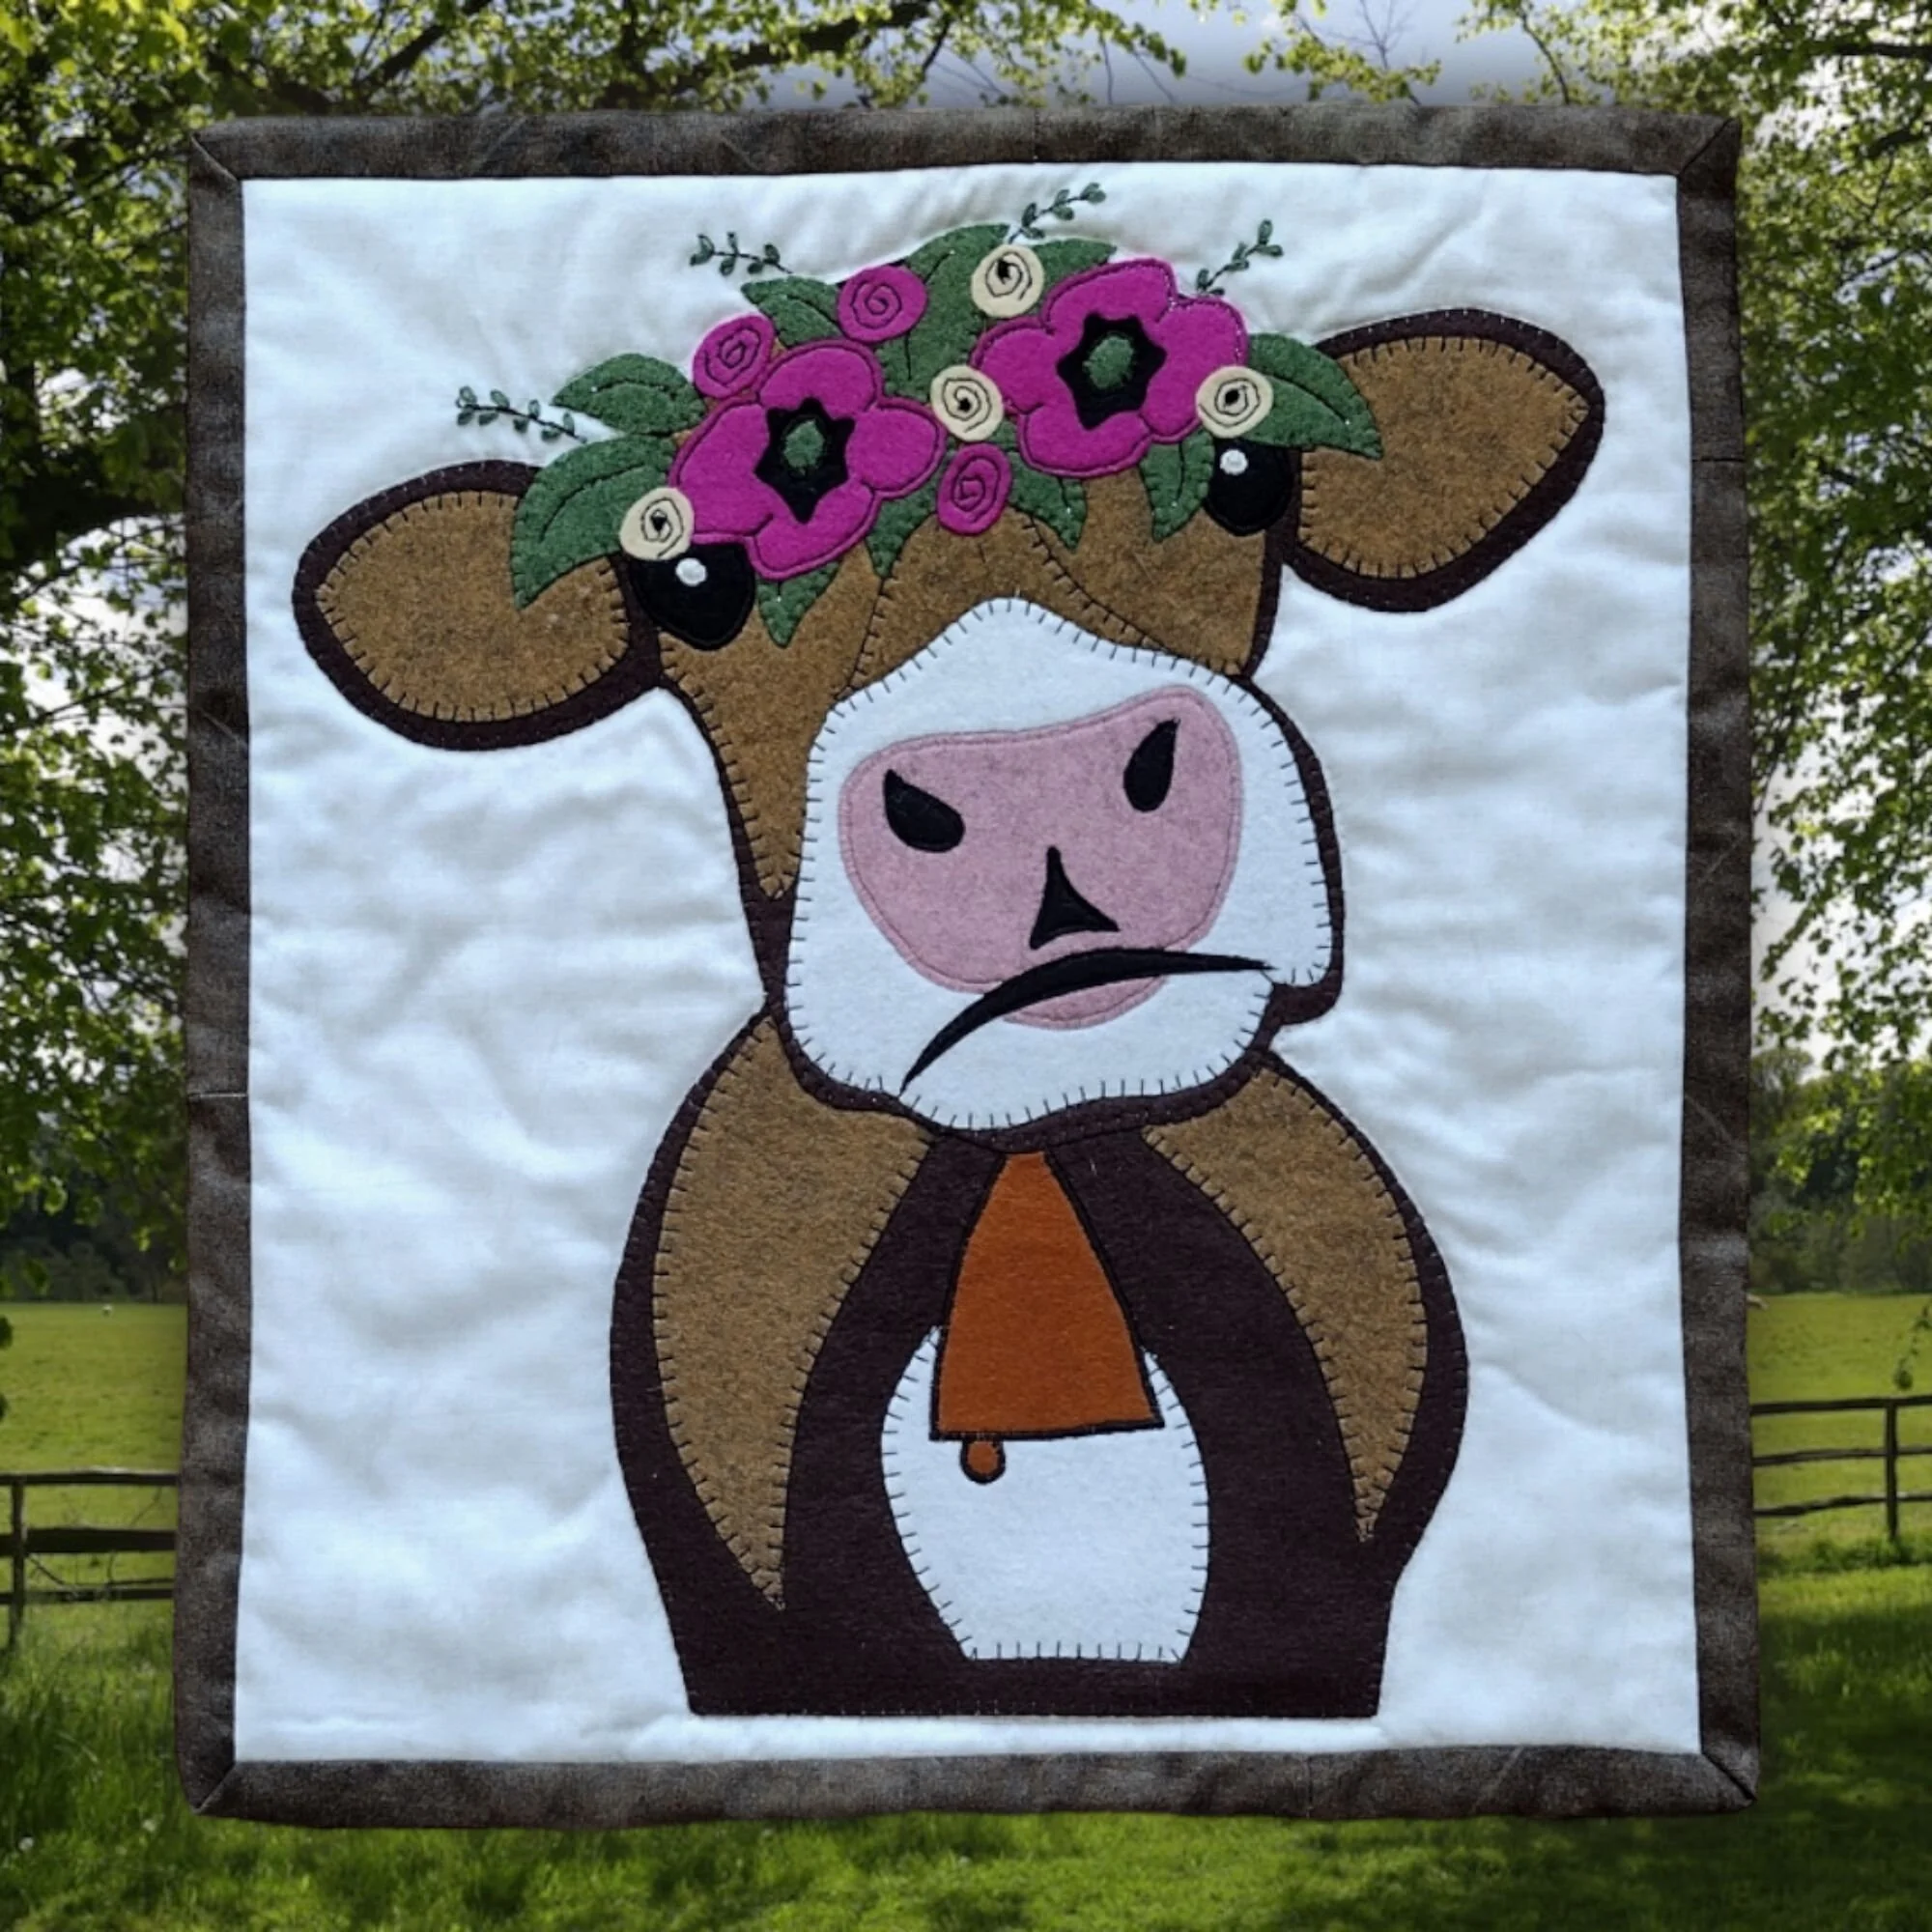
The Brown Cow Quilt Pattern is a charming and rustic design that brings a touch of countryside warmth to any home. Whether you’re an experienced quilter or a beginner looking to start a new project, this quilt pattern is a fantastic choice. Quilting is not just a craft; it’s an art form that allows you to create beautiful, functional pieces that last for generations.
A quilt with a Brown Cow Quilt Pattern can be a delightful gift for a farm-loving friend or a cozy addition to your own home. The pattern features a classic cow motif, making it an excellent choice for those who appreciate farmhouse aesthetics. This guide will take you through the entire process, from fabric selection to final assembly, ensuring that your quilt turns out perfectly.
In this step-by-step guide, we’ll walk you through the materials, fabric measurements, cutting techniques, and piecing methods necessary to complete your quilt pattern. By following this comprehensive tutorial, you’ll learn how to sew your own Brown Cow Quilt Pattern with precision and creativity. Let’s dive into this rewarding quilting project!
Materials and Fabric Requirements
Before starting your quilt, gather all the necessary materials. Having everything prepared in advance will make the quilting process smoother and more enjoyable.
Once you have all your materials, pre-wash your fabrics to prevent shrinkage and ensure a smooth quilting process. Iron them thoroughly to remove wrinkles, making cutting and sewing much easier.
## Cutting the Fabric for Your Brown Cow Quilt
Precision cutting is essential when working on a quilt pattern to ensure a clean and professional finish. Follow these fabric measurements and cuts:
Arrange your fabric pieces according to the quilt pattern layout before sewing. This helps visualize the final design and make adjustments as needed.
## Piecing and Assembling the Quilt Top
Now that your fabric is cut, it’s time to start piecing your quilt pattern together. Follow these steps carefully to ensure a well-structured quilt:
Taking your time during the piecing process ensures that your quilt comes together seamlessly, creating a visually appealing and structurally sound design.
## Quilting and Finishing Touches
The final steps in making your Brown Cow Quilt Pattern involve quilting the layers together and finishing the edges for a polished look. Follow these finishing techniques:
Once completed, your quilt is ready to be used, gifted, or displayed as a beautiful handmade piece. Enjoy the satisfaction of creating your very own Brown Cow Quilt Pattern, and embrace the joy of quilting!


