
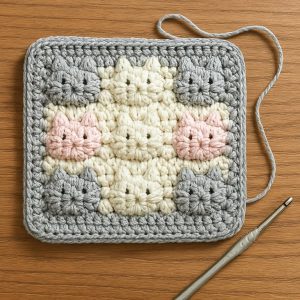
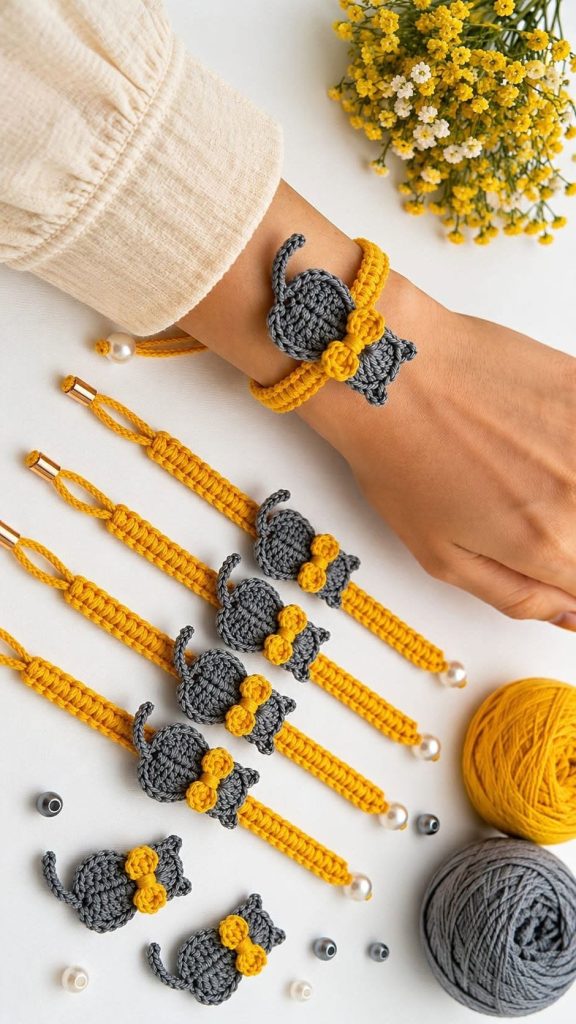
Crochet Cat Hair Ties Pattern
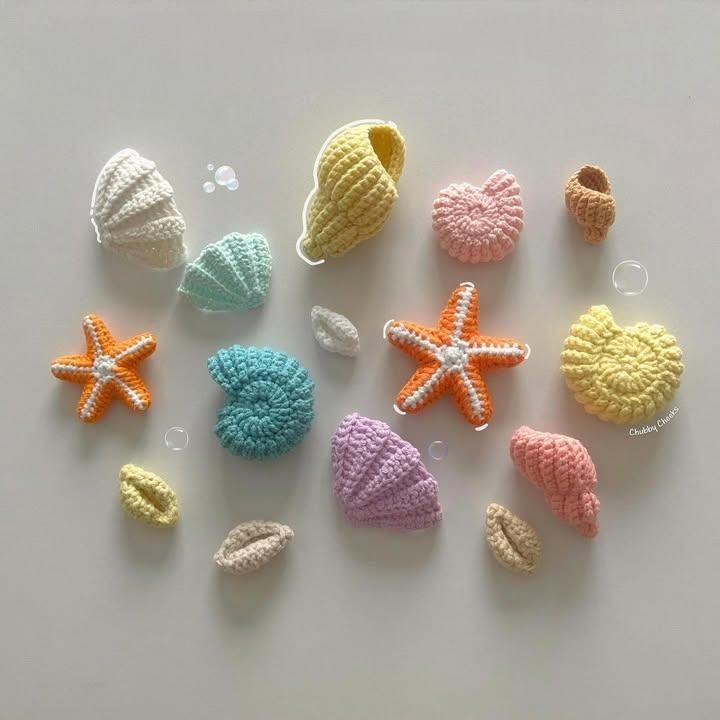
Crochet Mini Shell Pattern is a timeless and elegant technique that brings texture, charm, and versatility to any crochet project.
Whether you are a beginner looking to expand your skills or an experienced crocheter searching for a delicate stitch to enhance your creations, the Crochet Mini Shell Pattern offers a perfect balance between simplicity and beauty.
This pattern is widely loved for its repeating structure, soft curves, and ability to adapt to different designs such as blankets, scarves, garments, and home decor pieces.One of the reasons why the Crochet Mini Shell Pattern is so popular is its accessibility. You don’t need advanced skills or complicated tools to get started, making it ideal for anyone who enjoys working with yarn. At the same time, its visual appeal gives projects a polished and professional finish. By mastering this pattern, you can elevate even the simplest crochet items into something truly eye-catching and unique, which is why it continues to be a favorite among crochet enthusiasts worldwide.
In addition to its aesthetic qualities, the Crochet Mini Shell Pattern is also highly functional. The stitch creates a slightly textured fabric that is both flexible and durable, making it suitable for a wide variety of uses. From lightweight shawls to cozy baby blankets, this pattern adapts beautifully to different yarn weights and hook sizes. Understanding how to use and modify this pattern will open up countless creative possibilities, helping you bring your crochet ideas to life with confidence and style.
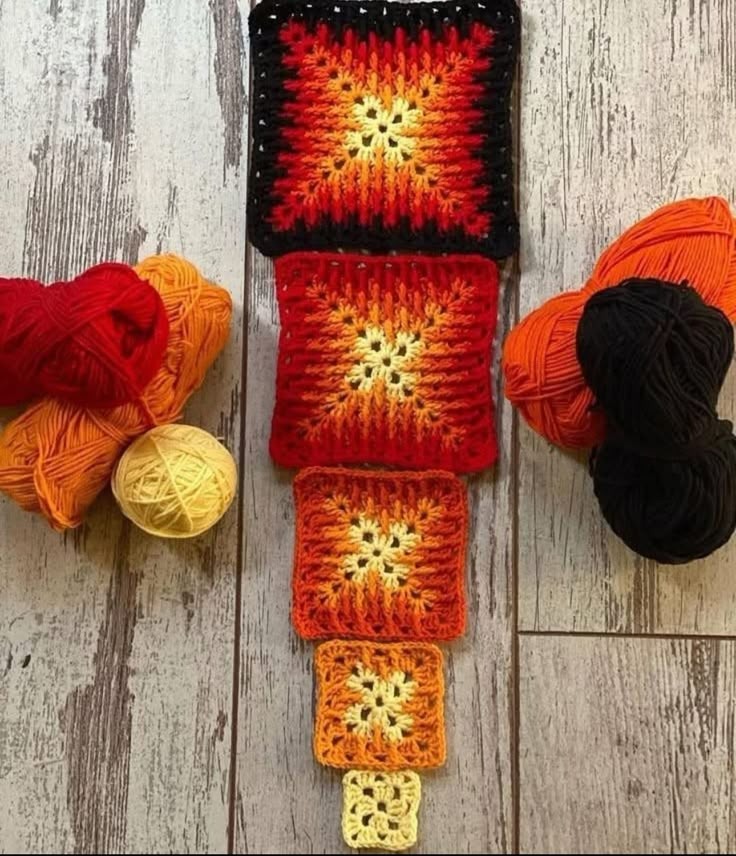
The Crochet Mini Shell Pattern is a stitch technique that typically involves creating small groups of stitches—often double crochets—worked into the same space to form a shell-like shape. These shells are then repeated across rows to create a rhythmic and decorative texture. The result is a fabric that looks intricate but is surprisingly easy to achieve.
This pattern matters because it bridges the gap between beginner and intermediate crochet skills. It allows beginners to practice stitch consistency while introducing them to the concept of working multiple stitches into one space. For more advanced crocheters, it offers endless opportunities for customization and variation.
Another important aspect of the Crochet Mini Shell Pattern is its versatility. It can be used in both flat and round projects, making it suitable for items like dishcloths, hats, and even decorative edging. The stitch can also be easily combined with other patterns to create unique designs.
The pattern is also appreciated for its visual softness. The curved shape of each shell adds a gentle, flowing appearance to the fabric, which is particularly appealing in projects meant for comfort, such as blankets and baby items. This makes it a popular choice for gifts and handmade keepsakes.
In terms of efficiency, the Crochet Mini Shell Pattern works up relatively quickly compared to more complex stitches. This means you can complete projects faster while still achieving a detailed and textured look. It’s a great option for those who want satisfying results without spending excessive time on intricate techniques.
Finally, this pattern encourages creativity. By adjusting the number of stitches in each shell or experimenting with color changes, you can create entirely new looks while still using the same basic structure. This flexibility is what keeps the pattern relevant and widely used in modern crochet designs.
To start working with the Crochet Mini Shell Pattern, you will need a few basic materials that are commonly used in crochet projects. The most essential item is yarn, and your choice will depend on the type of project you want to create. Cotton yarn is great for durable items like dishcloths, while acrylic or wool blends are ideal for garments and blankets.
The crochet hook is another important tool. The size of the hook should match the yarn you are using, as recommended on the yarn label. Using the correct hook size ensures that your stitches are even and that the final fabric has the desired texture and drape.
A pair of scissors is necessary for cutting yarn, and a yarn needle is useful for weaving in ends once your project is complete. These simple tools help you achieve a clean and professional finish, which is especially important when working with decorative patterns like the Crochet Mini Shell Pattern.
Stitch markers can also be helpful, particularly if you are working on larger projects or trying to maintain a consistent pattern. They allow you to keep track of your stitch placement and ensure that your shells are evenly spaced throughout the piece.
It’s also beneficial to have a measuring tape on hand. This helps you monitor the size of your project and make adjustments as needed. Consistency in size is crucial for items like garments or blankets where precision matters.
Lastly, having a comfortable workspace can make a big difference in your crocheting experience. Good lighting and a supportive chair can help reduce strain and allow you to focus on mastering the Crochet Mini Shell Pattern with ease and enjoyment.
To begin the Crochet Mini Shell Pattern, you typically start with a foundation chain that is a multiple of a specific number, depending on the pattern variation you are using. This ensures that the shells align properly across the row. Once your foundation is ready, you can begin forming the first row of shells.
The basic shell is usually created by working multiple double crochet stitches into the same stitch or space. For example, you might work five double crochets into one stitch to form a single shell. This creates the signature fan-like shape that defines the pattern.
After forming a shell, you will often skip a few stitches before creating the next shell. This spacing is what gives the pattern its open and airy appearance. It also helps maintain a consistent rhythm as you work across the row.
When you reach the end of a row, you will typically turn your work and begin the next row by chaining a certain number of stitches. This chain acts as the first stitch and helps position your hook correctly for the next set of shells.
As you continue working, you will notice that the shells begin to stack in a staggered formation. This creates a visually appealing texture that looks complex but is actually quite simple to achieve. Consistency in your stitch tension is key to maintaining an even appearance.
Practice is essential when learning the Crochet Mini Shell Pattern. Start with a small swatch to get comfortable with the technique before moving on to larger projects. With time and repetition, the pattern will become second nature, allowing you to crochet more efficiently and confidently.
One of the best tips for mastering the Crochet Mini Shell Pattern is to maintain consistent tension throughout your work. Uneven tension can cause the shells to look irregular, which affects the overall appearance of your project. Take your time and adjust your grip as needed.
Experimenting with different yarn colors can add a unique touch to your projects. For example, using a gradient yarn can highlight the shell pattern beautifully, while alternating colors between rows can create a striking visual effect.
You can also modify the size of the shells by changing the number of stitches in each group. Smaller shells create a more delicate texture, while larger shells result in a bolder and more dramatic look. This flexibility allows you to tailor the pattern to your specific needs.
Incorporating the Crochet Mini Shell Pattern into different types of projects can expand your creative possibilities. Try using it for borders, edgings, or even as the main stitch in a blanket or scarf. Its adaptability makes it suitable for a wide range of designs.
Blocking your finished project can enhance the appearance of the shells. This process involves shaping and setting the fabric to ensure that the stitches are evenly distributed. It’s especially useful for projects where presentation is important.
Finally, don’t be afraid to combine this pattern with other crochet techniques. Mixing stitches can create interesting textures and elevate your work to a new level. The Crochet Mini Shell Pattern serves as a great foundation for experimenting with more advanced designs.
What is the easiest way to learn the Crochet Mini Shell Pattern?
The easiest way is to start with a small practice swatch and follow a simple step-by-step guide. Repetition will help you understand the rhythm of the pattern.
Is the Crochet Mini Shell Pattern suitable for beginners?
Yes, it is beginner-friendly. While it introduces new concepts like working multiple stitches in one space, it is still easy to learn with practice.
What projects can I make with the Crochet Mini Shell Pattern?
You can create blankets, scarves, baby clothes, dishcloths, and decorative edges using this versatile pattern.
How do I fix mistakes in the pattern?
If you notice a mistake, carefully undo your stitches back to the error and redo that section. Using stitch markers can help prevent mistakes.
Can I use any type of yarn for this pattern?
Yes, but the final look will vary depending on the yarn type. Lighter yarns create delicate shells, while thicker yarns produce a more textured effect.
Why do my shells look uneven?
Uneven shells are usually caused by inconsistent tension. Try to keep your stitches uniform and practice maintaining a steady rhythm.
The Crochet Mini Shell Pattern is a beautiful, versatile, and accessible technique that every crochet enthusiast should explore. Throughout this article, you learned what the pattern is, why it matters, the materials needed, step-by-step instructions, and creative ways to use it in your projects. By practicing regularly and experimenting with variations, you can transform simple yarn into stunning handmade pieces.
Now that you have a complete understanding of the Crochet Mini Shell Pattern, it’s time to put your skills into action. Try creating your own project and see how this elegant stitch enhances your work. If you found this guide helpful, feel free to share your honest opinion and leave suggestions for future tutorials. Your feedback is always welcome and helps improve the learning experience for everyone.


