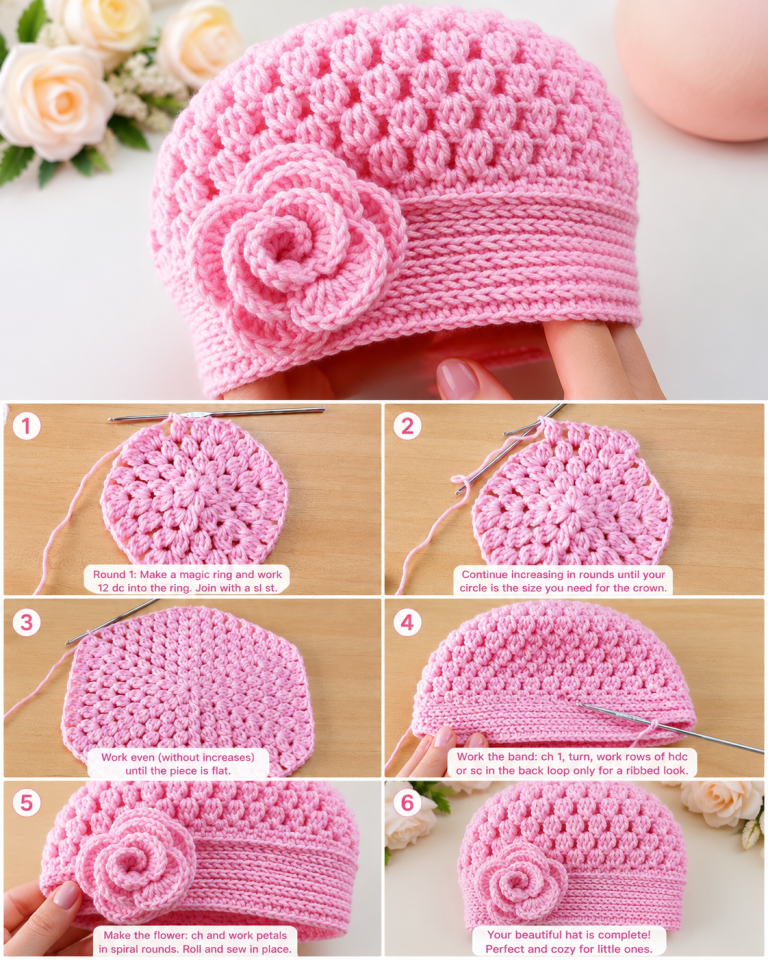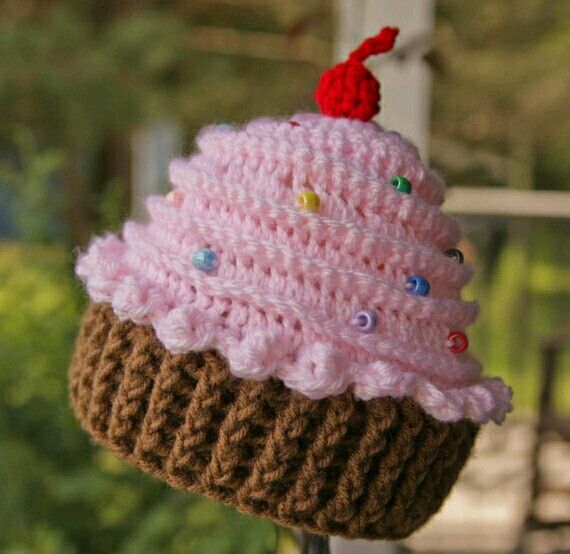
Crochet Cupcake Hat Pattern

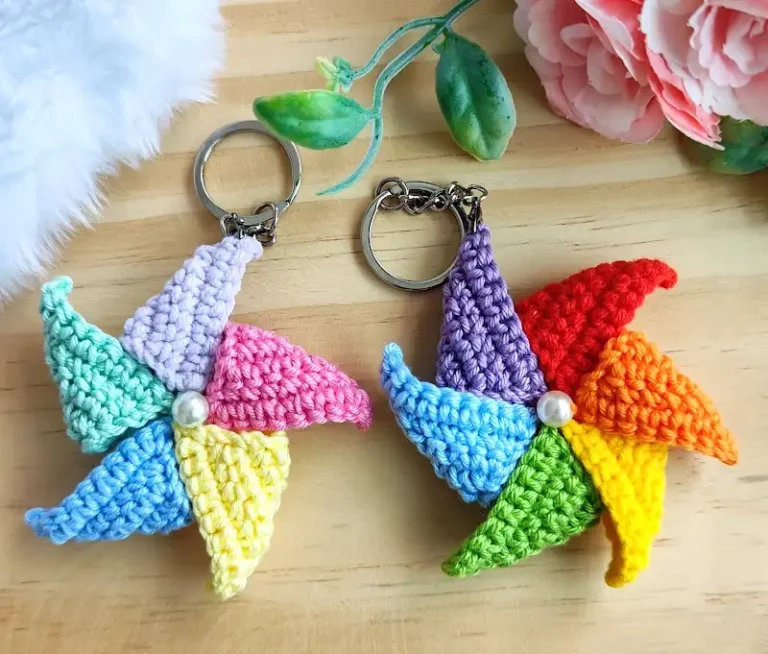
The Crochet Wind Vane Keychain Pattern is a delightful project that combines creativity, practicality, and colorful crochet techniques into one charming handmade accessory. Whether you are looking for a thoughtful handmade gift, a fun market item, or simply a relaxing crochet project, this beautiful spinning wind vane-inspired keychain is an excellent choice.
Its eye-catching pinwheel design makes it attractive for all ages, while its compact size allows you to finish the project in just a few hours.One of the reasons the Crochet Wind Vane Keychain Pattern has become increasingly popular is its versatility. You can customize every part of the project, from the colors of each blade to the size of the center embellishment and the type of key ring used.
The finished piece can be attached to backpacks, handbags, purses, zipper pulls, or keys, making it both decorative and functional. Since it requires only small amounts of yarn, it is also a wonderful stash-busting project.If you enjoy learning new crochet techniques while creating something useful, this pattern is an excellent opportunity. Throughout this guide, you will learn how to crochet each section step by step using US crochet terminology, understand the purpose of every stitch, assemble the wind vane blades neatly, and finish your project with a professional appearance. Even beginners who already know the basic stitches can successfully complete this colorful accessory by following the detailed instructions below.
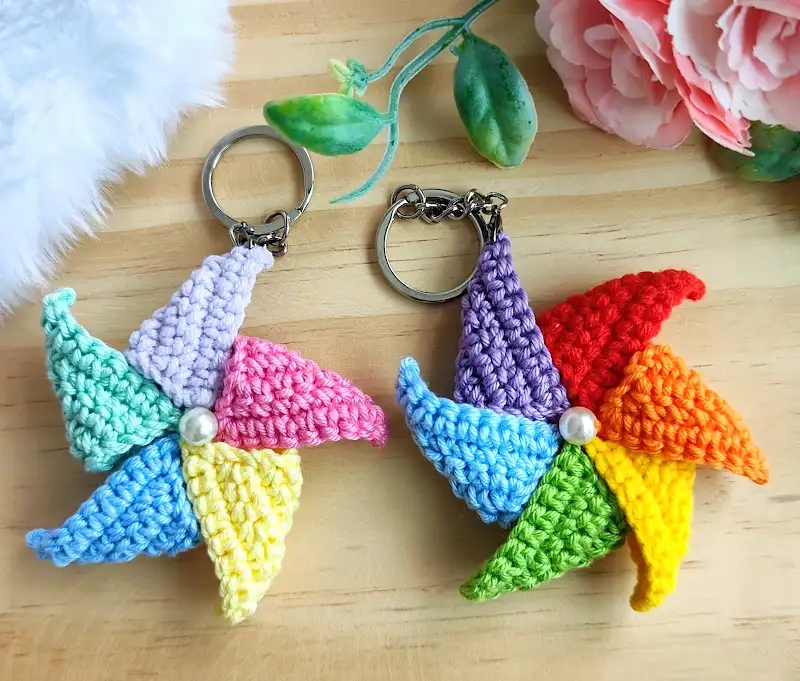
Before beginning your Crochet Wind Vane Keychain Pattern, gather all of your materials to make the process smooth and enjoyable.
You will need worsted weight cotton yarn or soft acrylic yarn in five or six different colors. Cotton yarn is especially recommended because it provides excellent stitch definition and helps the blades hold their shape beautifully.
Choose a crochet hook appropriate for your yarn. A 3.5 mm (E-4) or 4 mm (G-6) hook works well for most worsted weight yarns. Using a slightly smaller hook creates tighter stitches and gives the finished keychain better structure.
Additional materials include a yarn needle, scissors, polyester fiberfill (optional for slight shaping), a split key ring, jump rings, and one decorative pearl bead or button for the center.
The project uses basic US crochet abbreviations, making it suitable for adventurous beginners:
ch = chain
sl st = slip stitch
sc = single crochet
hdc = half double crochet
dc = double crochet
inc = increase (2 stitches in one stitch)
dec = decrease
FO = fasten off
Keeping your tension consistent throughout the project helps all five blades remain identical, producing a balanced wind vane appearance.
The project is made by crocheting five identical blades individually before joining them into the finished pinwheel shape.
Start with ch 11.
Row 1:
Sc in the second chain from the hook.
Sc across.
Turn.
(10 sc)
Row 2:
Ch 1.
Sc across.
Turn.
Repeat Row 2 until you have six rows.
Now begin shaping the blade.
Row 7:
Ch 1.
Sc2tog.
Sc across until two stitches remain.
Sc2tog.
Turn.
Row 8:
Ch 1.
Sc across.
Turn.
Repeat these decrease rows until only two stitches remain.
FO leaving a long sewing tail.
Repeat to make five identical blades.
Keeping every blade exactly the same size is one of the secrets to achieving a perfectly symmetrical Crochet Wind Vane Keychain Pattern. Count stitches after every row to maintain consistency.
If desired, lightly steam-block each blade before assembly. This helps flatten the fabric and creates crisp edges that improve the overall appearance of the finished keychain.
When choosing colors, try alternating warm and cool shades for a vibrant pinwheel effect. Pastel combinations create a softer, spring-inspired look, while rainbow colors give the accessory a cheerful personality.
Avoid making the stitches too loose because the blades may curl excessively. Firm tension helps maintain the geometric shape shown in the finished design.
Before moving to assembly, arrange all five blades on a table to experiment with different color sequences. Sometimes simply changing the order of the colors completely transforms the finished appearance.
Lay the five crochet blades in a circular arrangement.
Overlap the bottom ends approximately ½ inch.
Thread the yarn tail through a yarn needle.
Sew each blade securely to the next using whip stitches.
Continue around until all five blades form a complete circle.
Pull the center tightly so the blades naturally twist into the recognizable wind vane shape.
Secure the stitching several times through the center for durability.
Attach a decorative pearl bead, wooden bead, or large button to cover the center stitches.
If additional firmness is desired, insert a tiny amount of polyester fiberfill underneath each blade before completely tightening the center.
Using jump rings, connect the finished motif to the split key ring.
Check every seam carefully to ensure the keychain will withstand everyday use.
Finally, weave in all yarn ends securely on the back of the project.
Your colorful Crochet Wind Vane Keychain Pattern is now complete and ready to use.
One of the greatest advantages of the Crochet Wind Vane Keychain Pattern is how easily it can be customized to match different occasions, personalities, or seasons.
Create rainbow versions using six vibrant colors for cheerful everyday accessories.
Use pastel shades for spring collections or baby shower favors.
Choose red, green, white, and gold to create Christmas-themed keychains.
Blue, white, and silver combinations produce elegant winter-inspired designs.
You can also embroider tiny initials onto one blade, making the keychain a personalized handmade gift.
Try metallic yarn accents around the edges using slip stitches for additional sparkle.
If you sell handmade items at craft fairs, these keychains make excellent impulse purchases because they require relatively little yarn while offering high visual appeal.
Experiment with textured yarns, although smooth cotton generally showcases stitch definition more clearly.
For a larger decorative ornament instead of a keychain, simply increase the foundation chain and add additional rows before shaping each blade.
Another creative option is attaching the wind vane to a zipper pull, tote bag, backpack, or even holiday gift wrapping as a reusable decoration.
Practice making several versions before selling them to develop consistent sizing and professional finishing techniques.
Carefully tighten all assembly stitches because the center experiences the most wear over time.
Store completed keychains flat to preserve the beautiful curved blades until they are ready for gifting or display.
Yes. Anyone familiar with basic US crochet stitches such as chain, single crochet, and simple decreases can complete this project with patience and careful stitch counting.
Cotton yarn is highly recommended because it produces crisp stitches and helps each blade maintain its shape.
Absolutely. Acrylic yarn also works well, although the blades may be slightly softer than cotton versions.
Most crocheters finish one keychain in approximately one to three hours depending on experience.
Yes. Increase the starting chain and add additional straight rows before beginning the decreases to create larger blades.
Five or six colors create the classic wind vane appearance, but monochromatic designs are equally attractive.
Yes. Hand washing with mild detergent is recommended. Lay flat to dry to preserve the shape.
Definitely. Small crochet accessories like this are popular because they are affordable, colorful, lightweight, and practical.
The project mainly uses single crochet (sc) along with basic shaping decreases, making it simple while producing a clean, textured finish.
Proper assembly is the key. Slightly overlapping each blade while tightening the center naturally creates the attractive wind vane effect.
Video Tutorial:
The Crochet Wind Vane Keychain Pattern is a fun, colorful, and rewarding crochet project that transforms simple stitches into an eye-catching accessory. Throughout this tutorial, you learned how to choose suitable materials, understand the essential US crochet abbreviations, crochet each individual blade, assemble the pieces into a balanced wind vane design, and finish the project with a secure key ring attachment. You also discovered creative customization ideas, practical finishing techniques, and useful tips for producing professional-quality results.
Whether you are making this keychain for yourself, as a heartfelt handmade gift, or to sell at craft fairs, this project offers endless opportunities to experiment with colors and express your creativity. Once you complete your first version, you will likely find yourself making many more in different color combinations and styles.
If you enjoyed this tutorial, please leave your honest opinion in the comments and share your suggestions. Your feedback helps improve future crochet tutorials and inspires even more creative handmade projects. Happy crocheting!