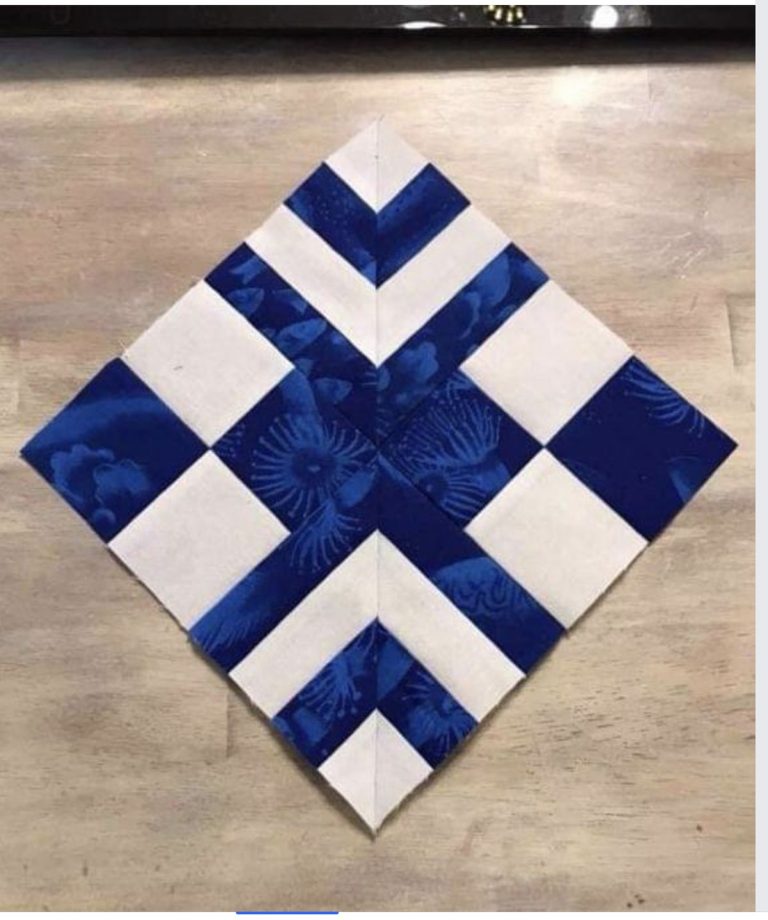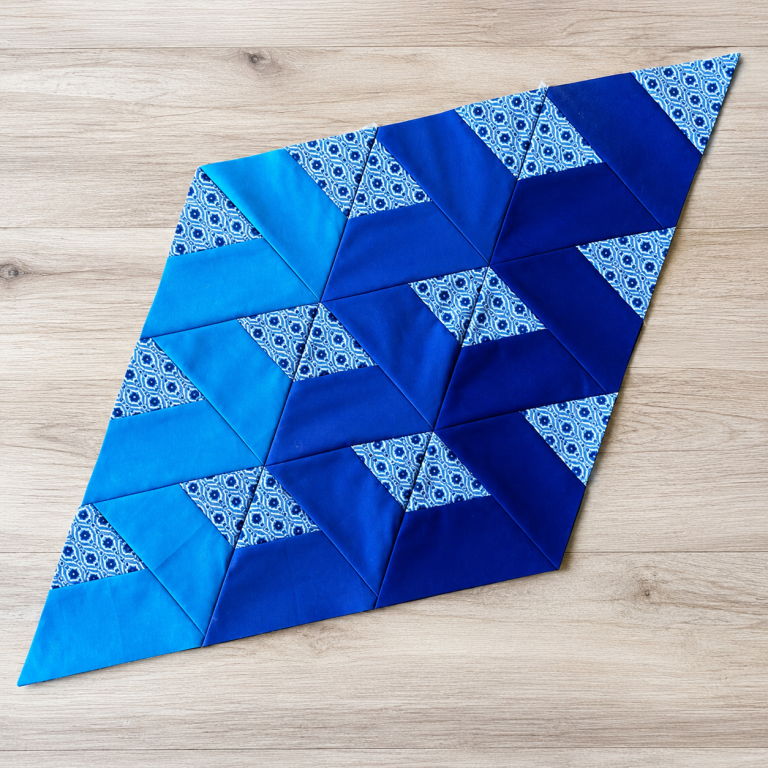
How To Make 3D Easy Quilt Pattern

How To Make 3D Easy Quilt Pattern is a fun and rewarding quilting project that creates a beautiful optical illusion using simple piecing techniques. Although the finished block appears complex, the construction process is surprisingly beginner-friendly when broken down into manageable steps.
Whether you are creating a table runner, wall hanging, baby quilt, or a full-size quilt, this pattern offers endless creative possibilities while helping you improve your quilting skills. One of the reasons why the How To Make 3D Easy Quilt Pattern has become increasingly popular is its ability to create depth and movement through careful fabric placement rather than difficult sewing techniques.
By combining solid fabrics with contrasting prints, each block appears to fold, twist, and overlap, giving the quilt a striking three-dimensional appearance. This clever visual effect makes the design stand out without requiring advanced quilting experience.In this complete guide, you will learn everything you need to know about the How To Make 3D Easy Quilt Pattern, from selecting fabrics and cutting accurate pieces to assembling the blocks, joining them together, quilting, and finishing the project. Every step is explained in a clear and practical way so you can confidently create a beautiful quilt that looks impressive while remaining enjoyable to sew.
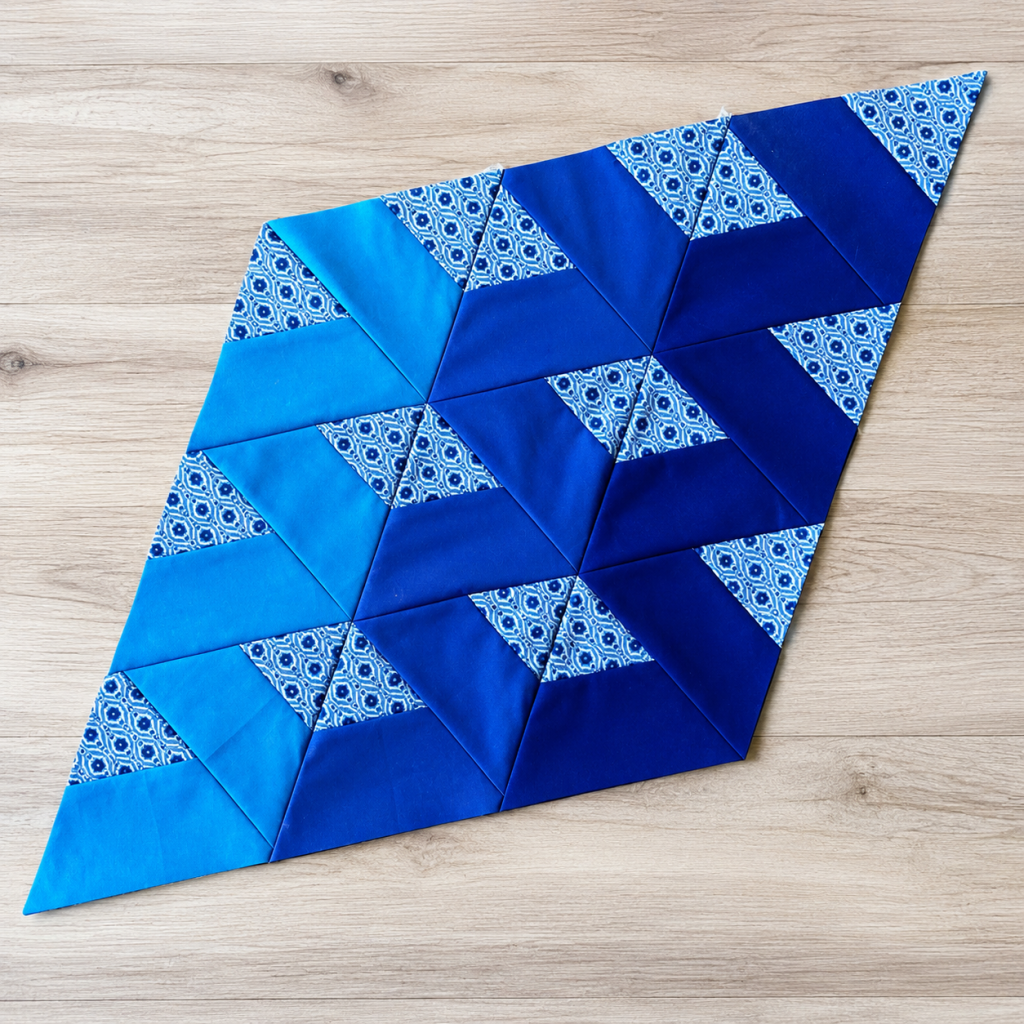
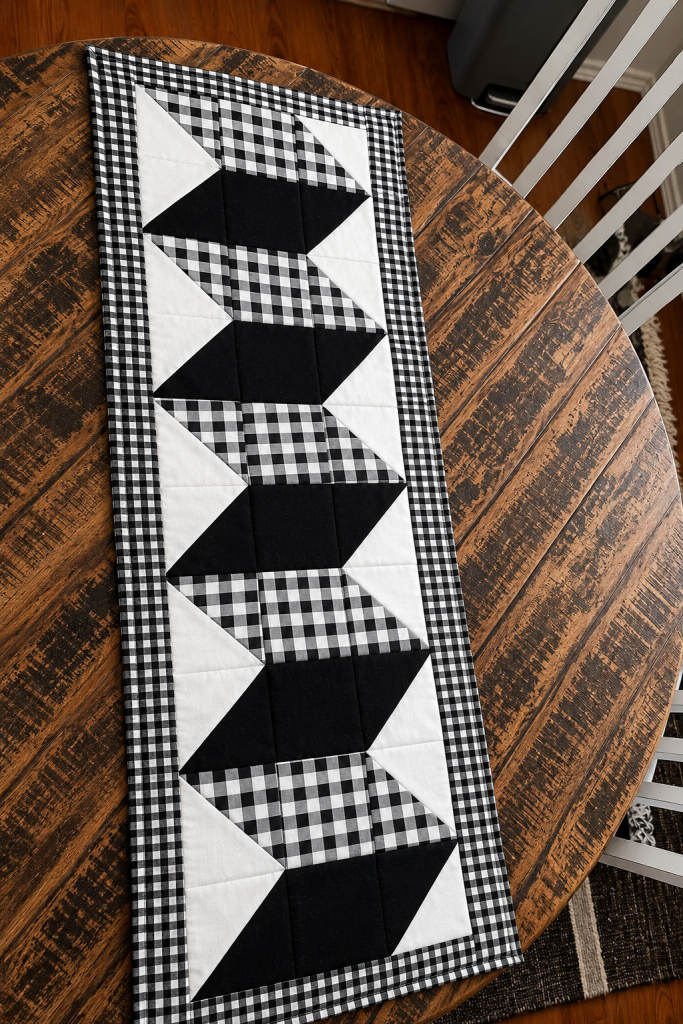
Before cutting any fabric, spend a little time selecting colors that will enhance the three-dimensional illusion. High contrast is the secret behind this design. Combining dark fabrics with medium and light shades allows the shapes to stand out naturally and creates the appearance of folded ribbons or woven strips.
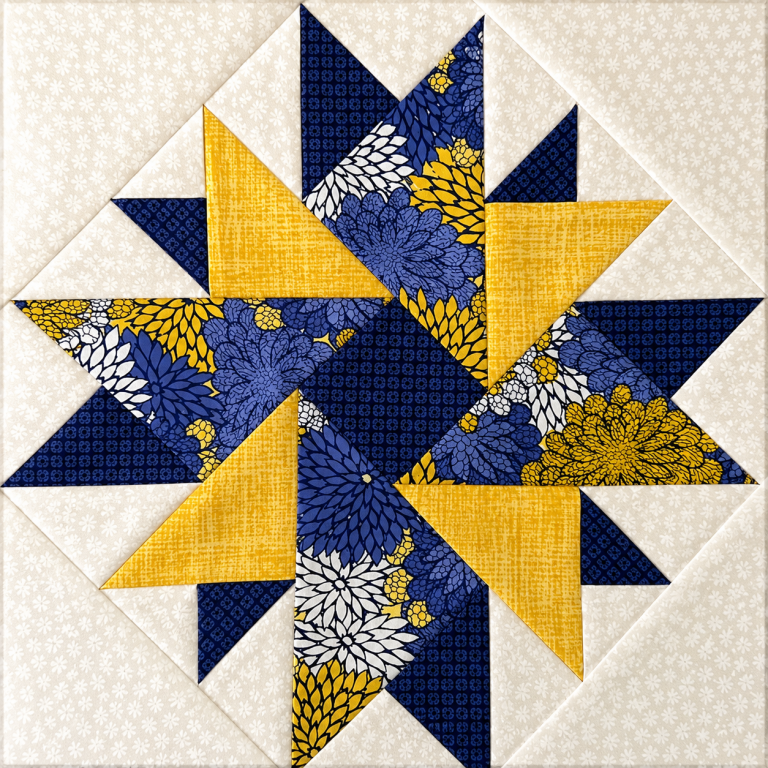
For a quilt similar to the sample shown, choose one bright blue fabric, one navy blue fabric, and one coordinating printed fabric. These three fabrics work together to produce depth while maintaining a harmonious color palette. You can also experiment with reds, greens, purples, or even neutral colors depending on your personal style.
Prewashing your fabric is optional but recommended if different fabric collections are being combined. Washing helps prevent future shrinking and reduces the risk of color bleeding, especially when working with dark fabrics beside lighter prints.
Accurate cutting is essential for this project. Use a rotary cutter with a sharp blade, a quilting ruler, and a self-healing cutting mat. Clean, precise cuts make piecing easier and improve the final appearance of every block.
A quarter-inch seam allowance should be used throughout the entire project. Consistent seam allowances ensure that all units fit together correctly and help maintain the geometric alignment required for the optical illusion.
Finally, organize all cut pieces before sewing. Sorting fabrics into labeled stacks helps avoid mistakes during assembly and speeds up the construction process.
Begin by cutting squares and rectangles according to the finished block size you wish to create. Most versions of this pattern are built using simple geometric units that are easy to piece together with straight seams.
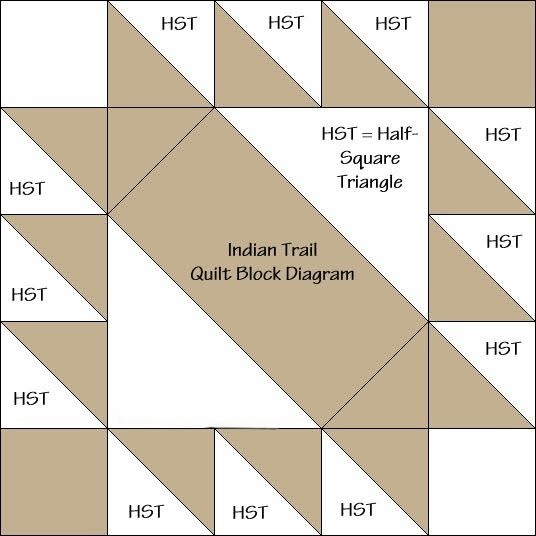
Create the half-square triangle units by placing two contrasting squares right sides together. Draw a diagonal line from one corner to the opposite corner, sew a quarter inch on each side of the line, and cut along the marked line. Press the units carefully before trimming them to the exact required size.
Arrange the half-square triangles beside the larger solid pieces to preview the design. Taking a photo before sewing can help you remember the correct orientation since rotating one unit can completely change the finished appearance.
Sew small units into pairs first. Then join the pairs into rows before connecting the rows into complete blocks. Working gradually keeps seams accurate and prevents stretching the fabric.
Press after every seam. Some quilters prefer pressing seams open, while others press toward the darker fabric. Either method works as long as pressing remains consistent throughout the quilt.
Once one block is complete, lay multiple blocks together on a flat surface. Rotate them until the three-dimensional effect begins to appear. This step is one of the most enjoyable parts of making the How To Make 3D Easy Quilt Pattern, as the illusion becomes stronger with every completed block.
After completing all quilt blocks, arrange them on a design wall or a large clean floor. This allows you to balance colors and ensure that the visual movement flows evenly across the entire quilt.
Pay attention to the direction of each block. Rotating a single block can dramatically change the overall appearance. Experiment with different layouts until the design creates a pleasing sense of movement and depth.
Join blocks together row by row using a consistent quarter-inch seam allowance. Pin matching intersections carefully to keep points aligned. Accurate intersections greatly improve the professional appearance of the finished quilt.
After sewing each row, press the seams before joining the next row. Flat seams reduce bulk and make quilting easier later. Taking time during this stage leads to cleaner results.
Once all rows have been connected, measure the quilt top to ensure it remains square. Small adjustments can be made before adding borders if necessary. Checking measurements early prevents difficulties during quilting.
If desired, add borders using coordinating fabrics. A narrow inner border followed by a wider outer border often frames the optical illusion beautifully while allowing the central design to remain the main focus.
Layer the quilt top with batting and backing fabric. Smooth all three layers carefully to eliminate wrinkles and secure them with safety pins, spray basting, or hand basting before quilting.
Choose a quilting design that complements rather than competes with the geometric pattern. Straight-line quilting is a popular choice because it emphasizes the crisp angles while maintaining the clean appearance of the design.
Stitch slowly through all layers, beginning near the center of the quilt and working outward. This method helps prevent shifting and keeps the quilt sandwich smooth throughout the quilting process.
Trim excess batting and backing evenly after quilting is complete. Prepare binding strips by joining them with diagonal seams, pressing them in half lengthwise, and attaching them carefully around the quilt edges.
Hand stitching or machine stitching the binding to the back both produce beautiful results. Take your time around the corners to create neat mitered finishes that enhance the professional quality of your quilt.
After the final stitches are complete, give the quilt one last gentle press. Wash it if desired to create the soft texture and slight puckering that many quilters love. Your finished How To Make 3D Easy Quilt Pattern will be ready to display, gift, or enjoy every day.
Yes. Although the finished quilt looks advanced, it mainly uses basic quilting techniques such as straight seams, accurate cutting, and careful pressing.
Choose fabrics with strong contrast. Combining dark solids, medium tones, and lighter prints helps create the illusion of depth.
No. A rotary cutter, standard quilting ruler, cutting mat, and sewing machine are sufficient for making this project.
Use an accurate quarter-inch seam allowance, trim units precisely, press carefully after every seam, and pin important intersections before sewing.
Absolutely. The same block design can be repeated to create table runners, lap quilts, bed quilts, wall hangings, or decorative pillows.
Simple straight-line quilting is one of the best options because it highlights the geometric shapes without distracting from the three-dimensional illusion.
Many quilters do, especially when combining dark and light fabrics. Prewashing helps reduce shrinkage and minimizes the risk of color bleeding.
Yes. This pattern is an excellent scrap-friendly project as long as the fabrics maintain enough contrast to preserve the 3D appearance.
Video Tutorial:
The How To Make 3D Easy Quilt Pattern demonstrates that impressive quilt designs do not always require difficult techniques. By combining accurate cutting, consistent seam allowances, thoughtful fabric selection, and careful block placement, you can create a quilt that appears intricate while remaining enjoyable to sew. Throughout this guide, you learned how to choose fabrics, prepare materials, construct the individual blocks, assemble the quilt top, quilt the layers, apply the binding, and finish your project with confidence.
Whether you are making your first optical illusion quilt or expanding your quilting skills with a fresh design, this project offers an enjoyable creative experience and a stunning finished result that you can proudly display or give as a handmade gift.
If you enjoyed this tutorial, please leave your honest opinion in the comments and share your suggestions. Your feedback helps improve future quilting tutorials and inspires other quilters to begin their own How To Make 3D Easy Quilt Pattern projects.